

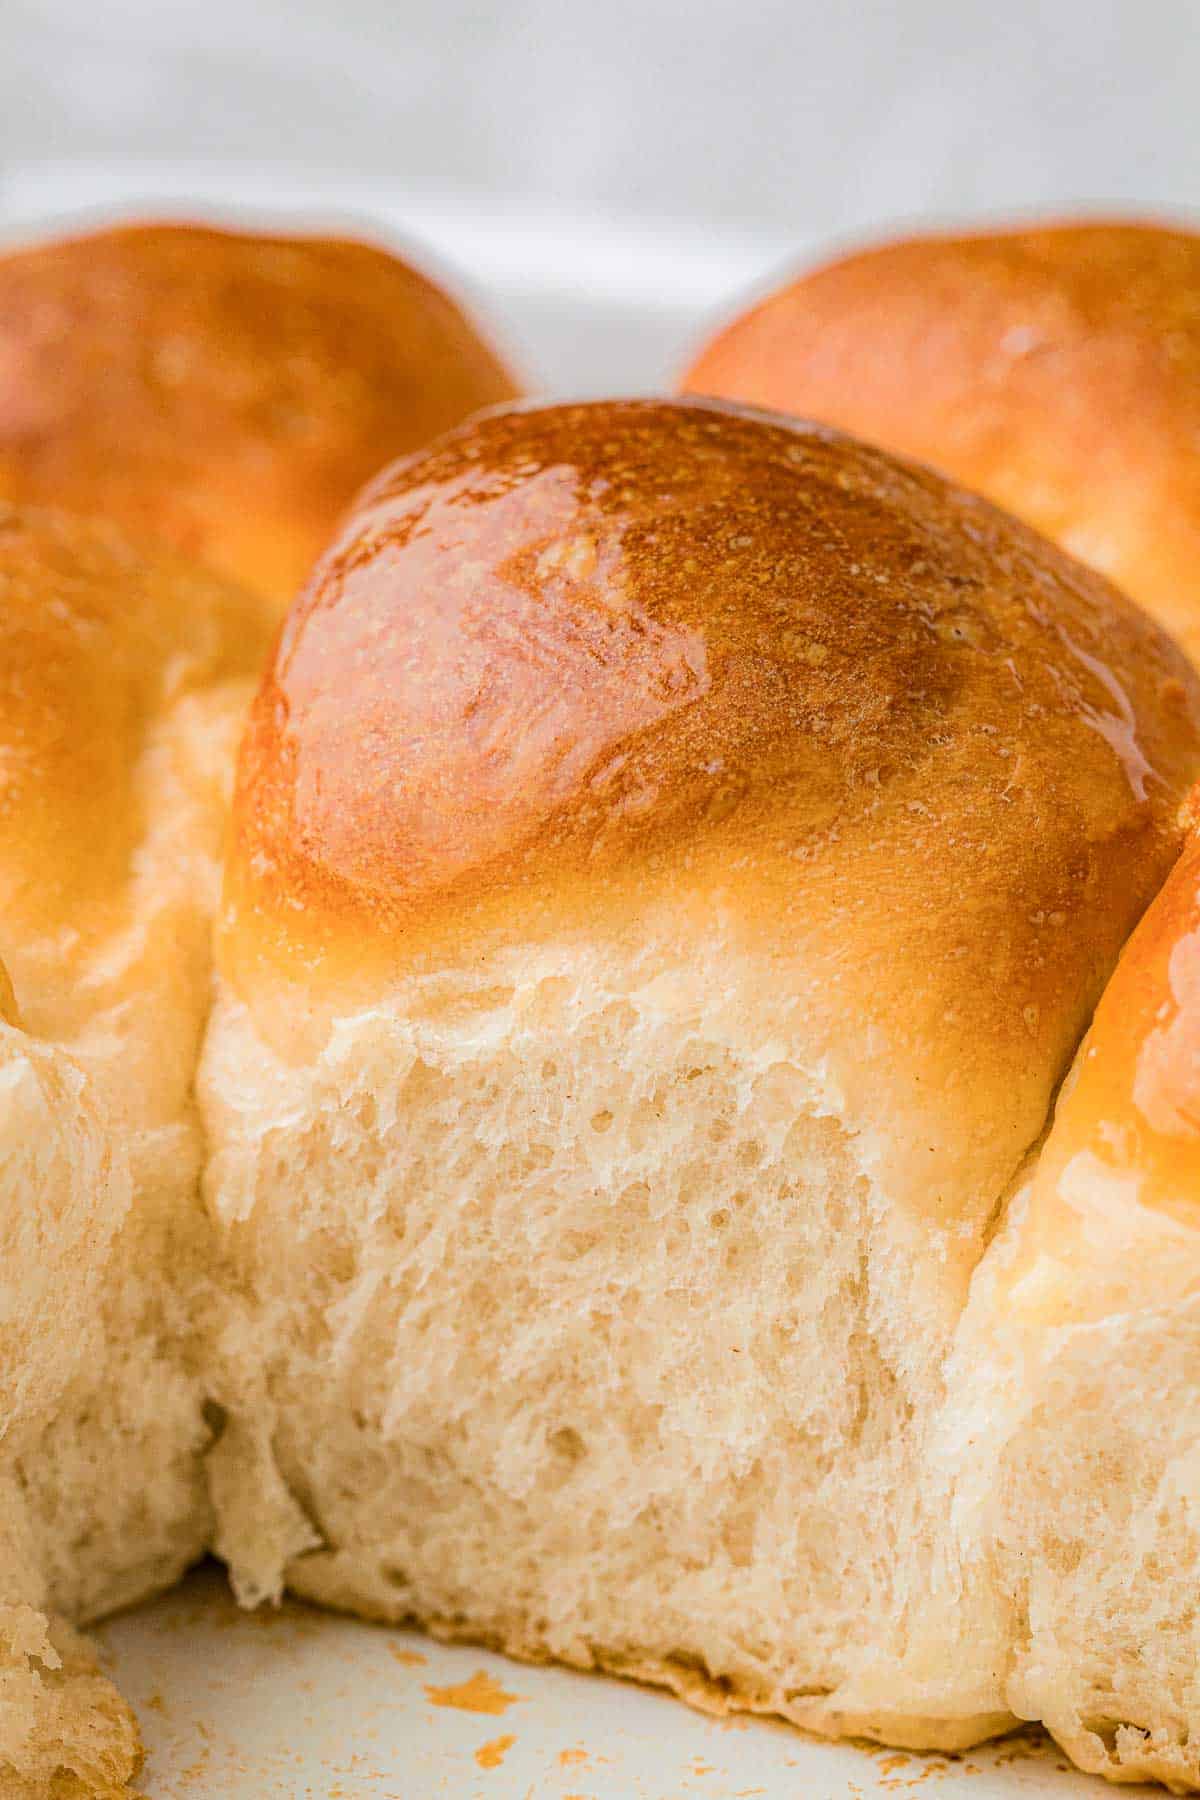
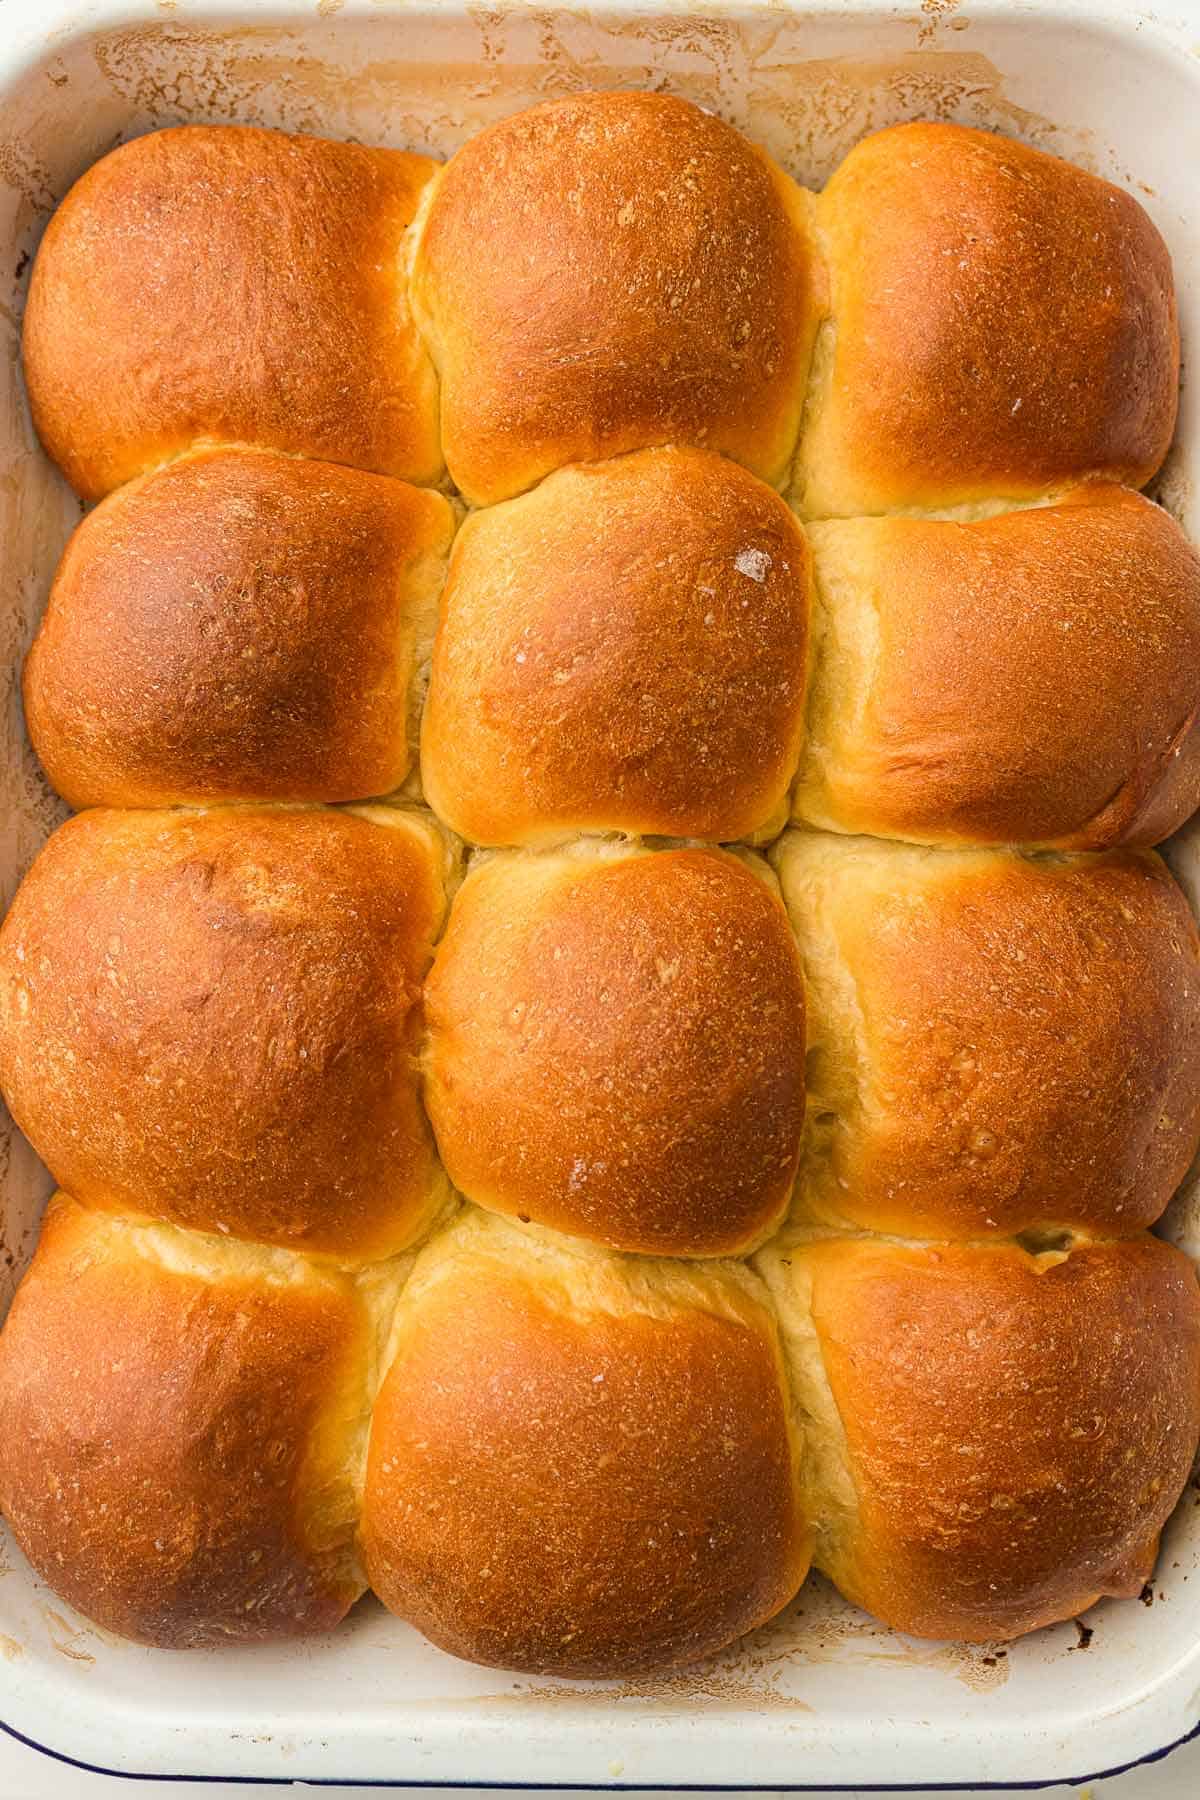
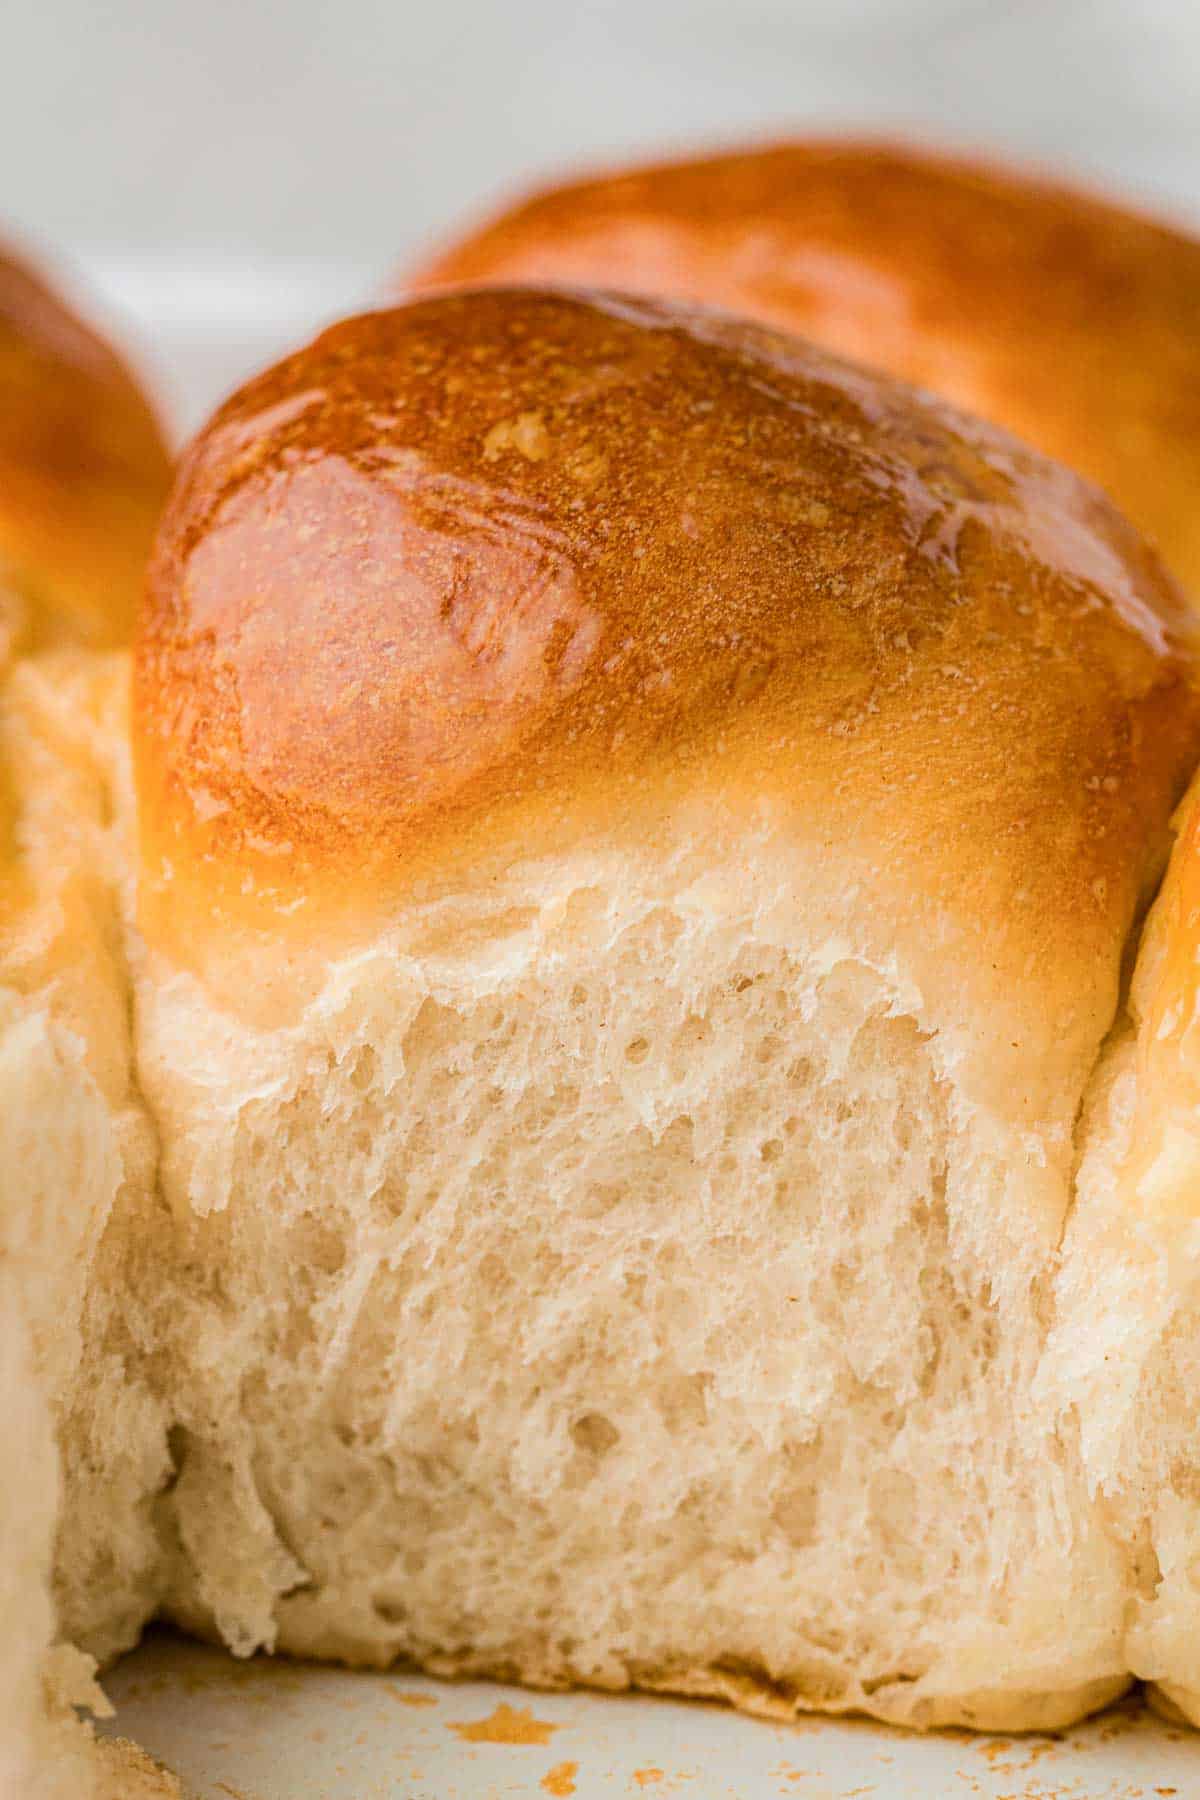
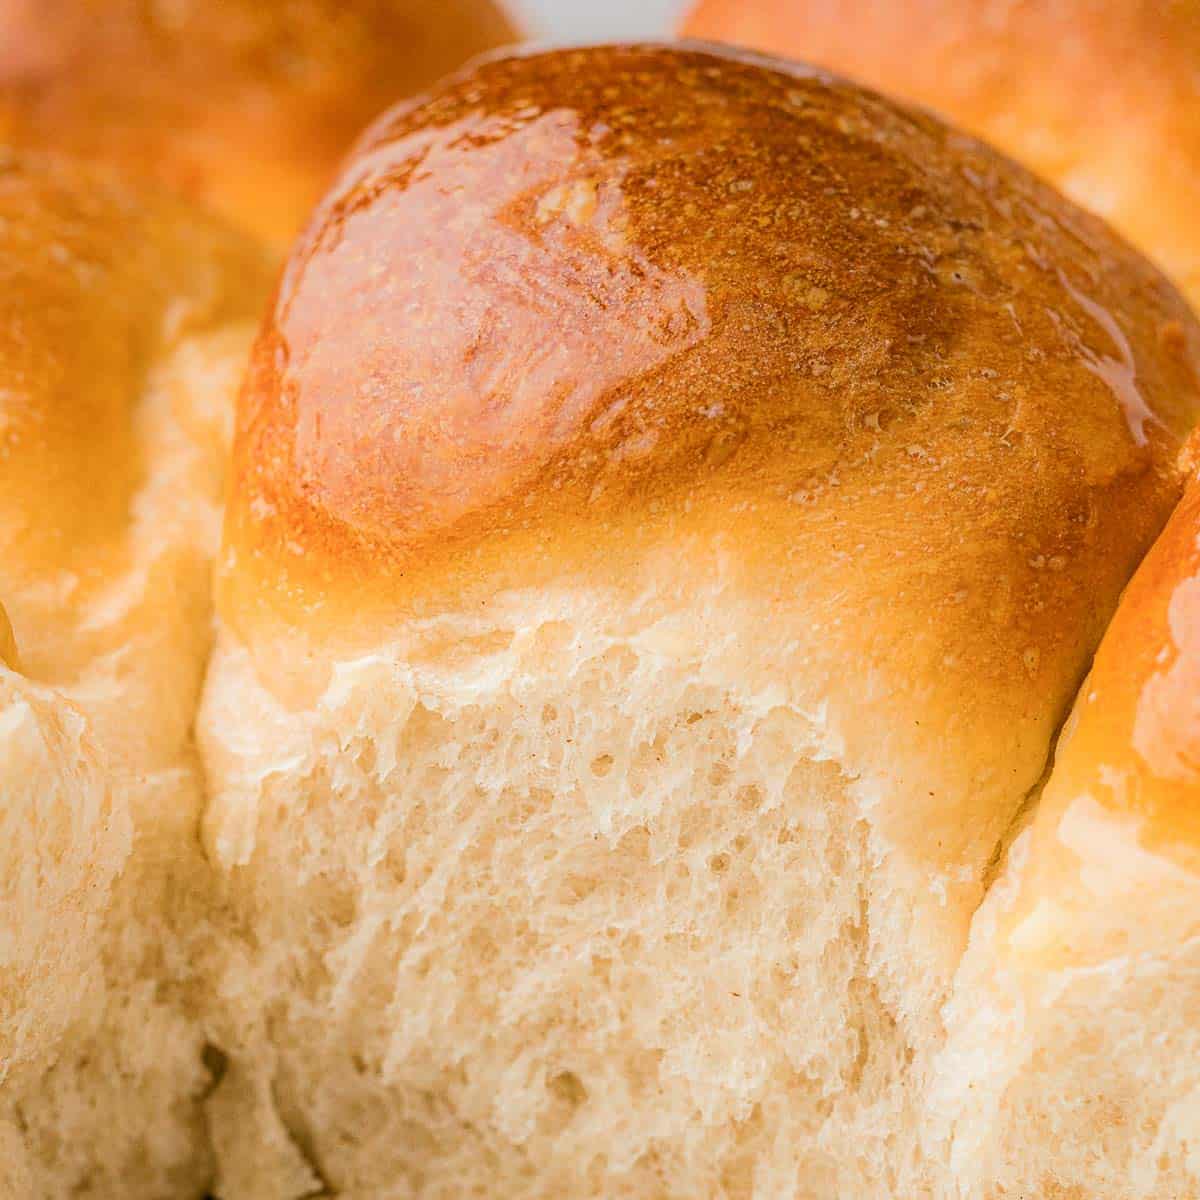
These soft homemade dinner rolls turn out fluffy, buttery, and pull-apart perfect every single time. Whether you use a bread machine, stand mixer, or make the dough by hand, this is one of those reliable homemade bread recipes that works beautifully for holiday dinners, cozy Sunday meals, meal prep, or busy weeknights.
Want to Save This Recipe?
Enter your email and we’ll send the recipe directly to you!
By submitting this form, you consent to receive emails from The Yummy Bowl.
Pillowy Homemade Dinner Rolls
I've made these rolls more times than I can count, especially during holidays when I need something dependable that everybody actually gets excited about. And honestly? The bread machine version surprised me the first time I tested it. The dough came out incredibly soft and smooth with almost no effort.

Julia's Why-You'll-Love-It List
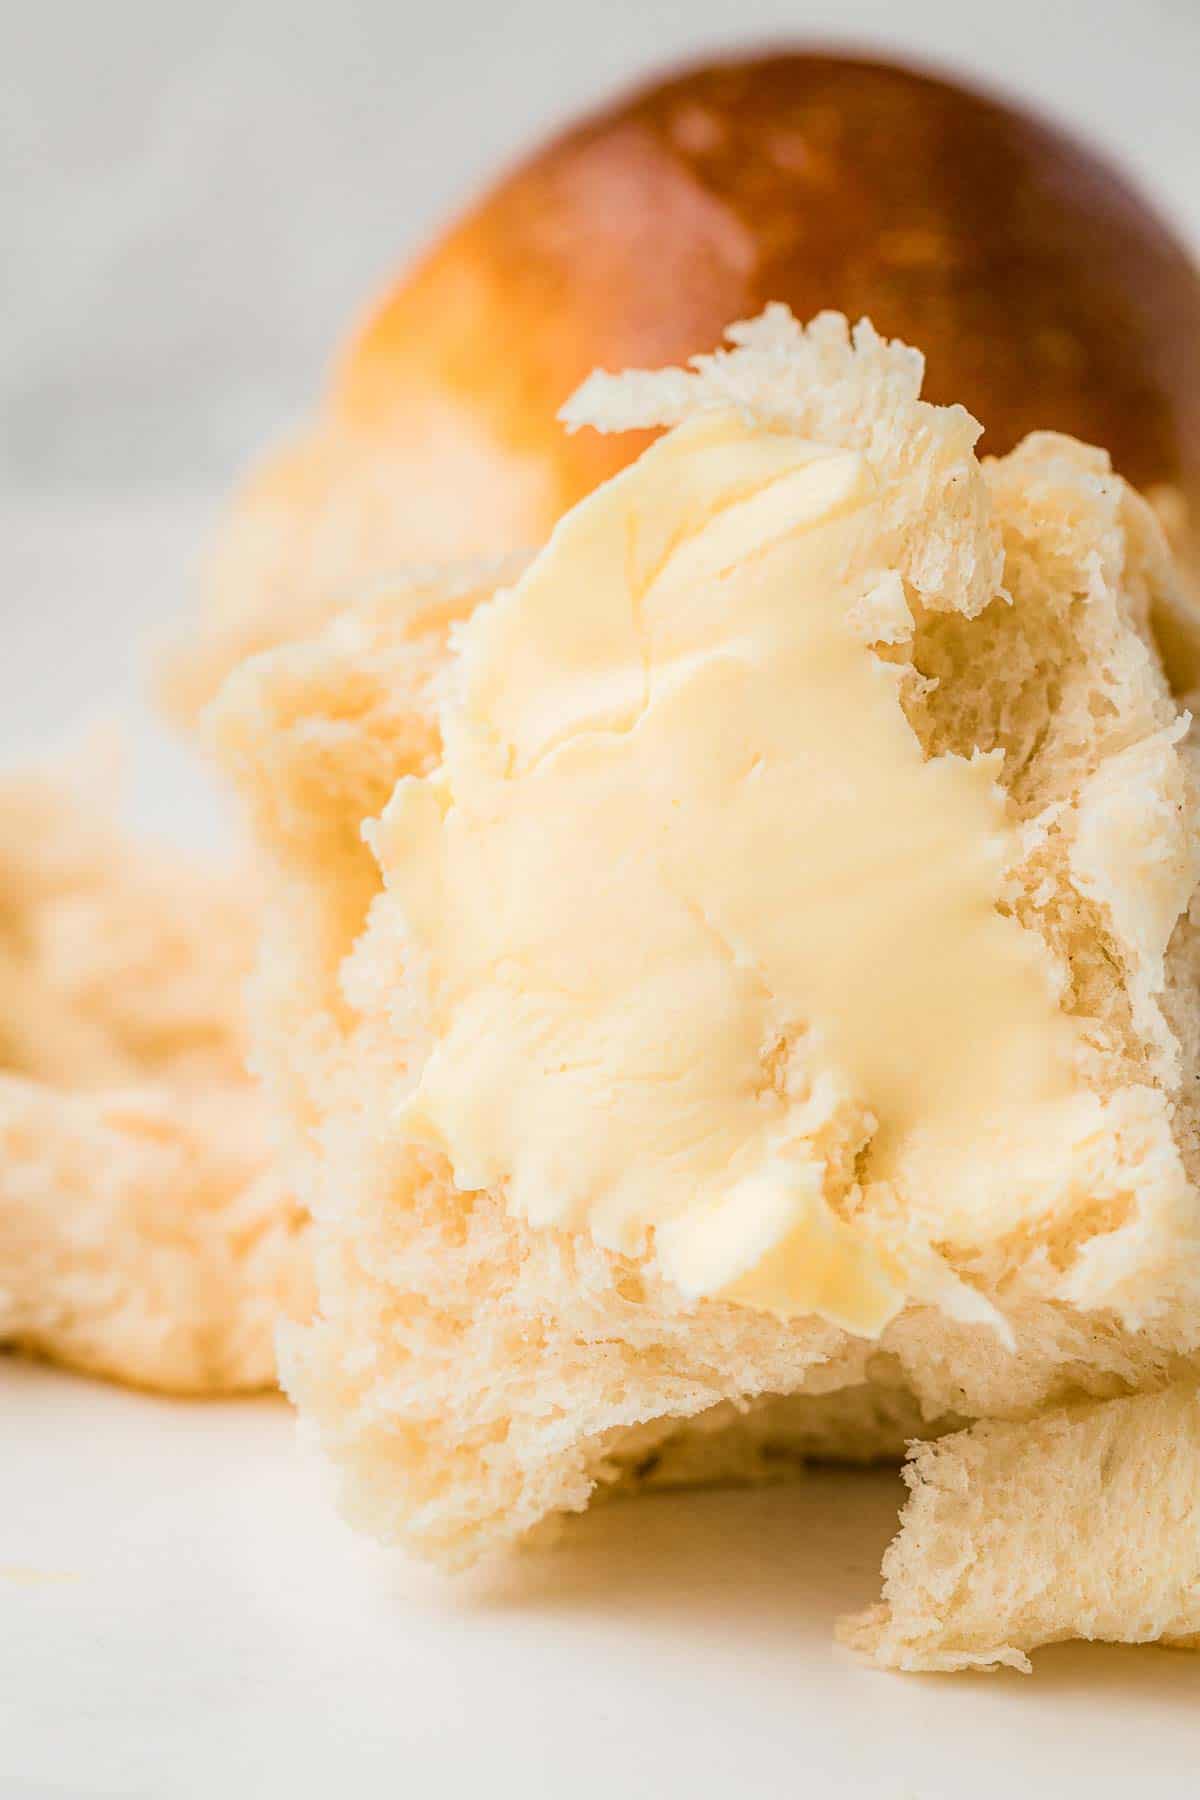
- These homemade dinner rolls work because the dough is enriched with milk, butter, and egg, which gives the bread a soft bakery-style texture without making it too heavy.
- The sugar lightly sweetens the dough while also helping the yeast create a better rise. The butter keeps the crumb tender, and the egg adds richness and structure at the same time.
- One of the biggest reasons these rolls turn out so fluffy is the double rise. This is where many homemade bread recipes go wrong. If the dough doesn't rise enough after shaping, the rolls stay dense instead of light and airy.
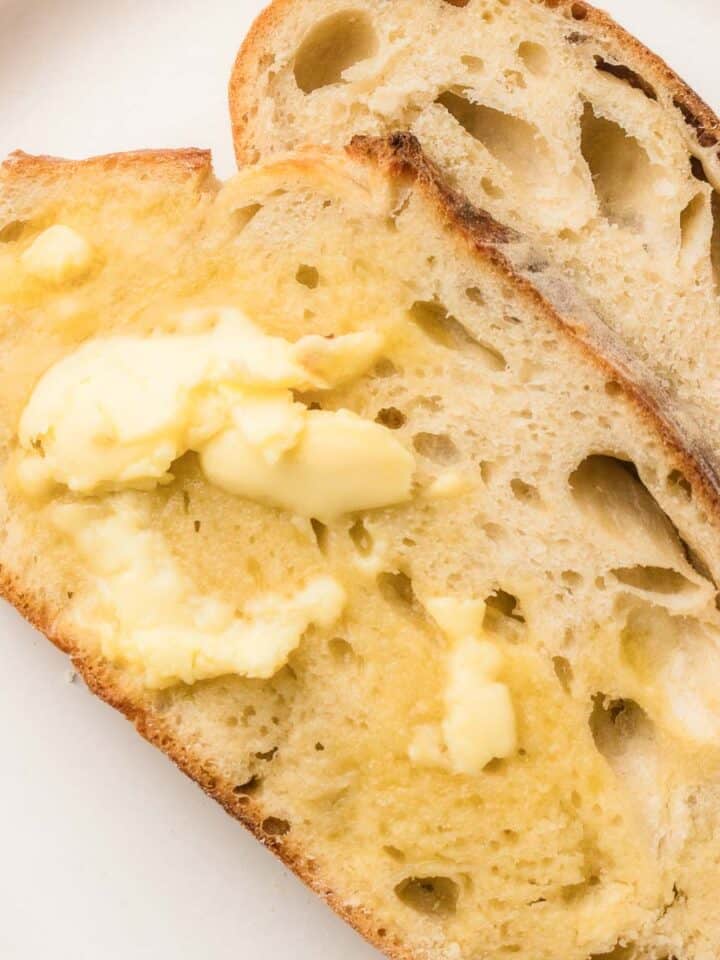
- I also love baking the rolls close together in the dish. The sides stay soft and pull apart beautifully while the tops become golden and buttery.
- And one thing that genuinely surprised me? These stay soft longer than many homemade rolls I've tested.
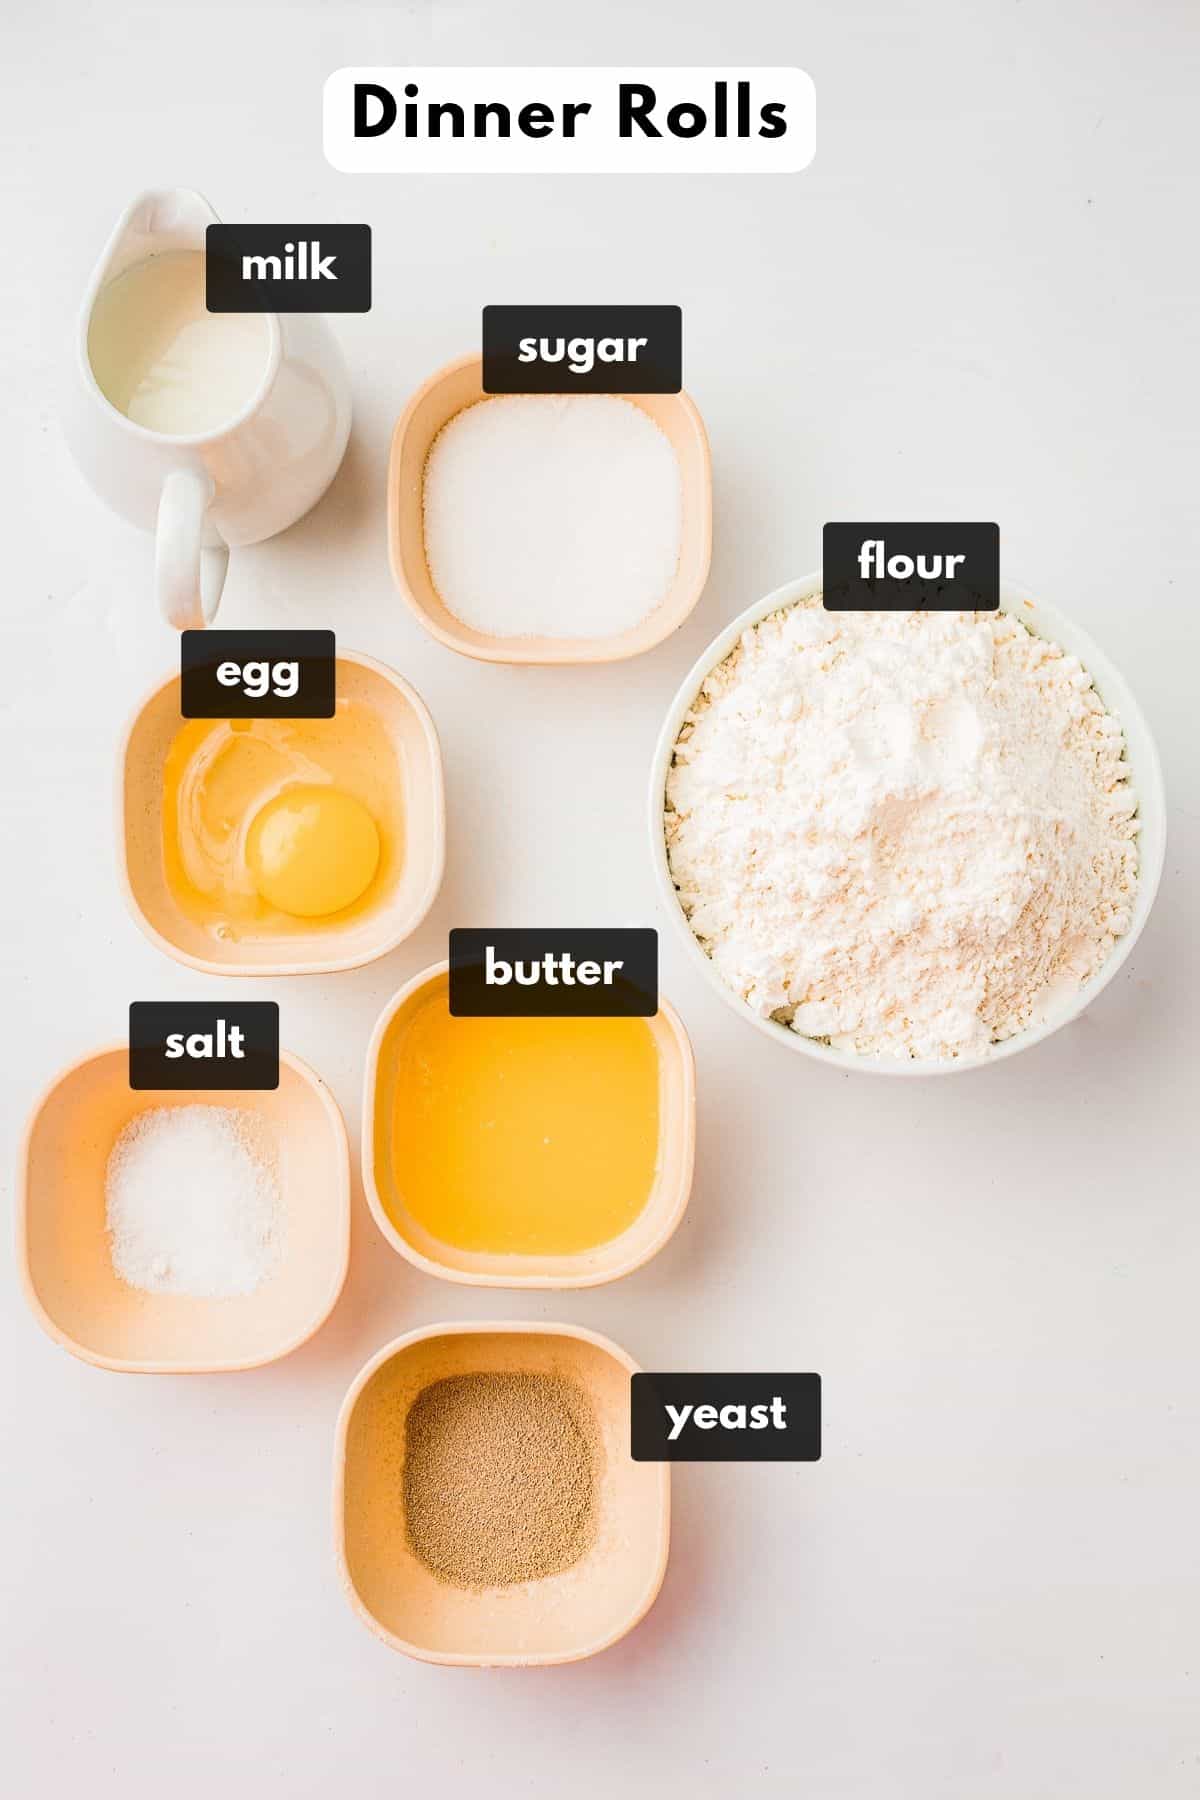
Ingredients
- Warm milk - Milk creates a softer and richer dough compared to water-based bread recipes. Whole milk gives the fluffiest texture, but 2% milk works too. In a pinch, you can even use unsweetened plain oat milk or almond milk, although the rolls may turn out slightly less rich. Pro Tip: If you have a nut milk machine, homemade milk works beautifully here and often tastes creamier and fresher than many store-bought versions.
- Instant yeast - Instant yeast keeps this recipe simple because you can add it directly to the flour without proofing first. If using active dry yeast instead, let it sit in the warm milk with the sugar for 5-10 minutes until foamy before continuing.
- Butter - Butter adds richness, flavor, and keeps the rolls soft for longer. I usually use unsalted butter, but salted butter works too. I'd then reduce the added salt slightly if using salted butter.
- Egg - The egg helps enrich the dough and gives the rolls that soft fluffy center. It also helps create better structure so the rolls rise taller and stay light instead of dense.
- All-purpose flour - Regular all-purpose flour works beautifully here and keeps the texture soft and tender. Bread flour can also be used if you want slightly chewier, bakery-style rolls with more structure.
- Sugar - A little sugar helps feed the yeast and balances the buttery flavor. Honey can be substituted for a slightly deeper flavor and softer texture.
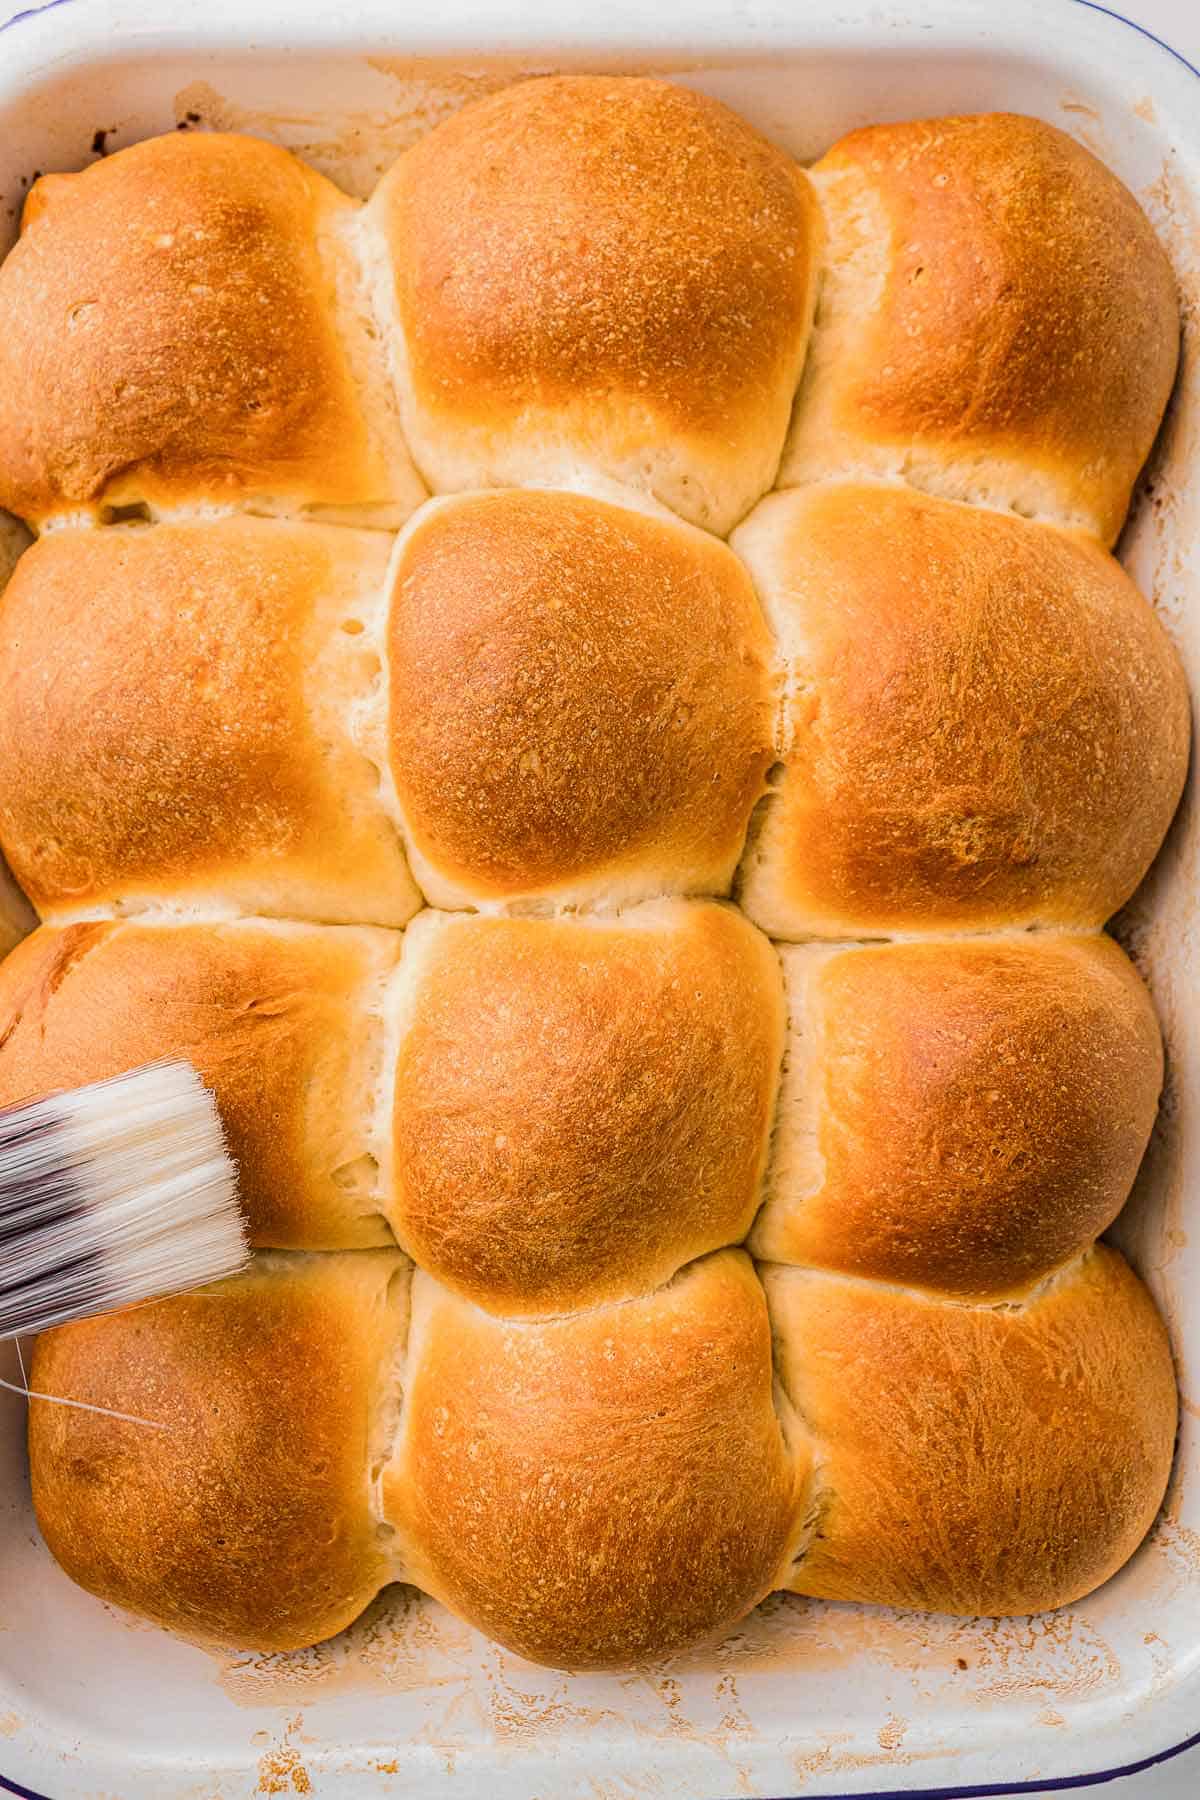
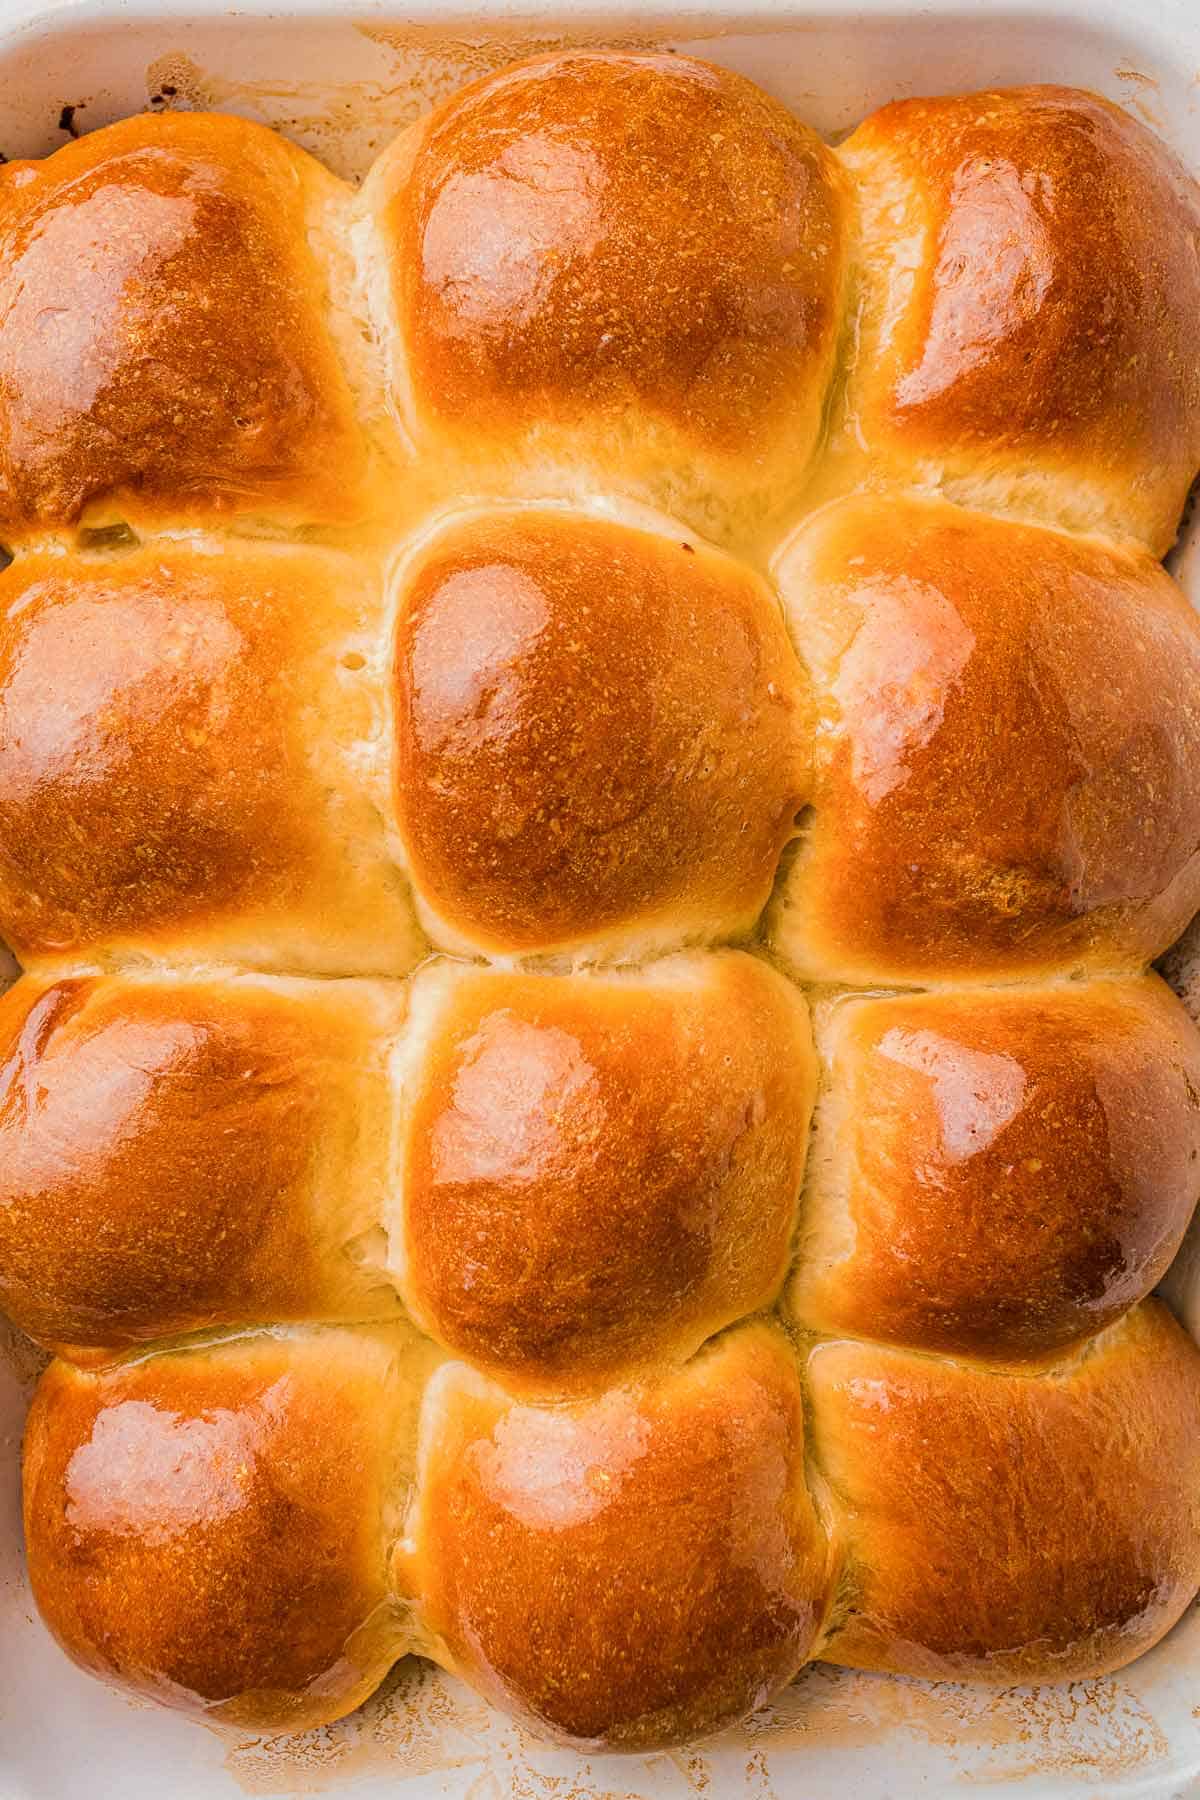
- Extra melted butter - Brushing the rolls with melted butter right after baking is one of my favorite little tricks 🤤. It keeps the tops shiny, soft, and gives them that irresistible bakery-style finish.
📋 You can find the full ingredient list in the Recipe Card below the article.
How To Make Fluffy Dinner Rolls
⚙️ Bread Machine Method
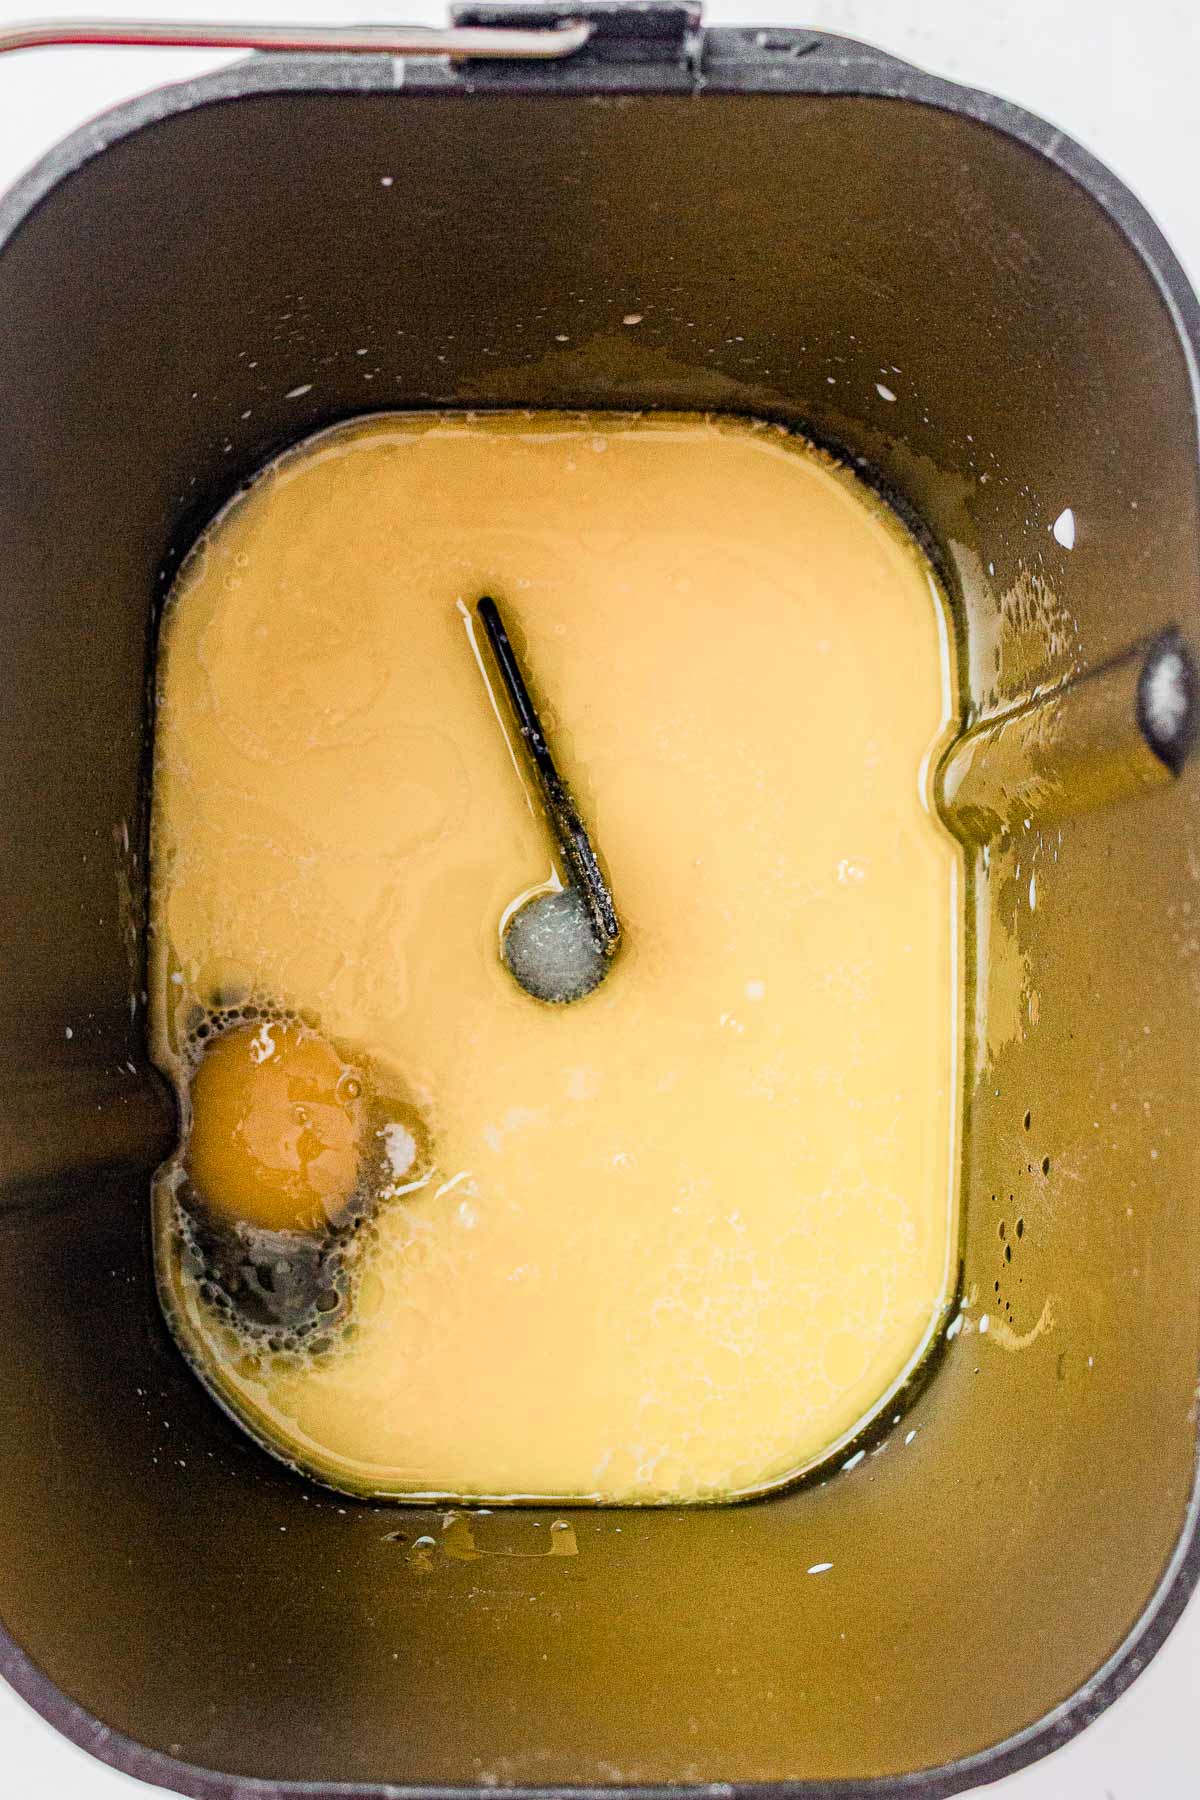
- Add ingredients to bread machine: Add the ingredients to the bread machine pan in this exact order: milk, egg, melted butter, sugar, salt, flour, and finally the yeast. Make sure the yeast sits on top of the flour and does not touch the liquid yet.
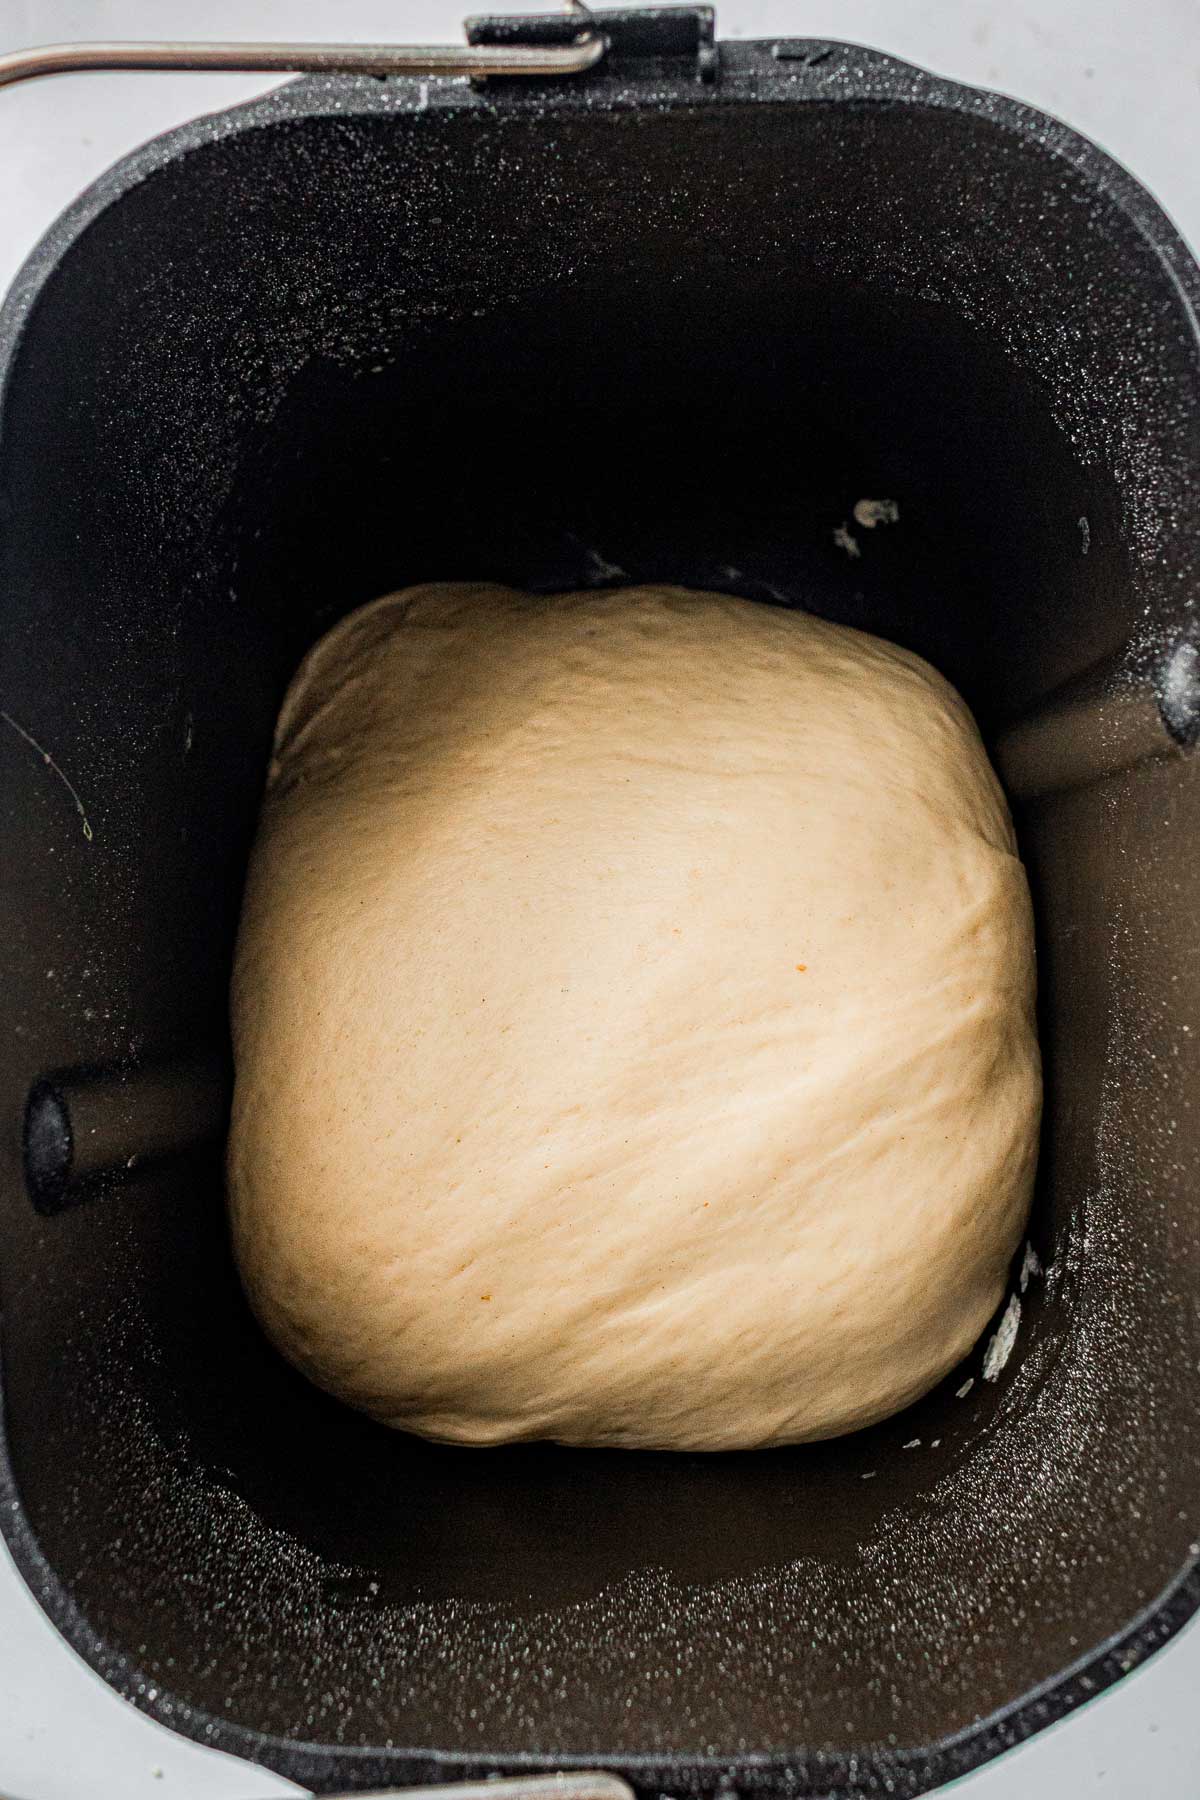
- Start dough cycle: Select the Dough cycle on your bread machine and let it fully knead and proof the dough. The dough should look soft, smooth, and slightly tacky when finished.
- Transfer dough: Turn the dough out onto a lightly floured surface.
- Divide dough: Cut the dough into 12 equal pieces. Using a kitchen scale helps make evenly sized rolls, but I often just eyeball it.

- Shape the rolls: For each piece, flatten the dough slightly, then pull the edges into the center. Flip seam-side down and gently roll under your palm to create tension on top. This helps the rolls rise taller and bake more evenly.
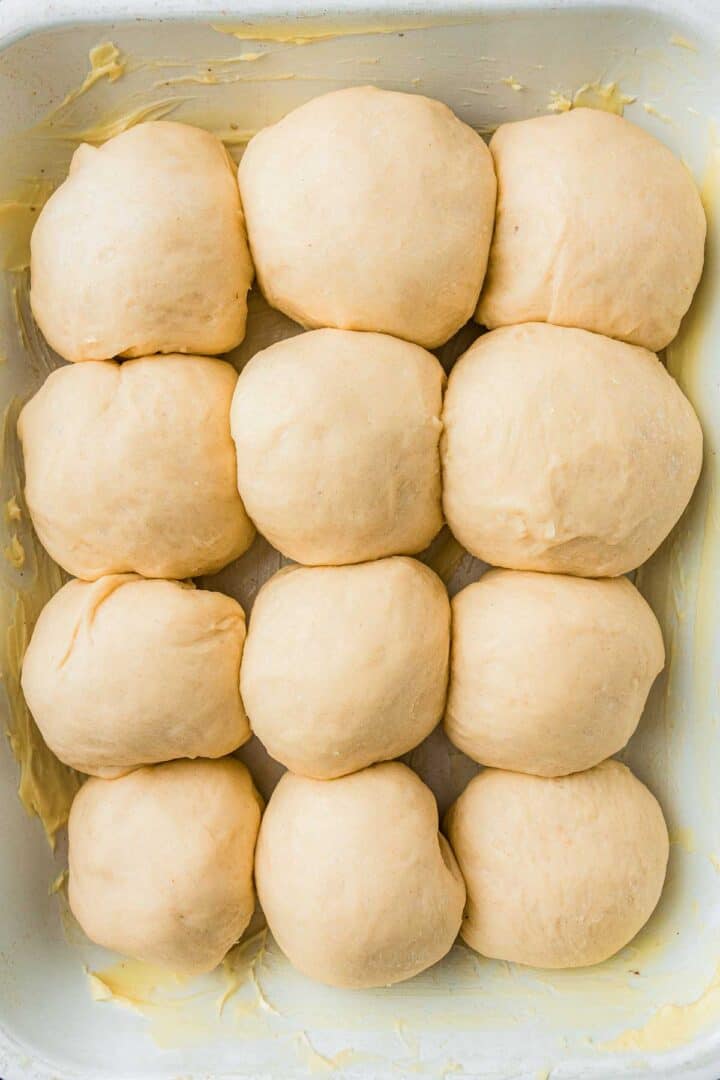
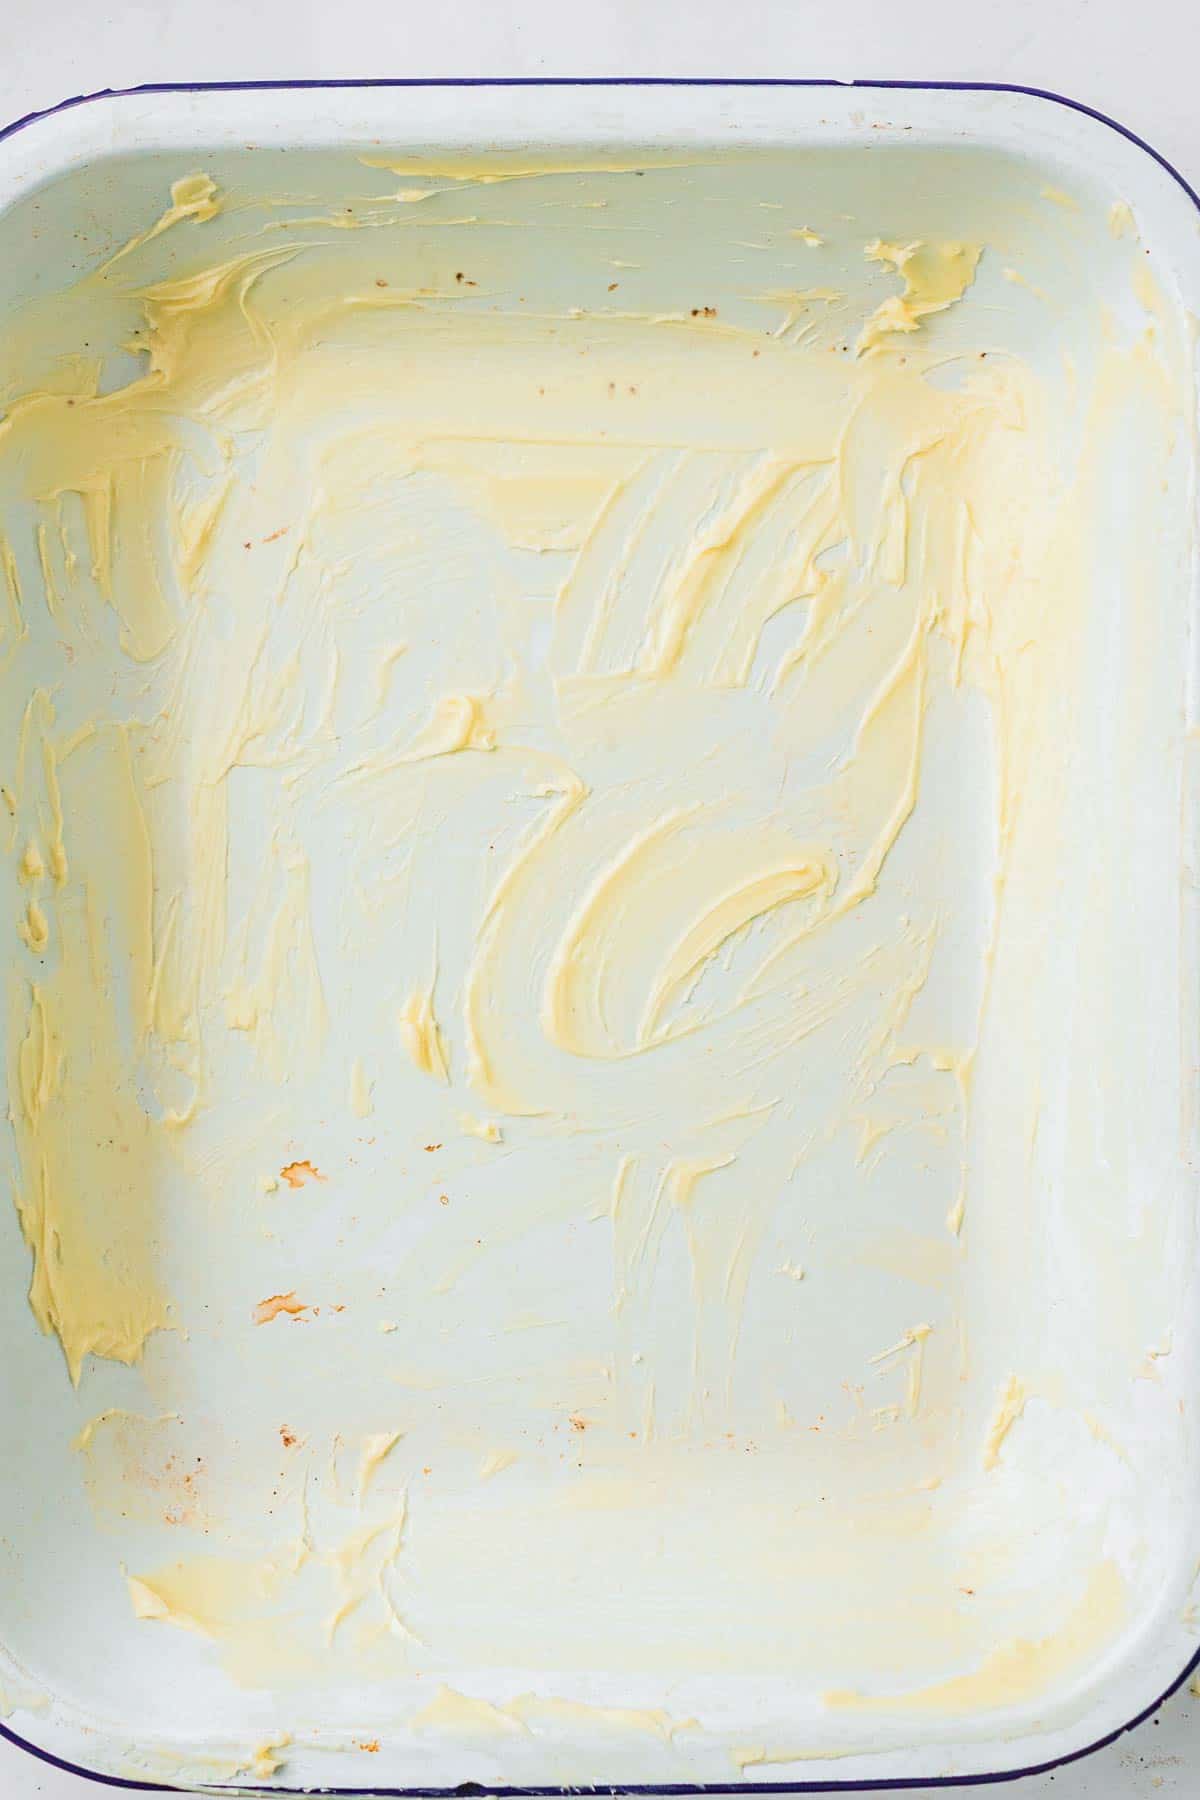
- Arrange in baking dish: Place the rolls into a buttered baking dish (9x13 or 9x9 inches dish) so they lightly touch each other. This gives you those soft pull-apart sides after baking.
- Second rise: Cover loosely with a towel or plastic wrap and let rise for 30-45 minutes, or until the rolls look noticeably puffy and almost doubled in size.
- Preheat oven: While the rolls rise, preheat the oven to 180°C (350°F).
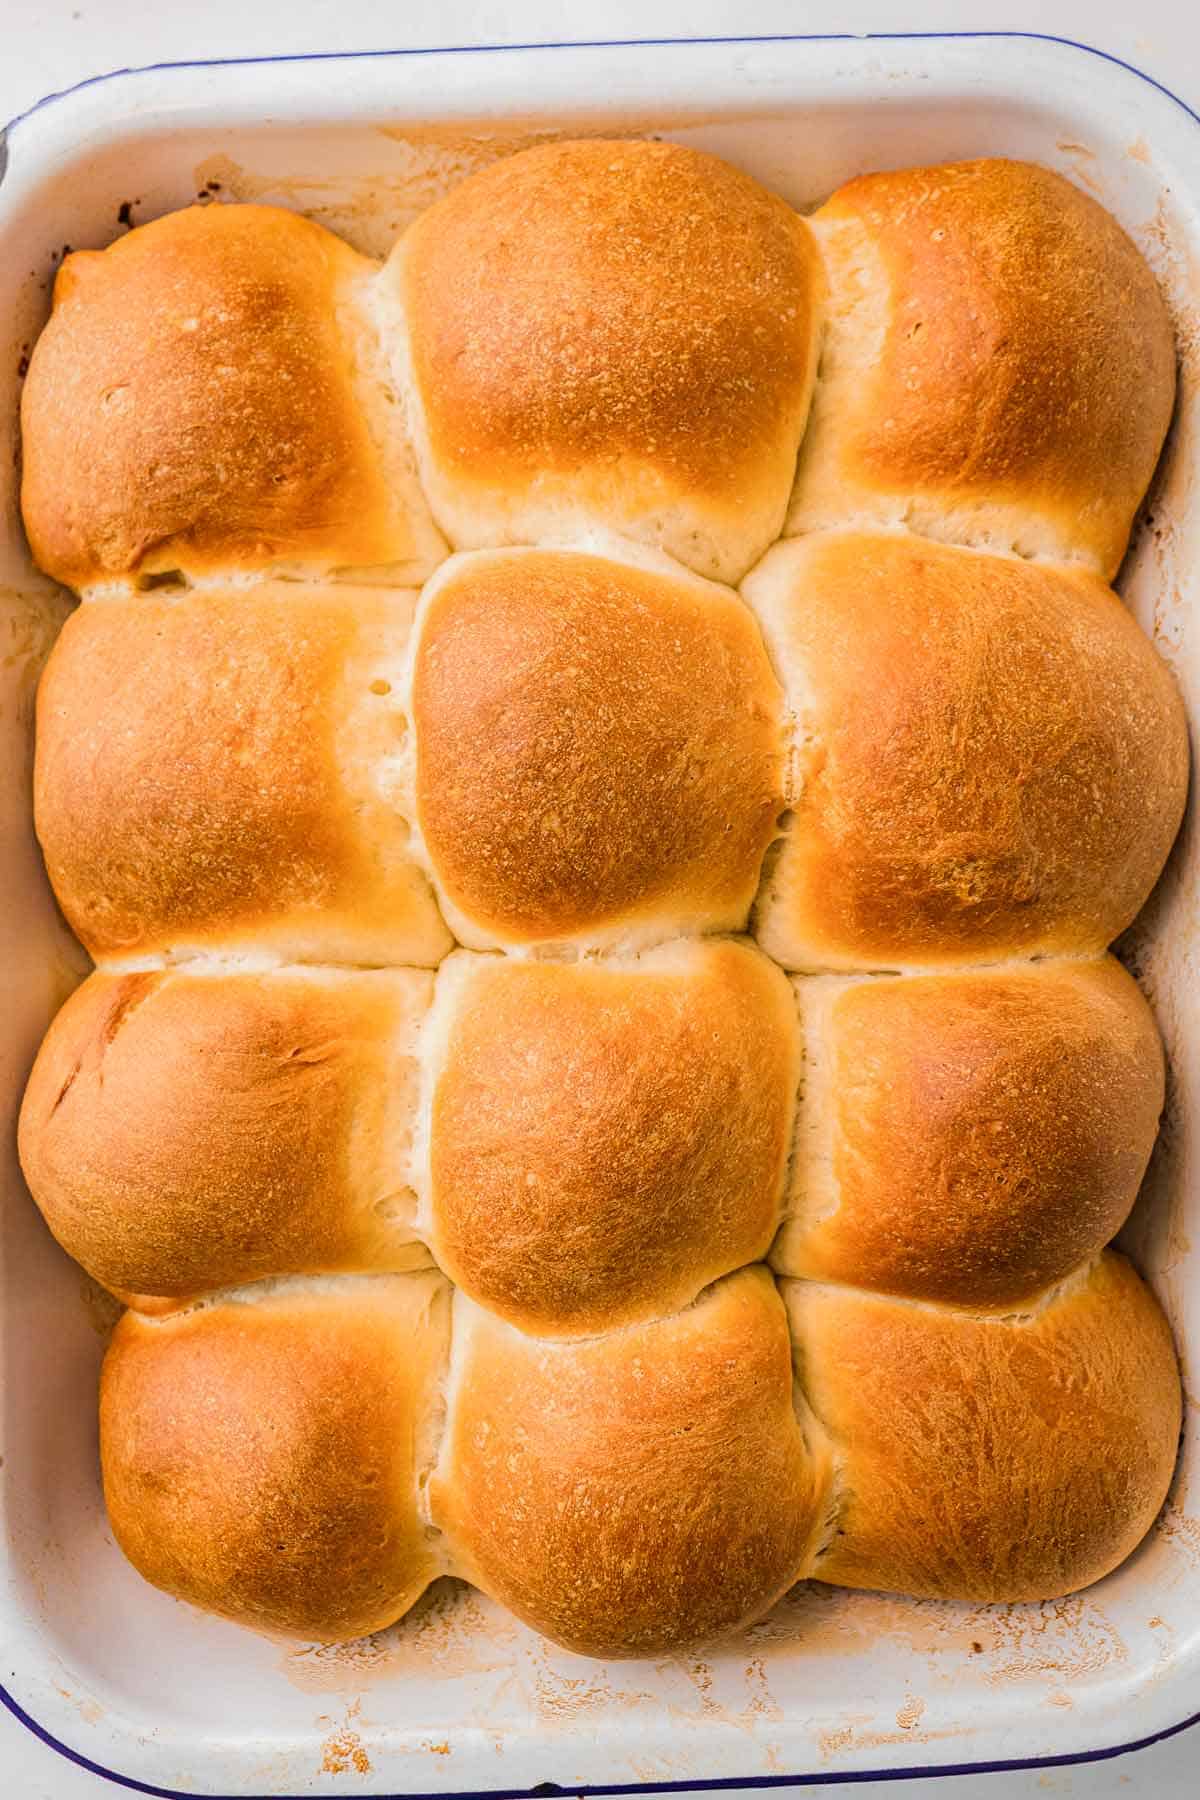
- Bake: Bake for 20-22 minutes until the tops are golden brown and the kitchen smells buttery and warm.
- Brush with butter: Brush the hot rolls immediately with melted butter for extra softness and shine.
- Cool slightly: Let the rolls cool for a few minutes before serving warm.
My Favorite Tools
 Buy Now →
  Buy Now →
  Buy Now →
  Buy Now →
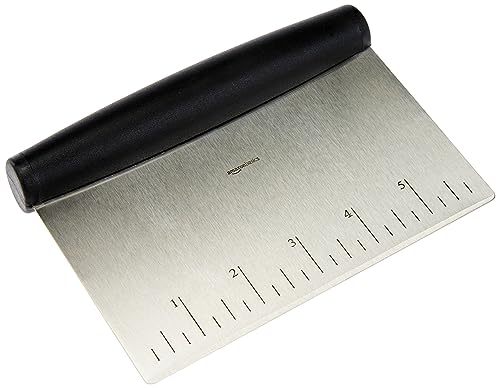
Bench Scraper with Measurement Marks
Buy Now → Buy Now →
  Buy Now →
 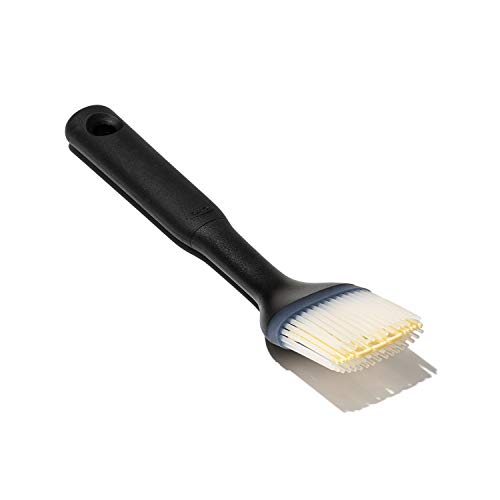 Buy Now →
 Non-Bread Machine Method (Hand or Stand Mixer)
- Warm the milk: Warm the milk gently until just warm to the touch, not hot. If the milk is too hot, it can kill the yeast.
- Activate yeast: In a large bowl, combine the warm milk, yeast, and sugar. Let sit for 5-10 minutes until slightly foamy on top.
- Add wet ingredients: Stir in the egg, melted butter, and salt until combined.
- Add flour: Gradually mix in the flour until a soft dough forms. The dough should feel soft and slightly tacky but not overly sticky.
- Knead the dough: Knead by hand for 8-10 minutes, or 5-6 minutes in a stand mixer, until the dough becomes smooth and elastic. This is where many people stop too early. Proper kneading helps create fluffy rolls.
- First rise: Place the dough into a lightly greased bowl, cover, and let rise for about 1 hour or until doubled in size.
- Punch down dough: Gently punch down the dough to release excess air and divide into 12 equal pieces.
- Shape the rolls: Shape the rolls the same way as above by flattening slightly, pulling edges inward, flipping seam-side down, and rolling gently under your palm.
- Arrange in pan: Place the shaped rolls into a buttered baking dish so they lightly touch.
- Second rise: Cover loosely and let rise another 30-45 minutes until puffy.
- Bake: Bake at 180°C (350°F) for 20-22 minutes until golden brown on top.
- Finish with butter: Brush with melted butter immediately after baking and let cool slightly before serving.
Best Tips for Success
- Warm milk should feel warm to the touch, never hot. If it feels too hot on your finger, it's too hot for the yeast.
- Slightly tacky dough makes the softest, fluffiest dinner rolls. Try not to add too much extra flour while mixing or shaping.
- Let the rolls rise until they look very puffy before baking. This is one of the biggest secrets to soft pull-apart texture.
- Place the rolls close together in the baking dish so the sides stay extra soft while the tops turn golden brown.
- If your kitchen is cold, let the dough rise inside a slightly warm oven with the oven turned off.
- Game changer: Place a small pan of hot water on the bottom oven rack while baking for softer bakery-style rolls.
- For extra even rolls, use a kitchen scale when dividing the dough.
These Soft Homemade Dinner Rolls Go Perfectly With:
- Roast chicken
- Creamy soups
- Beef stew
- Turkey dinners
- Holiday meals
- BBQ chicken
- Pasta dinners
- Cozy winter soups
They're also amazing sliced for sandwiches the next day.
Storing Leftovers
- To Store. Keep the rolls in an airtight container or zip-top bag at room temperature for up to 3 days. I like wrapping them loosely in foil first because it helps keep them extra soft.
- To Freeze. Freeze fully cooled rolls for up to 2 months. Wrap tightly or store in a freezer-safe bag to prevent them from drying out.
- To Make Ahead. Shape the rolls and refrigerate overnight before the second rise. The next day, let them sit at room temperature until puffy before baking.
- To Reheat. Warm in a 160°C (325°F) oven for 5-7 minutes until soft and warm. You can also microwave briefly with a damp paper towel to keep them from drying out.
Upgrade Your Dinner Rolls
- Garlic Butter Dinner Rolls: Brush with garlic butter and sprinkle with parsley after baking.
- Honey Butter Rolls: Swap some sugar for honey and brush with whipped honey butter.
- Whole Wheat Version: Replace 1 cup of flour with whole wheat flour for a heartier texture.
- Holiday Dinner Rolls: Top with flaky salt and serve warm in a bread basket for Thanksgiving or Christmas.
- Slider Rolls: Shape slightly smaller rolls and use them for mini sandwiches or pulled pork sliders.
More Cozy Side Dishes

Before You Head Out
If you gave this recipe a try, I'd be so thankful if you could leave a ★★★★★ rating and review below. It helps other readers, supports my work, and means the world to me. Thank you for being part of The Yummy Bowl family. Happy cooking! ❤️
Recipe Card
Soft Homemade Dinner Rolls (Bread Machine or By Hand)
Ingredients
Equipment
Method
- Add ingredients: Add the ingredients to the bread machine pan in this exact order: milk, egg, melted butter, sugar, salt, flour, and finally the yeast. Make sure the yeast sits on top of the flour and does not touch the liquid.1 cup warm milk, 1 large egg, ¼ cup butter, ¼ cup sugar, 1 teaspoon salt, 4 cups plain, 2 ¼ teaspoons instant yeast
- Start dough cycle: Select the Dough cycle and let the machine complete the full kneading and first rise. The dough should look soft, smooth, and slightly tacky when finished.
- Divide the dough: Transfer the dough to a lightly floured surface and divide into 12 equal pieces.
- Shape the rolls: Flatten each piece slightly, pull the edges into the center, flip seam-side down, and gently roll under your palm until smooth on top. This helps create surface tension so the rolls rise taller and bake evenly.
- Arrange in pan: Place the rolls into a buttered 9x9-inch baking dish or similar-sized pan so they lightly touch each other.
- Second rise: Cover loosely and let rise for 30-45 minutes, or until the rolls look very puffy and lightly touching.
- Preheat oven: Preheat the oven to 180°C (350°F).
- Bake: Bake for 20-22 minutes until the tops are deeply golden brown and the rolls sound lightly hollow when tapped.
- Brush with butter: Brush the warm rolls immediately with melted butter for extra softness and shine.Extra melted butter for brushing
- Cool slightly: Let cool for 10-15 minutes before serving warm.
- Warm the milk: Warm the milk gently until just warm to the touch, not hot.
- Activate the yeast: In a large bowl, combine the warm milk, yeast, and sugar. Let sit for 5-10 minutes until slightly foamy on top.
- Add wet ingredients: Stir in the egg, melted butter, and salt until combined.
- Add flour: Gradually mix in the flour until a soft dough forms.
- Knead the dough: Knead by hand for 8-10 minutes, or 5-6 minutes in a stand mixer, until the dough becomes smooth and elastic. The dough should feel soft and slightly tacky but not sticky.
- First rise: Place the dough into a lightly greased bowl, cover, and let rise for about 1 hour, or until doubled in size.
- Divide and shape: Gently deflate the dough and divide into 12 equal pieces. Shape the rolls the same way as above by flattening slightly, pulling the edges inward, flipping seam-side down, and rolling gently under your palm.
- Arrange in pan: Place the shaped rolls into a buttered baking dish so they lightly touch.
- Second rise: Cover loosely and let rise again for 30-45 minutes until very puffy.
- Bake: Bake at 180°C (350°F) for 20-22 minutes until golden brown on top.
- Brush with butter: Brush the warm rolls with melted butter immediately after baking.
- Cool slightly: Let cool for a few minutes before serving.
- Enjoyed this recipe? Leave a quick 5-star rating and review to let me know!
Nutrition
Notes
Storage
- Room temperature - Store in an airtight container or zip-top bag for up to 3 days.
- Freezer - Freeze fully cooled rolls for up to 2 months.
- Reheat - Warm in a 160°C (325°F) oven for 5-7 minutes until soft and warm again.
FAQs
- Can I use active dry yeast? Yes. Proof it first in the warm milk before adding the remaining ingredients.
- Can I make these ahead? Yes. Shape the rolls, refrigerate overnight, then let them come to room temperature and become puffy before baking.
- Why are my rolls dense? Usually the dough was under-kneaded, under-proofed, or too much flour was added.
- Can I double the recipe? Yes, as long as your bread machine or mixer can safely handle the dough volume.
Tried this recipe?
Let us know how it was!Note: Nutrition information is estimated and varies based on the products used.
Full Nutrition Disclaimer can be found here.
Join TYB
Insider
Get access to exclusive recipes,
weekly meal plans, printable
grocery lists, and AD-FREE
browsing designed to make
mealtime easier.


Comments
No Comments