

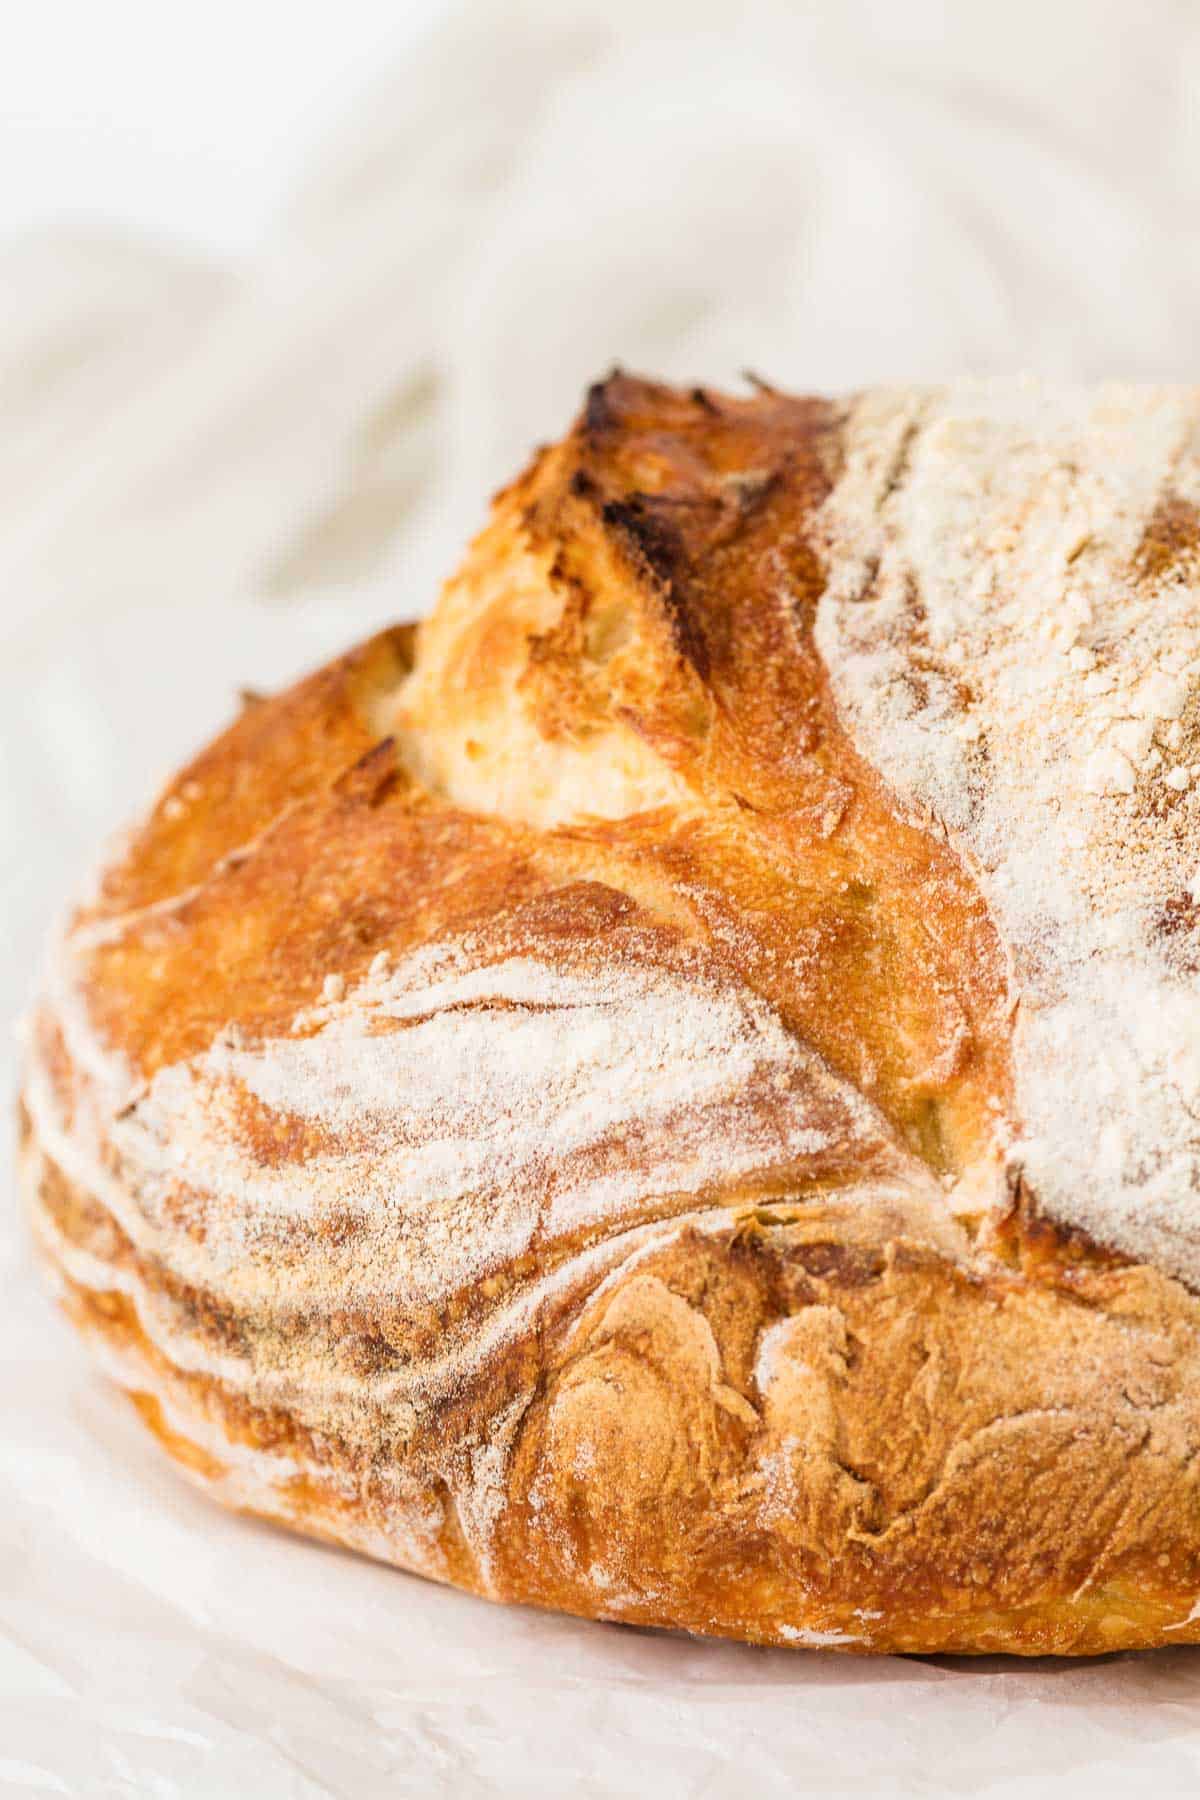
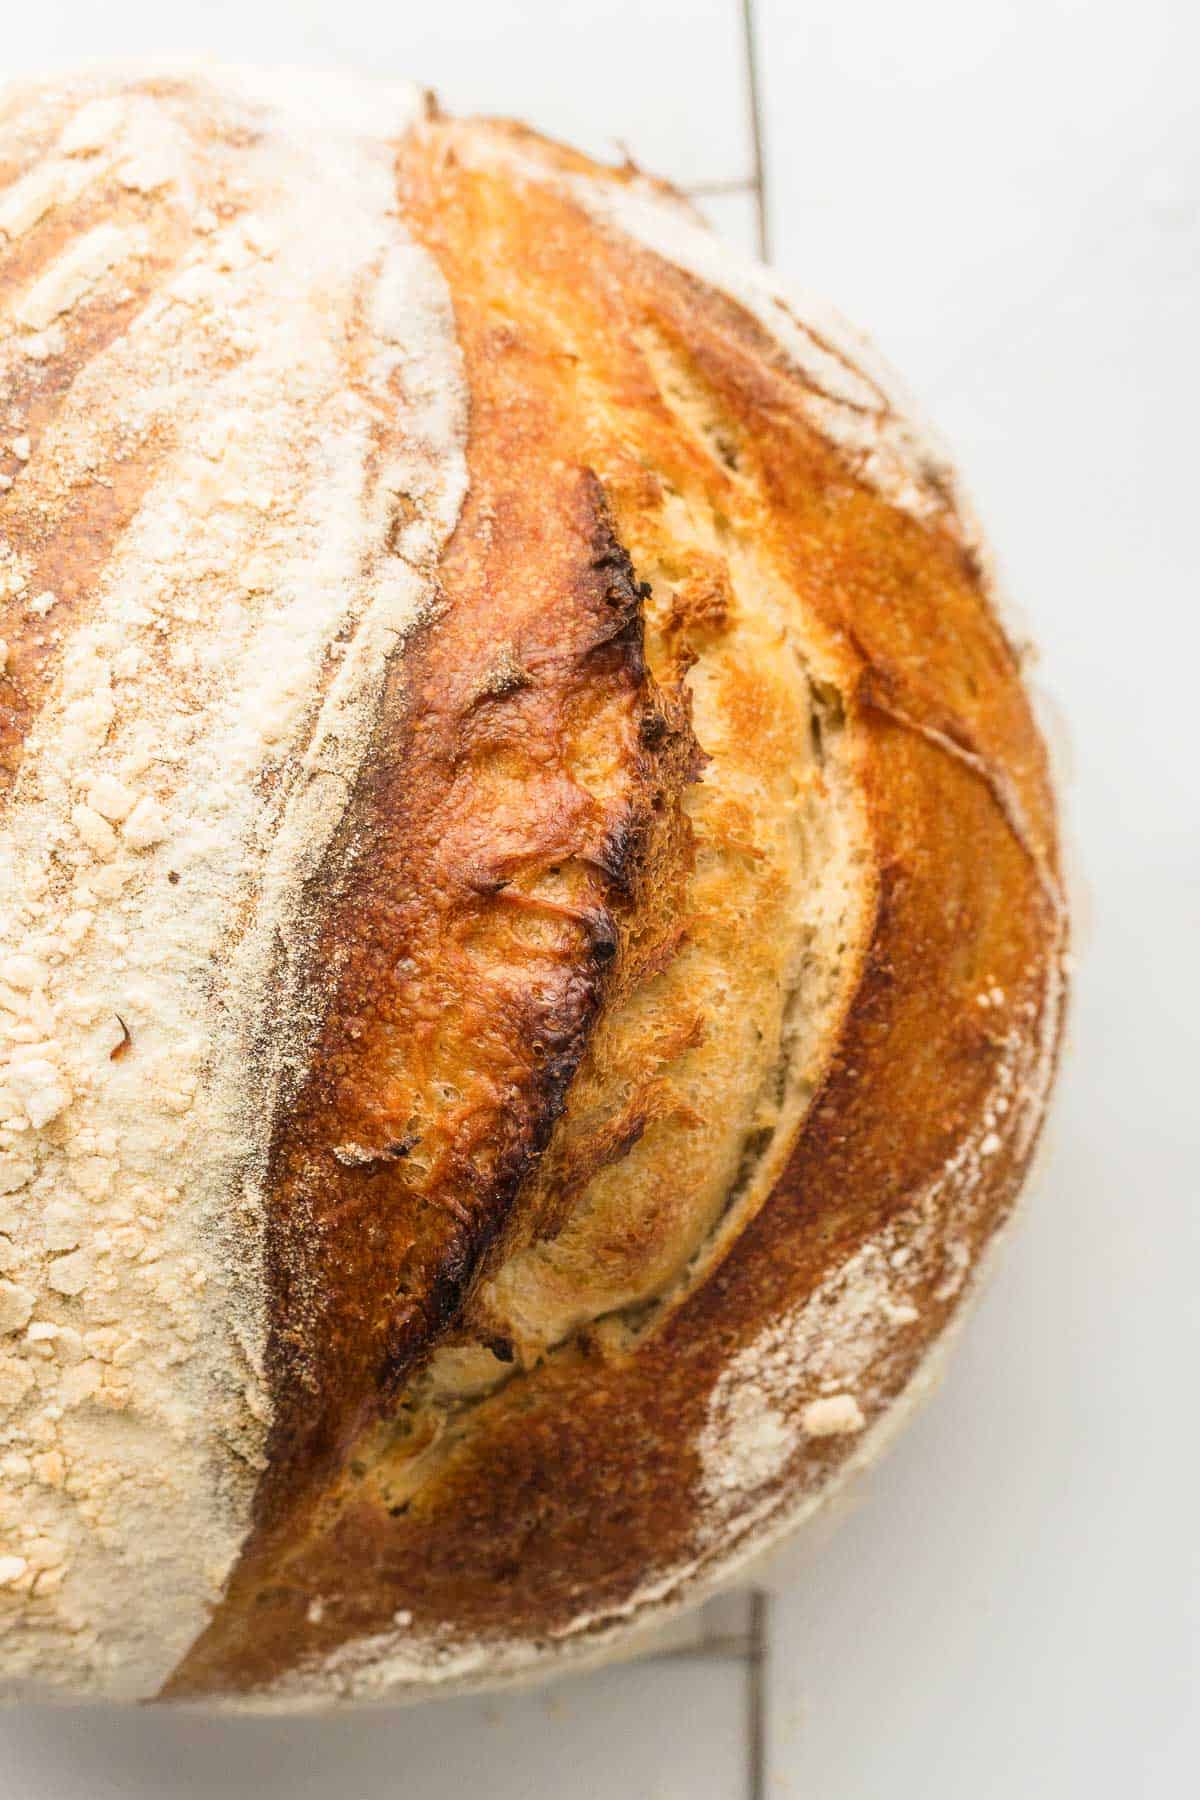
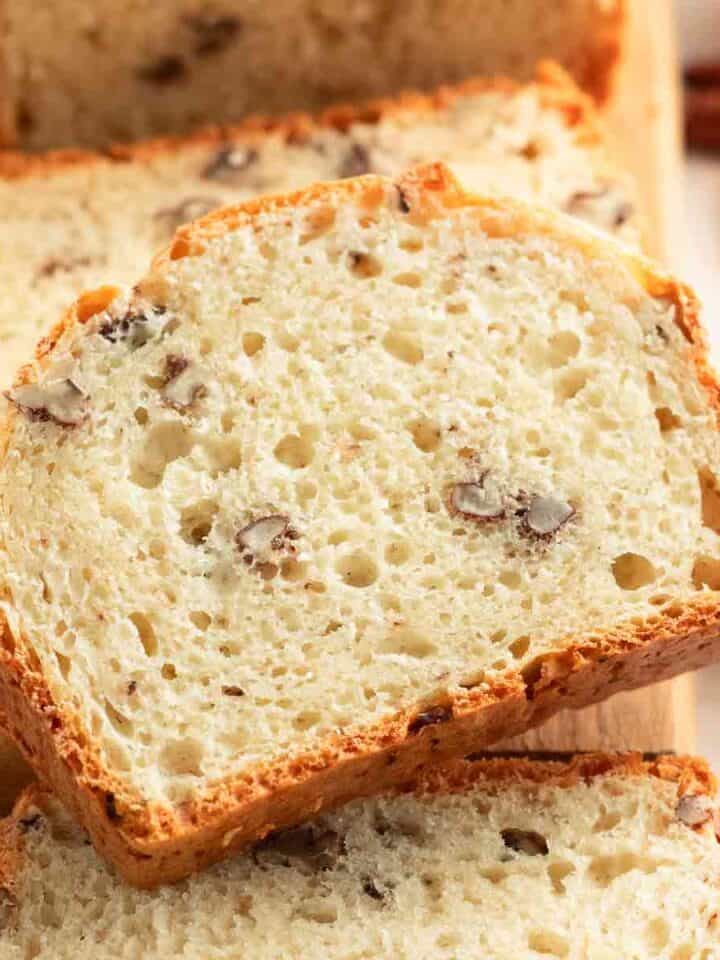
This homemade sourdough loaf has a crispy golden crust, chewy airy center, and deep bakery-style flavor using just 4 simple ingredients. It's a beginner-friendly sourdough bread recipe that works perfectly for sandwich bread, meal prep toast, cozy soups, and healthy homemade baking.
Want to Save This Recipe?
Enter your email and we’ll send the recipe directly to you!
By submitting this form, you consent to receive emails from The Yummy Bowl.
Easy Sourdough Loaf
I used to think sourdough was one of those intimidating 'serious baker' things… until I realized it's mostly just waiting around while your kitchen smells amazing.

Julia's Why-You'll-Love-It List
- Crispy golden crust with a soft, chewy center.
- Long fermentation creates deep flavor and airy texture.
- Dutch oven helps create bakery-style oven spring.
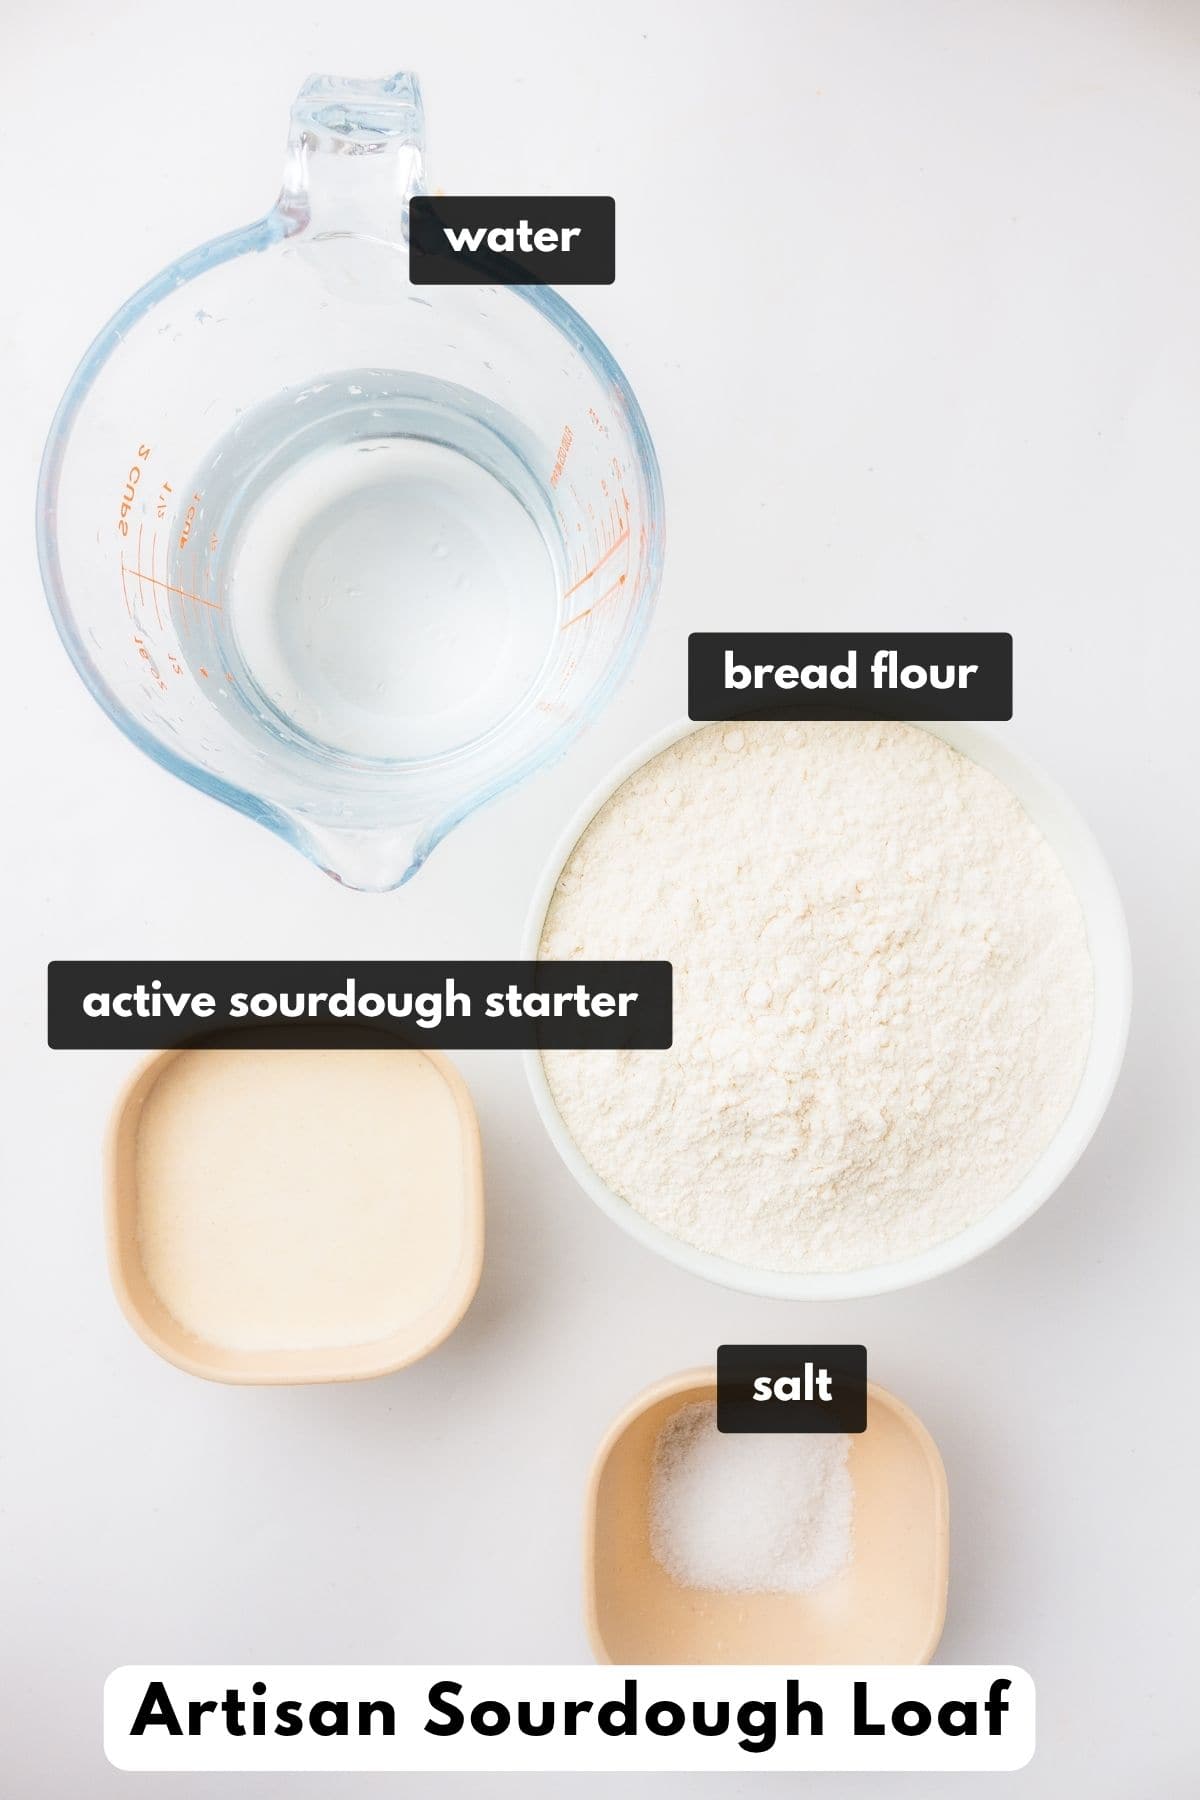
Ingredients
- Bread flour - Bread flour gives this sourdough loaf its chewy texture and helps create those beautiful airy holes inside. I highly recommend using it if possible because it gives the bread much better structure and oven spring. You can use all-purpose flour instead, but the loaf will usually be softer and slightly flatter.
- Active sourdough starter: Your starter should look bubbly, active, and doubled in size before using it. This is what gives the bread rise and flavor naturally. If your starter isn't active enough, the loaf can turn dense and heavy.
- Water: This dough is fairly high hydration, which helps create a soft airy crumb and crispy crust. Sticky dough is normal, so don't panic.
- Fine sea salt: Salt balances the tangy sourdough flavor and strengthens the dough structure. Fine sea salt mixes into the dough more evenly, but kosher salt also works well.
- Dutch oven: A Dutch oven traps steam naturally, which is what helps create that bakery-style crispy crust. If you don't have one, you can still bake sourdough using a baking stone or heavy baking tray with a pan of hot water in the oven for steam.
- If you're just getting started with sourdough baking, I've linked all my favorite beginner-friendly sourdough tools, jars, Dutch ovens, proofing baskets, and starter supplies in my Amazon Shop.
📋 You can find the full ingredient list in the Recipe Card below the article.
What Is Sourdough Starter? A Beginner's Note
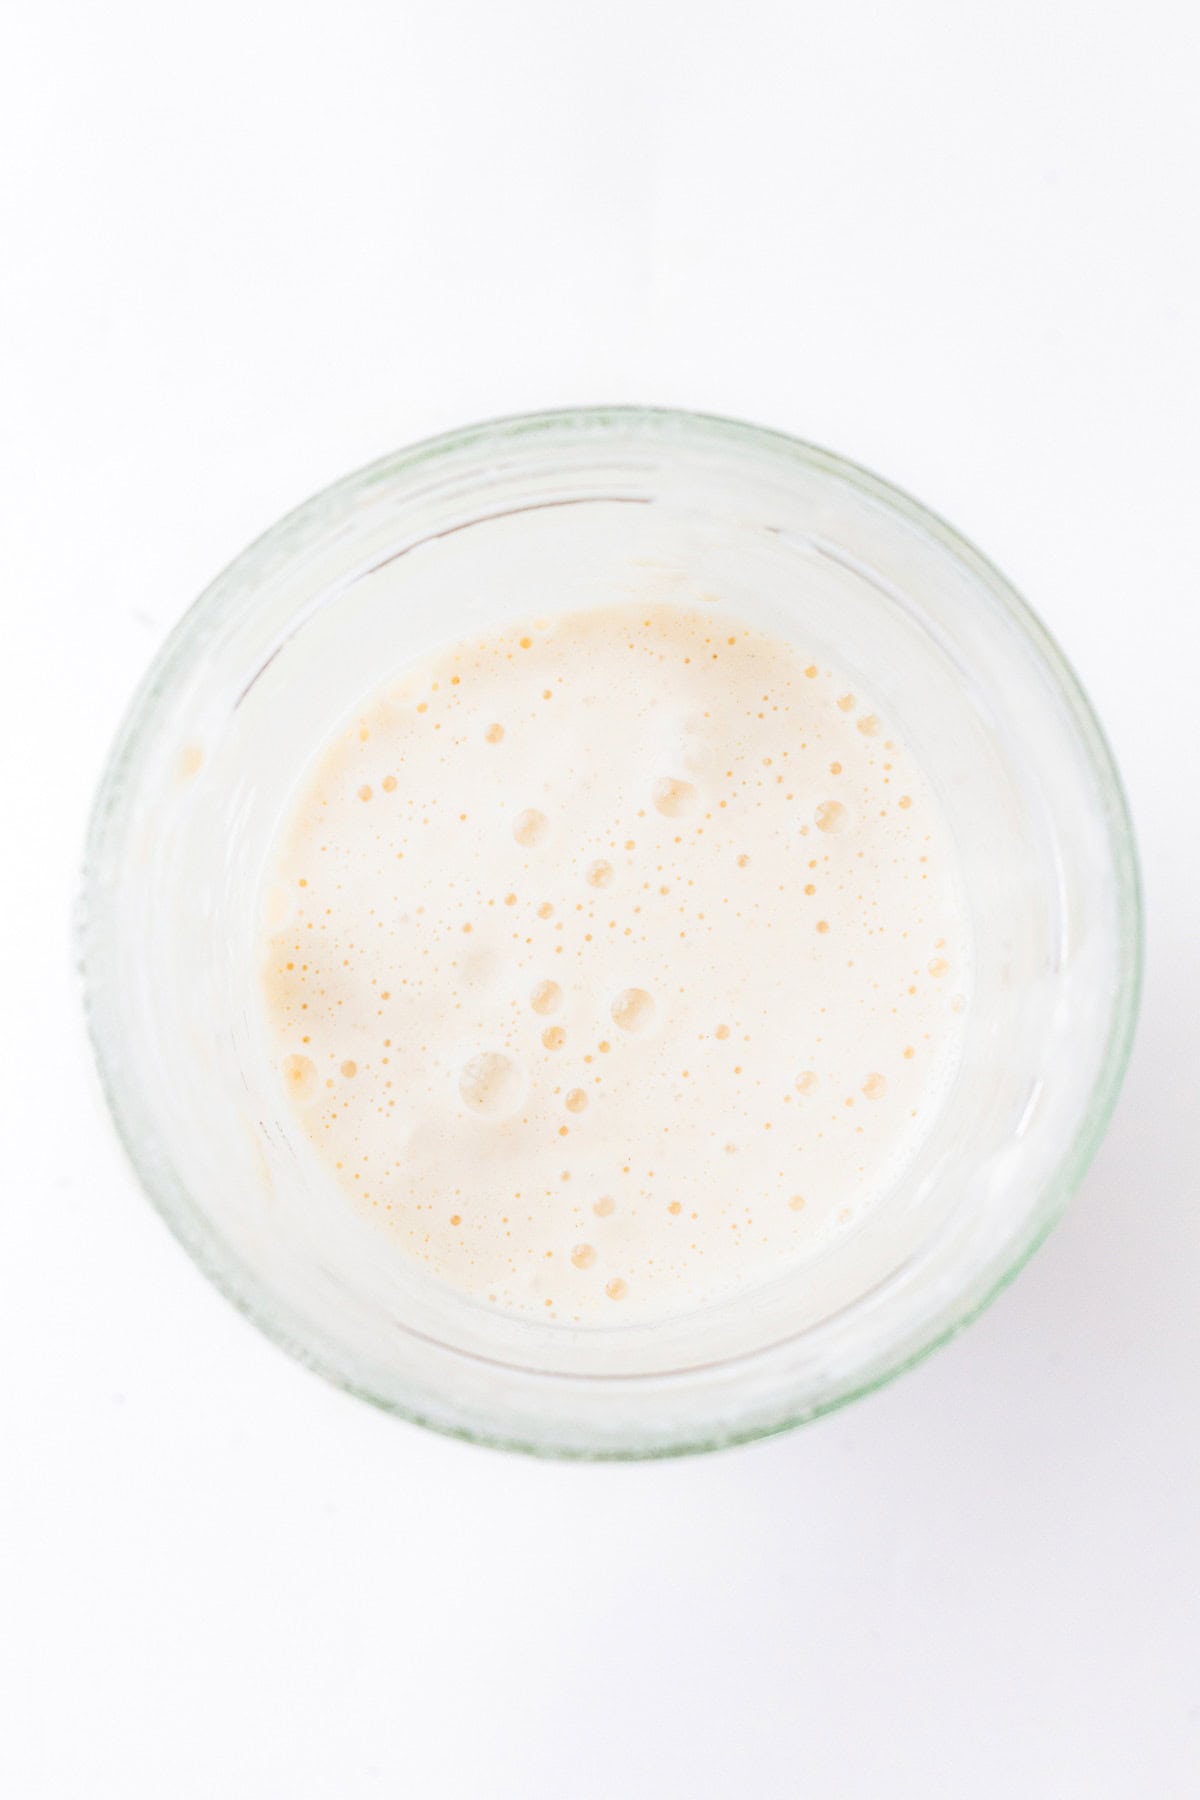
If you're brand new to sourdough, don't let the word "starter" scare you. A sourdough starter culture is simply a natural mixture of flour and water that contains wild yeast and healthy bacteria.
This is what makes sourdough bread rise without using commercial yeast packets. Once it's active and bubbly, you use a portion of it in your dough and then keep feeding the rest with fresh flour and water so it stays alive for future baking.
For beginners, I highly recommend the Sourdough Style Starter Culture + Sourdough Starter Kit. It's an easy way to start baking sourdough without making a starter completely from scratch. And it will be ready overnight!
The culture arrives dehydrated, so you simply mix it with flour and water over a few days to "wake it up." After that, you'll have your own active sourdough starter ready for homemade artisan bread, rolls, pizza dough, and more. I also like that it comes with beginner-friendly instructions, which makes the whole process feel much less intimidating the first time.
How To Make A Sourdough Starter From Scratch
Making a sourdough starter from scratch usually takes about 5-7 days or longer. Honestly, once you do it once, the whole sourdough process suddenly feels way less scary.
- Use a kitchen scale for best results. Sourdough works best when ingredients are measured by weight.
- Use a clean jar or container. A measuring jar, Mason jar or Weck jar works great.
- Mix equal parts:
- mix 50 grams room temperature water
- with 50 grams unbleached all-purpose flour
- Stir until the mixture looks like thick pancake batter.
- Cover loosely with a cloth or towel and leave on the counter.
- Every day:
- discard half of the starter
- add 50 grams water
- add 50 grams flour
- stir well
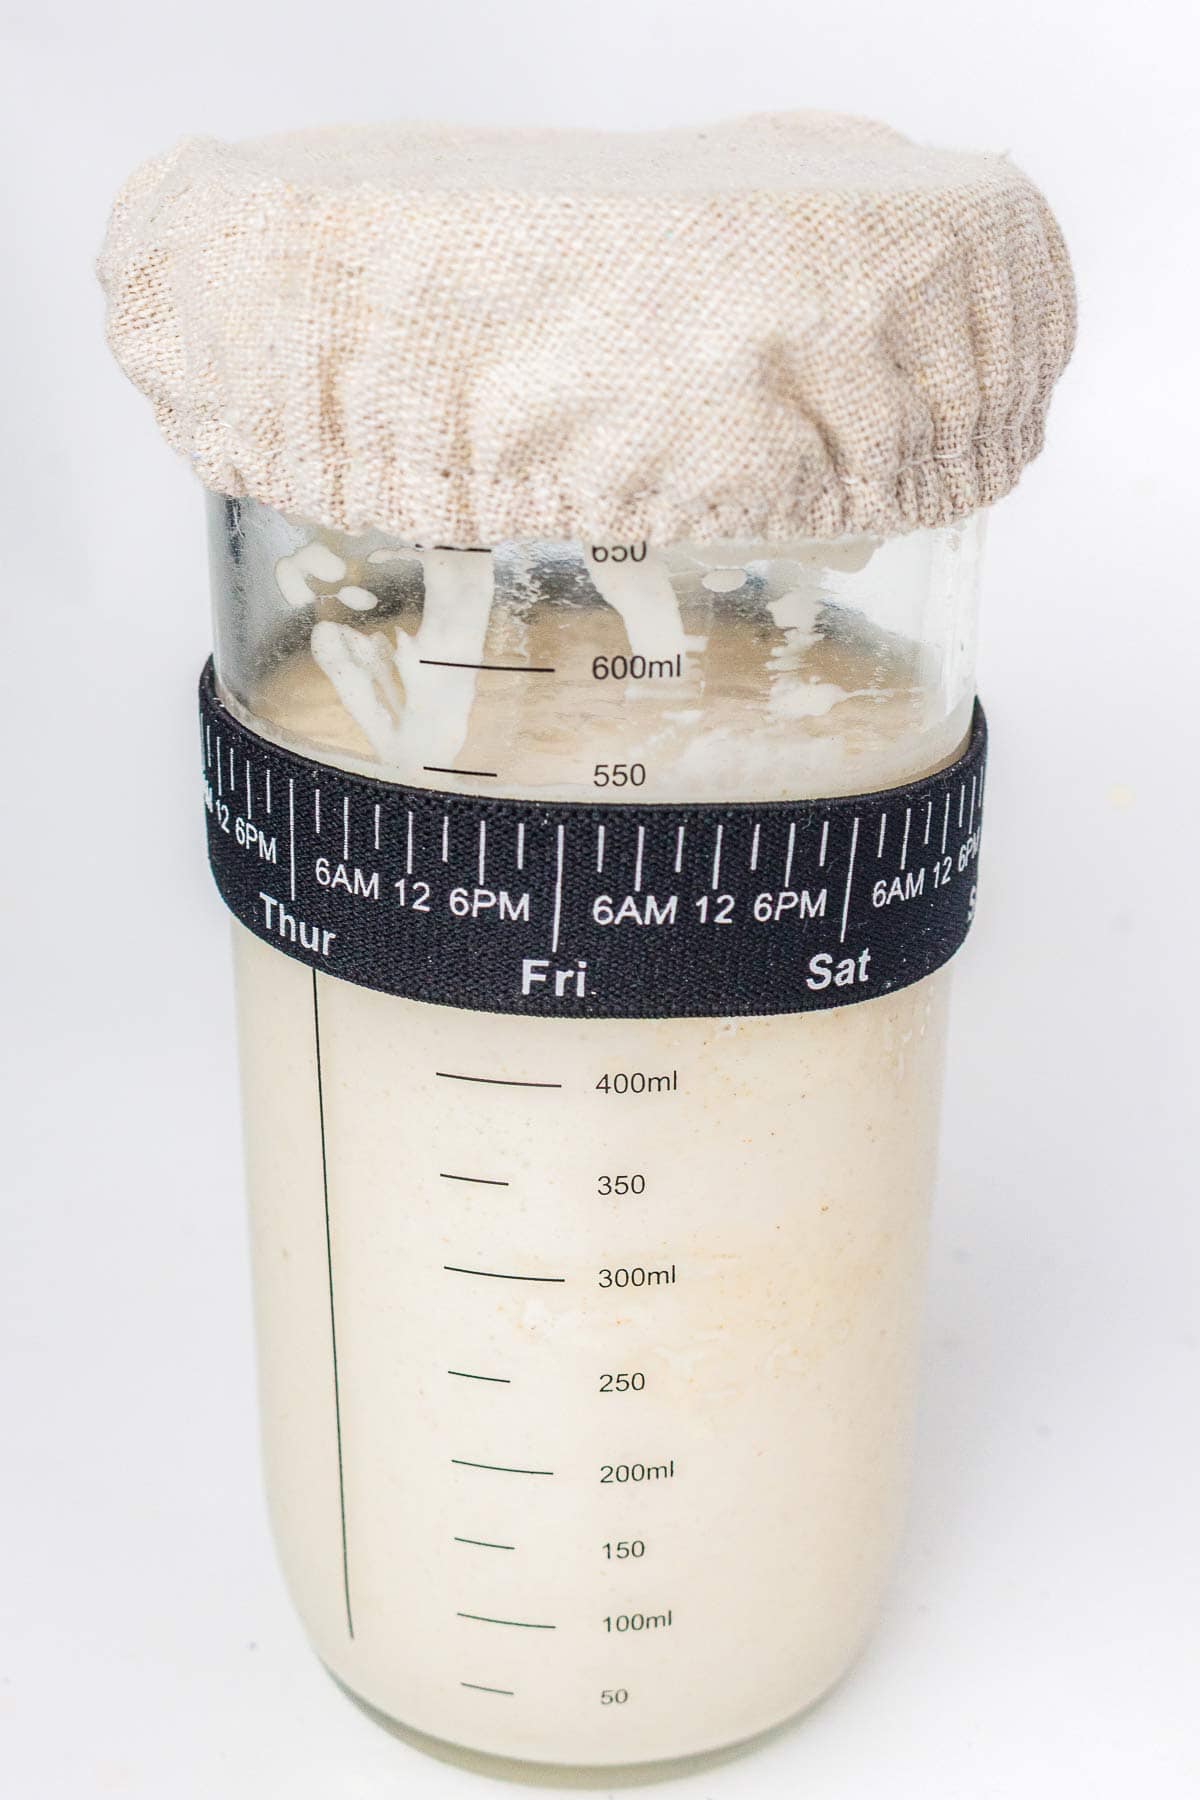
- A rubber band around the jar helps you see how much the starter rises.
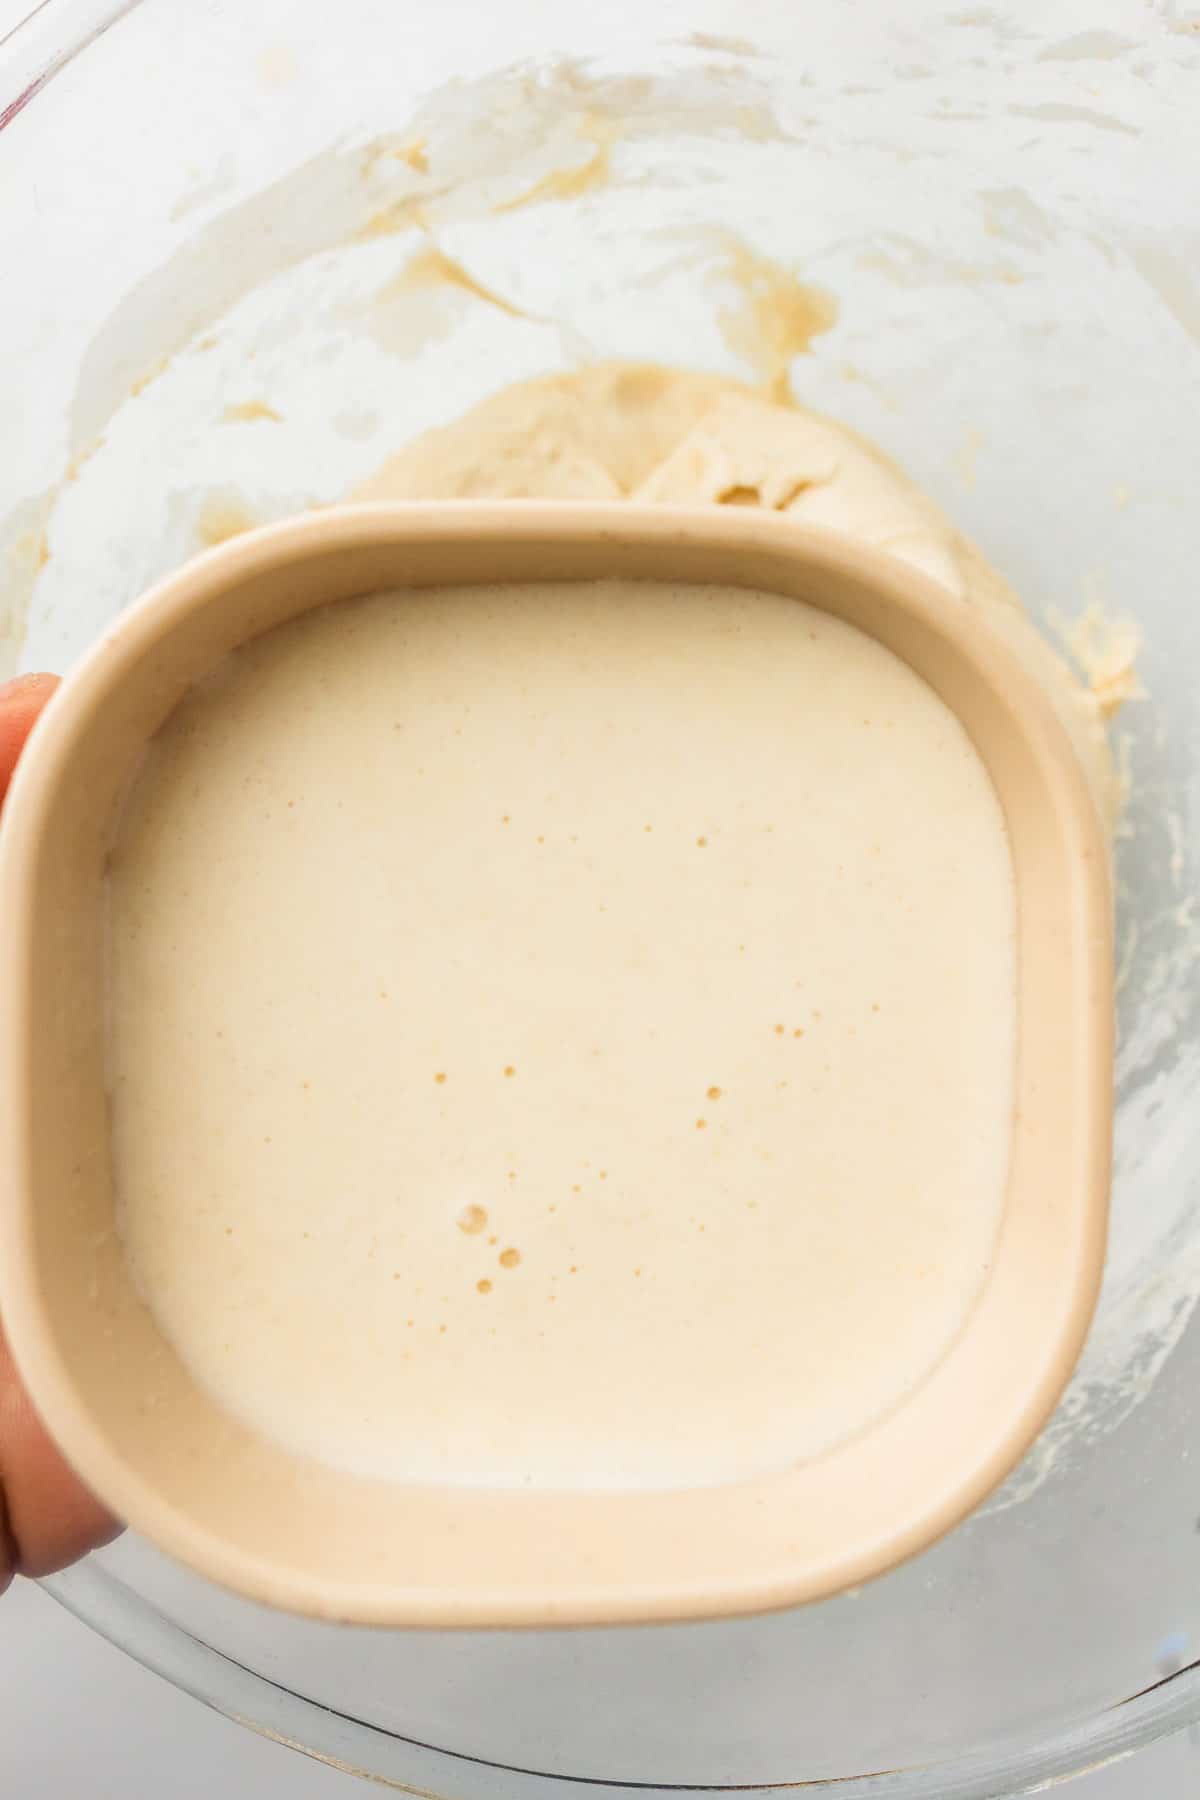
- After several days, the starter should become bubbly, tangy-smelling, and double in size after feeding. The texture should resemble thick pancake batter or muffin batter.
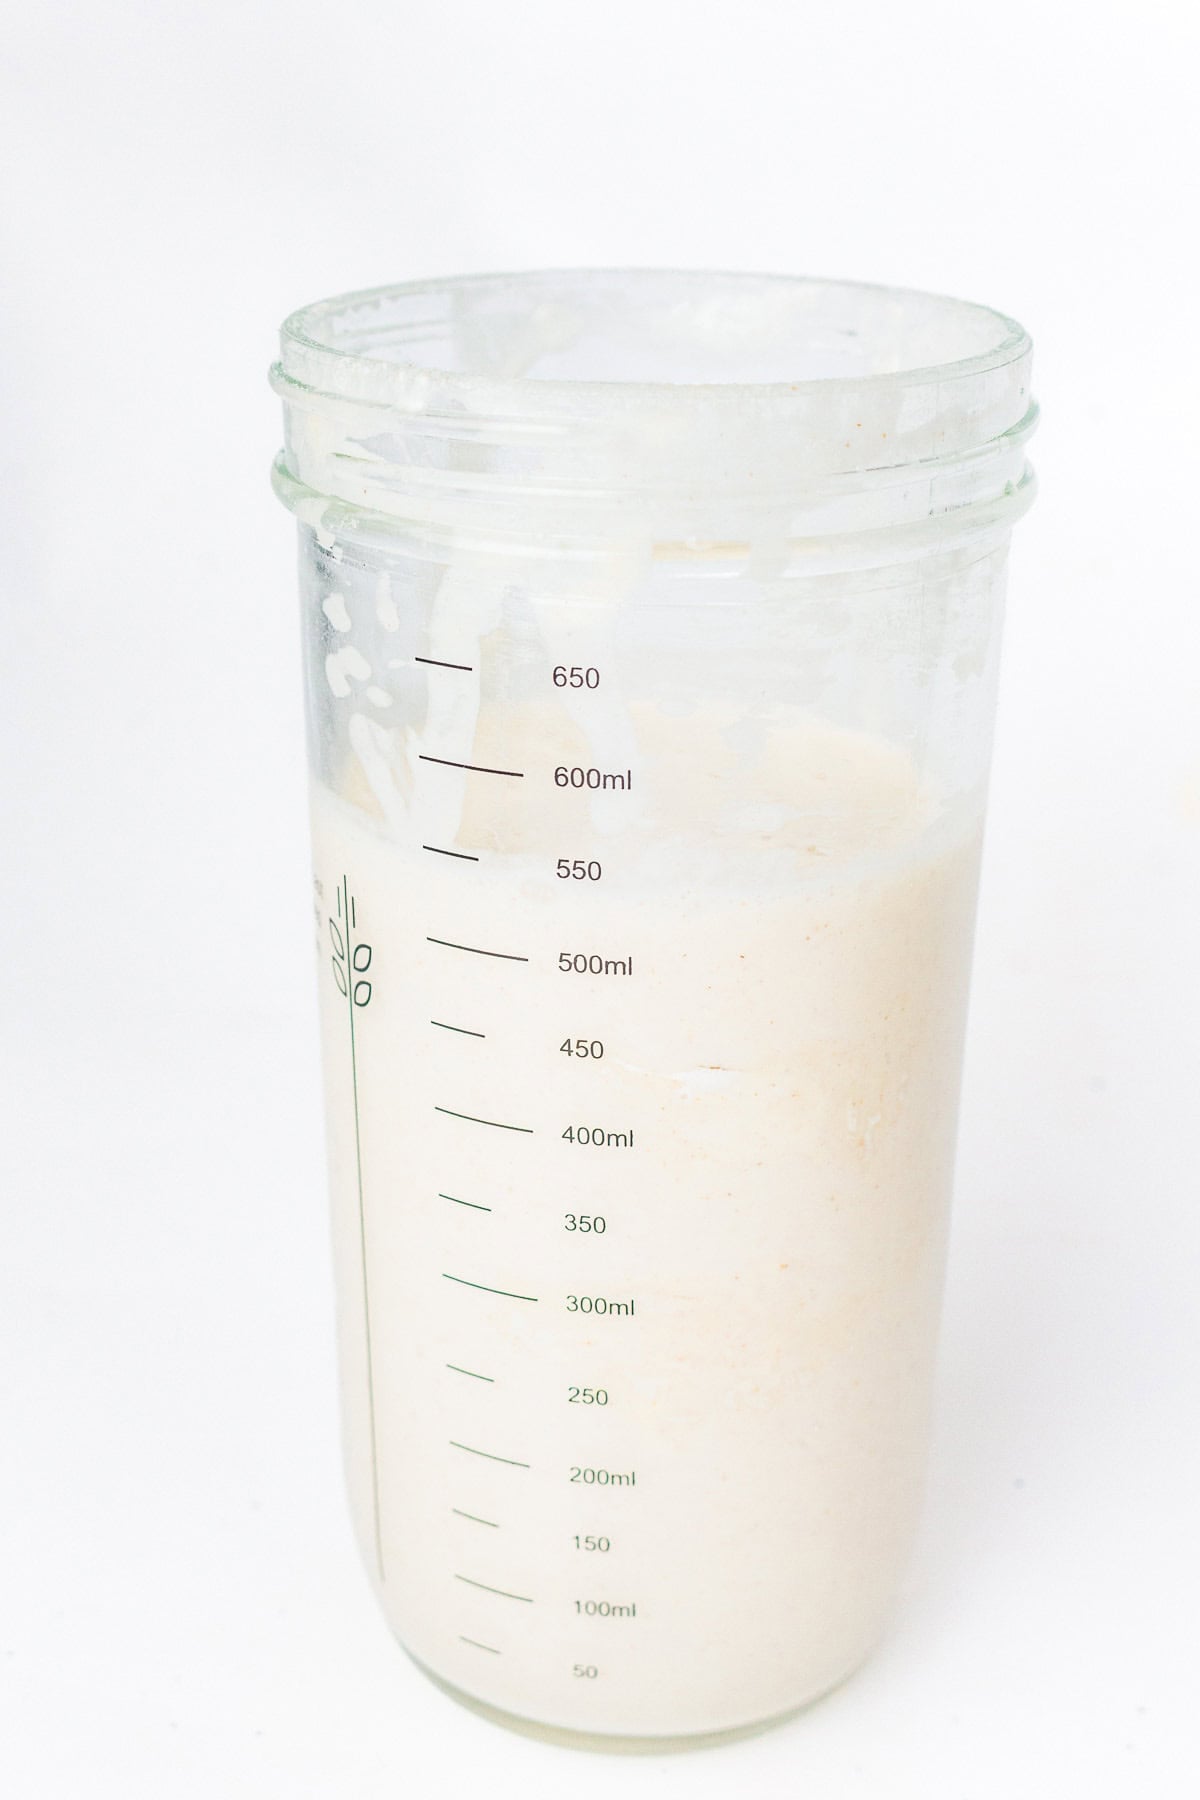
- When your recipe calls for 140 grams active sourdough starter, simply feed your starter and wait until it becomes bubbly and doubled in size. Then measure out 140 grams from the jar to use in your bread dough.
- Your starter basically becomes a weird little kitchen pet that you feed flour to every day 😁.
Difference Between Using a Sourdough Starter Culture vs Making One From Scratch
Homemade sourdough starter: Made with just flour and water. Wild yeast develops naturally over time, which can take 7 days or longer and may be less predictable if you are a beginner.
Store-bought starter culture: Contains an already established dehydrated sourdough culture that you "wake up" with flour and water over about 5 days. Usually easier, faster, and more reliable for beginner sourdough bakers.
How to Make Sourdough Loaf
These simple sourdough tools make the process so much easier for beginners. I linked my favorites in my Shop page.
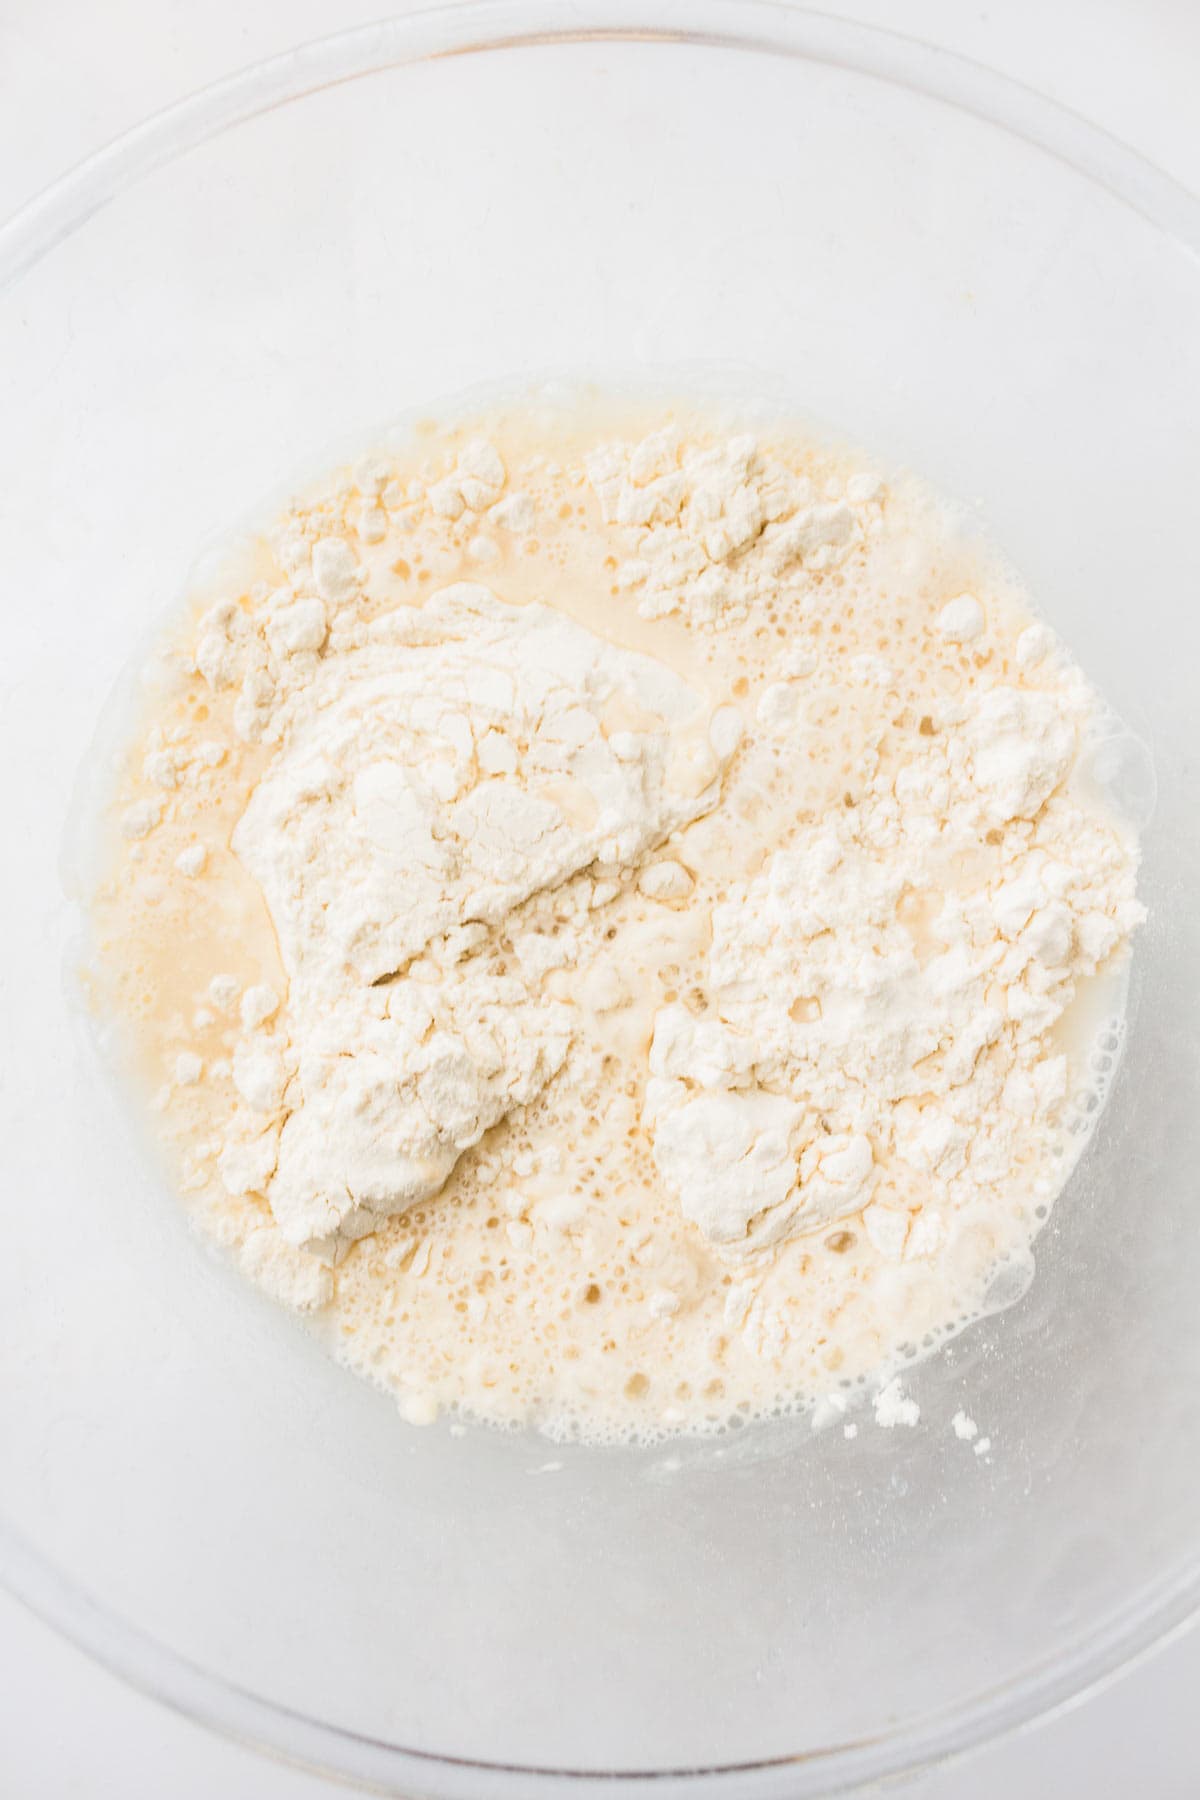
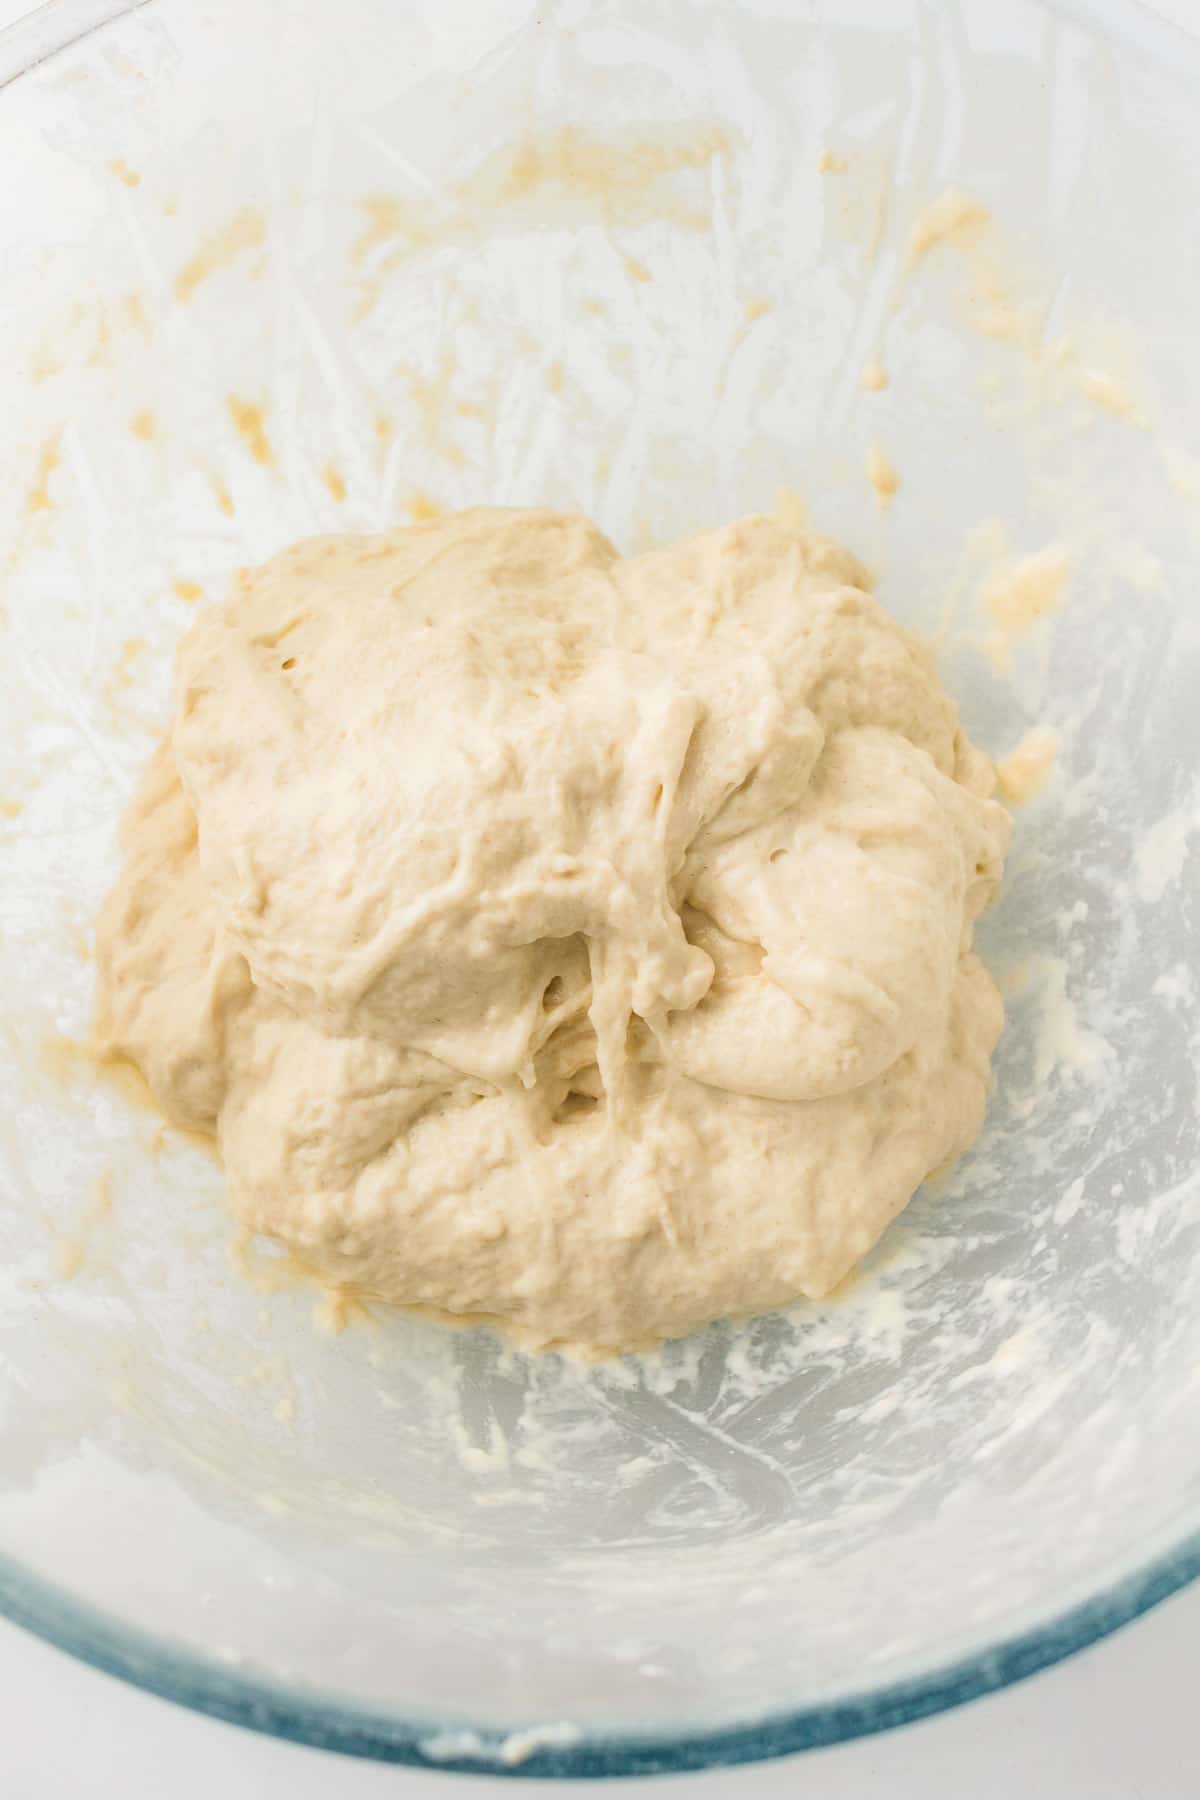
- Mix the dough: In a large bowl, combine the bread flour and water until no dry flour remains. The dough will look rough and shaggy at this stage, which is completely normal.
- Rest the dough: Cover the bowl and let the dough rest for 30 minutes. This helps the flour fully hydrate and makes the dough easier to stretch later.
- Add starter and salt: Add the active sourdough starter and salt. Mix very well until fully combined. The dough should start feeling smoother and more elastic.
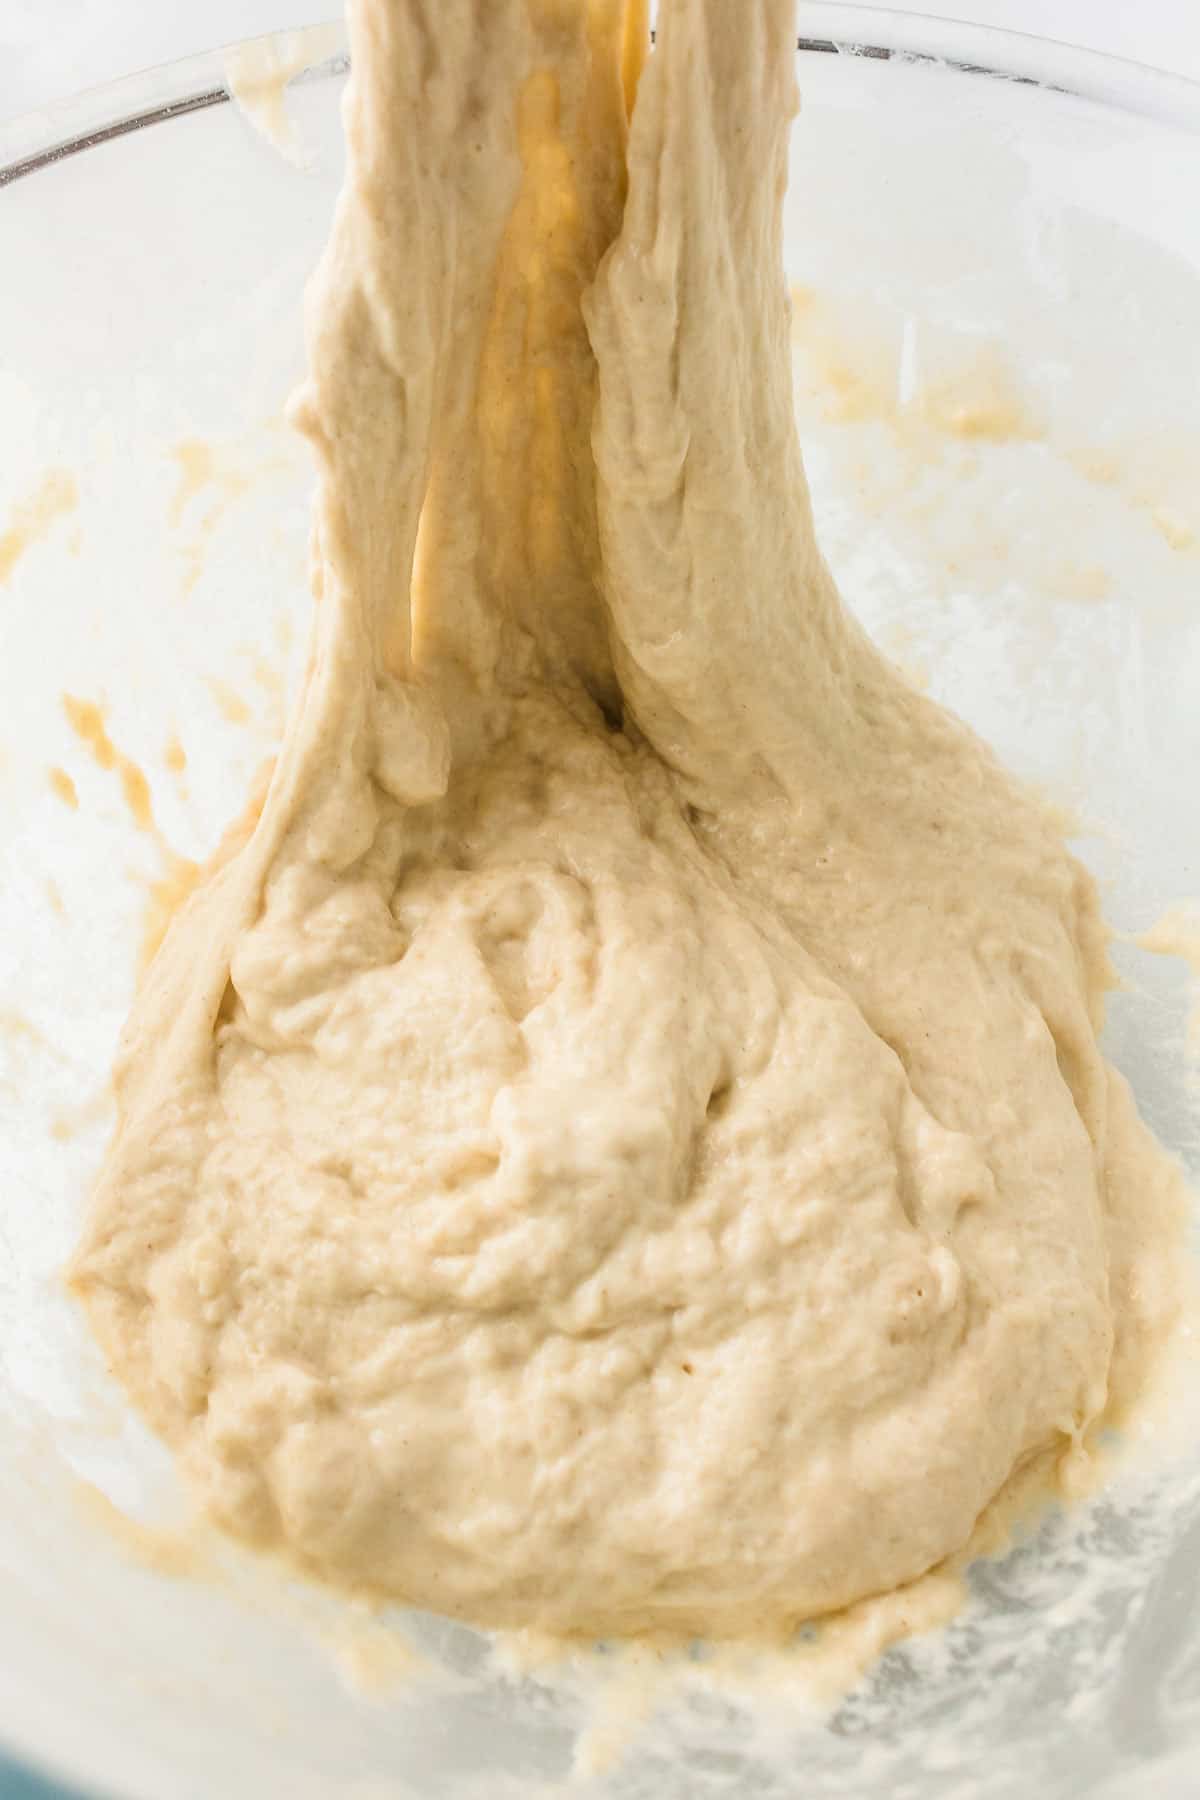
- Do stretch and folds: Over the next 2 hours, perform stretch and folds every 30 minutes. Gently pull one side of the dough upward and fold it toward the center. Rotate the bowl and repeat on all sides.
The dough should gradually become smoother, stronger, and easier to handle after each round.

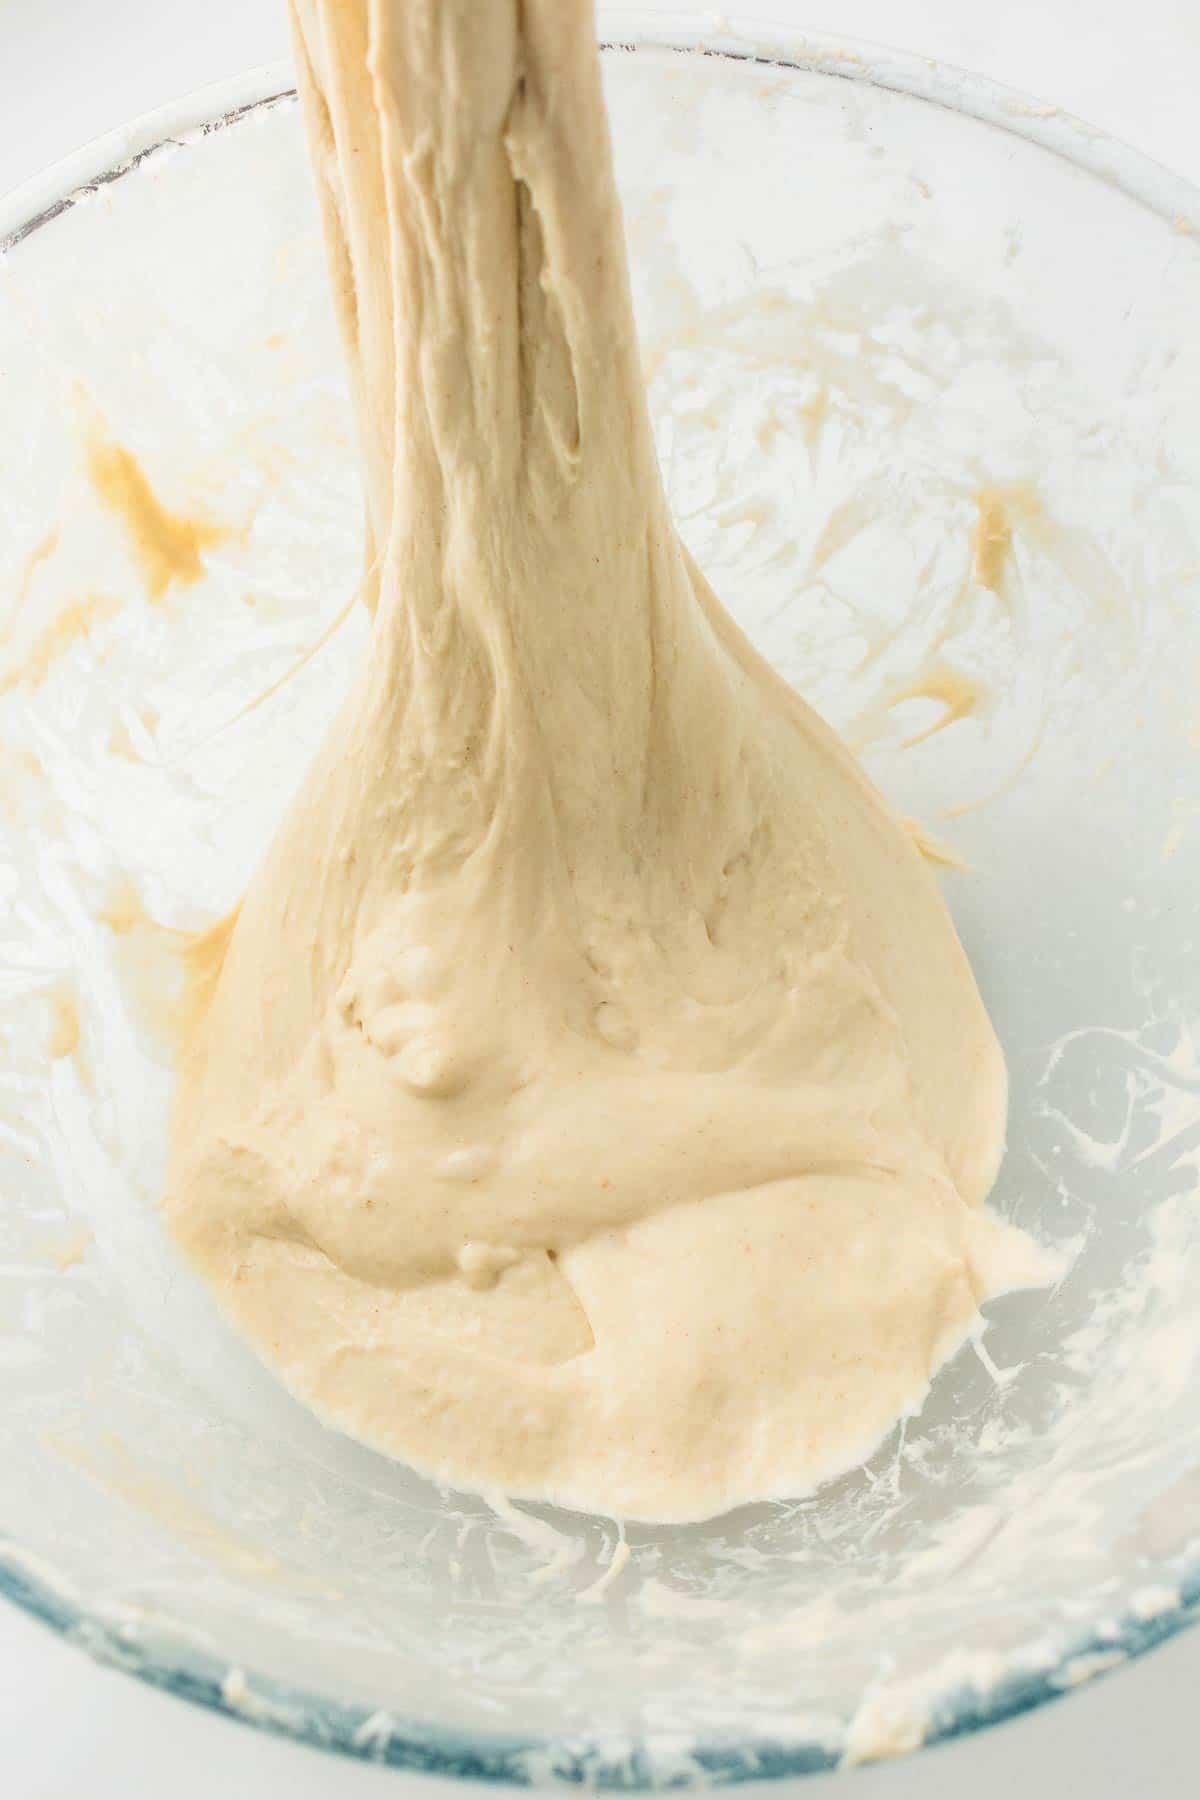
- Bulk ferment the dough: Cover the bowl and let the dough rise at room temperature for about 6-8 hours, or overnight if your kitchen is colder. The dough should look puffier, airy, and slightly jiggly with bubbles around the edges. This is the part where most beginners think they ruined the dough. You probably didn't. If the dough still looks tight and dense, it usually needs more time.
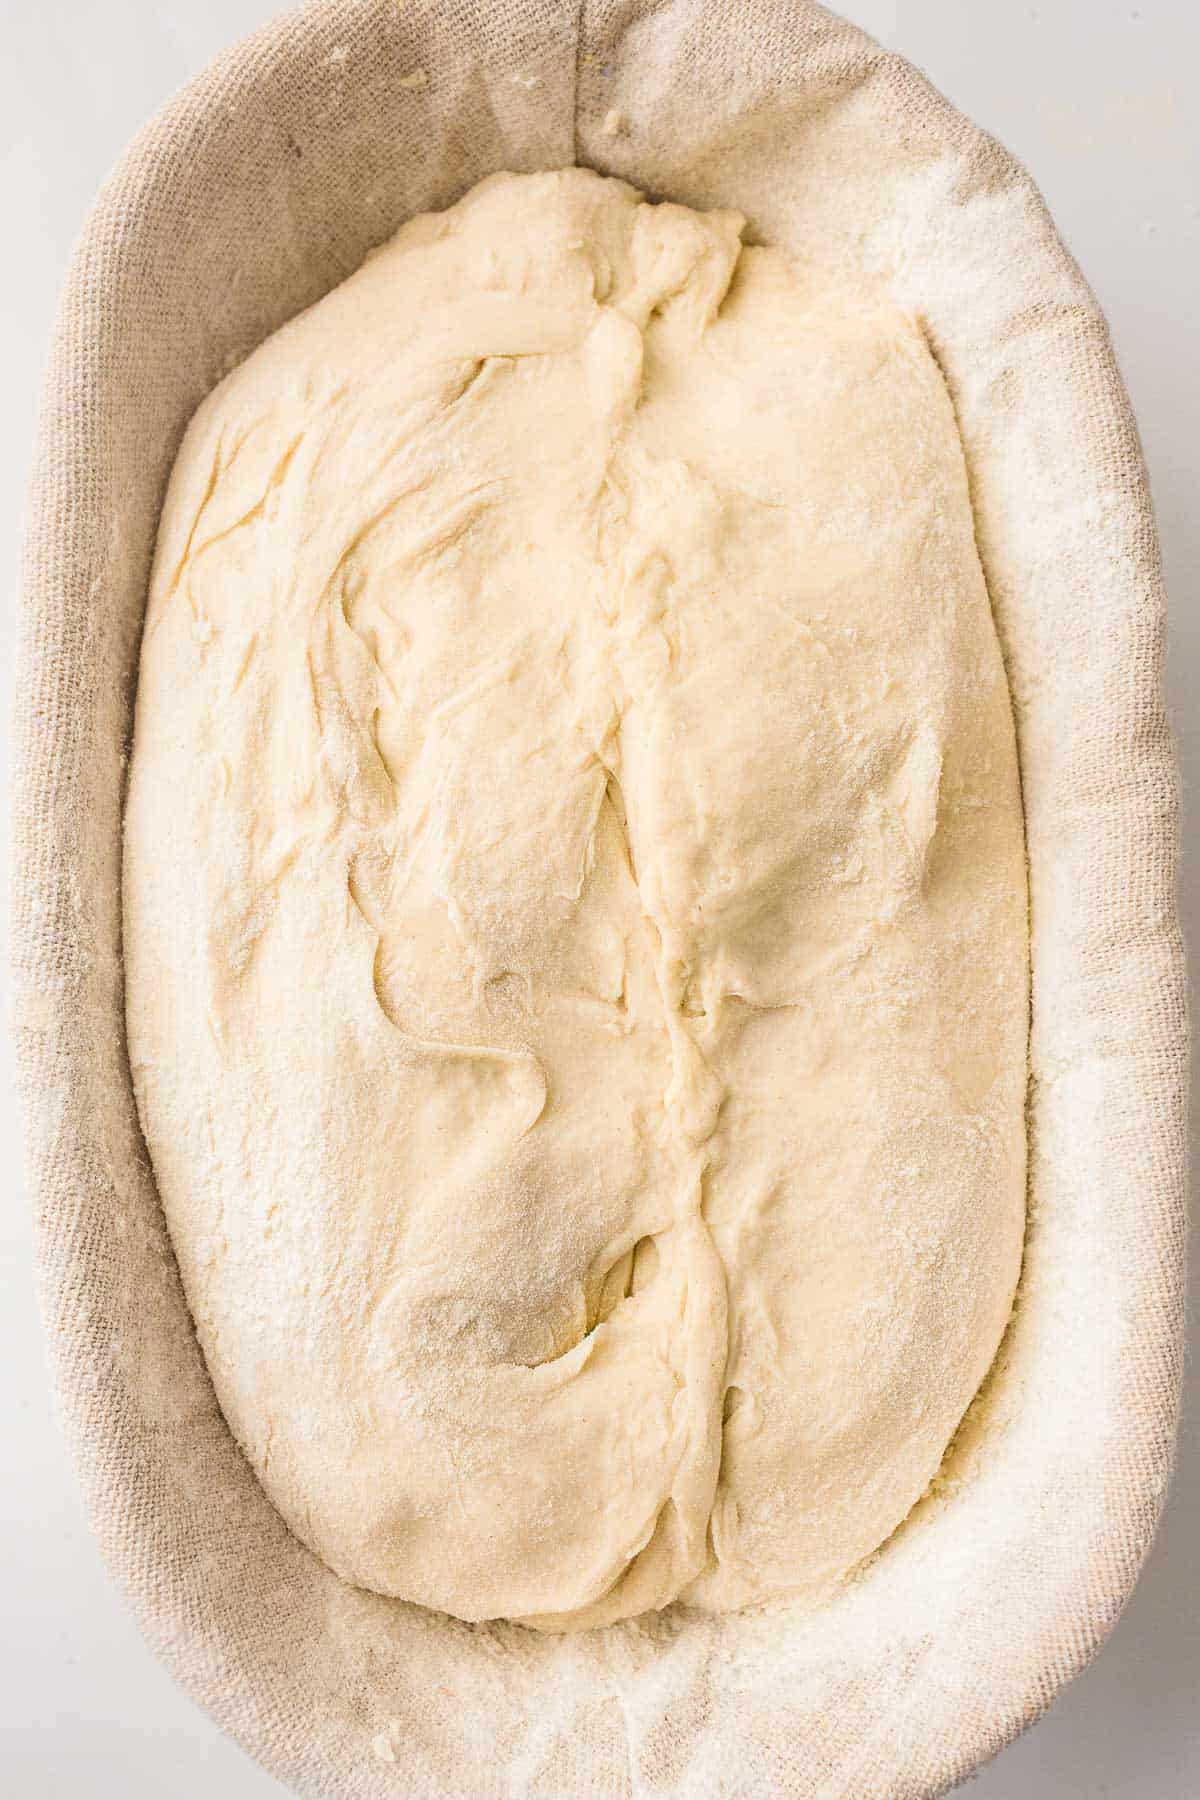
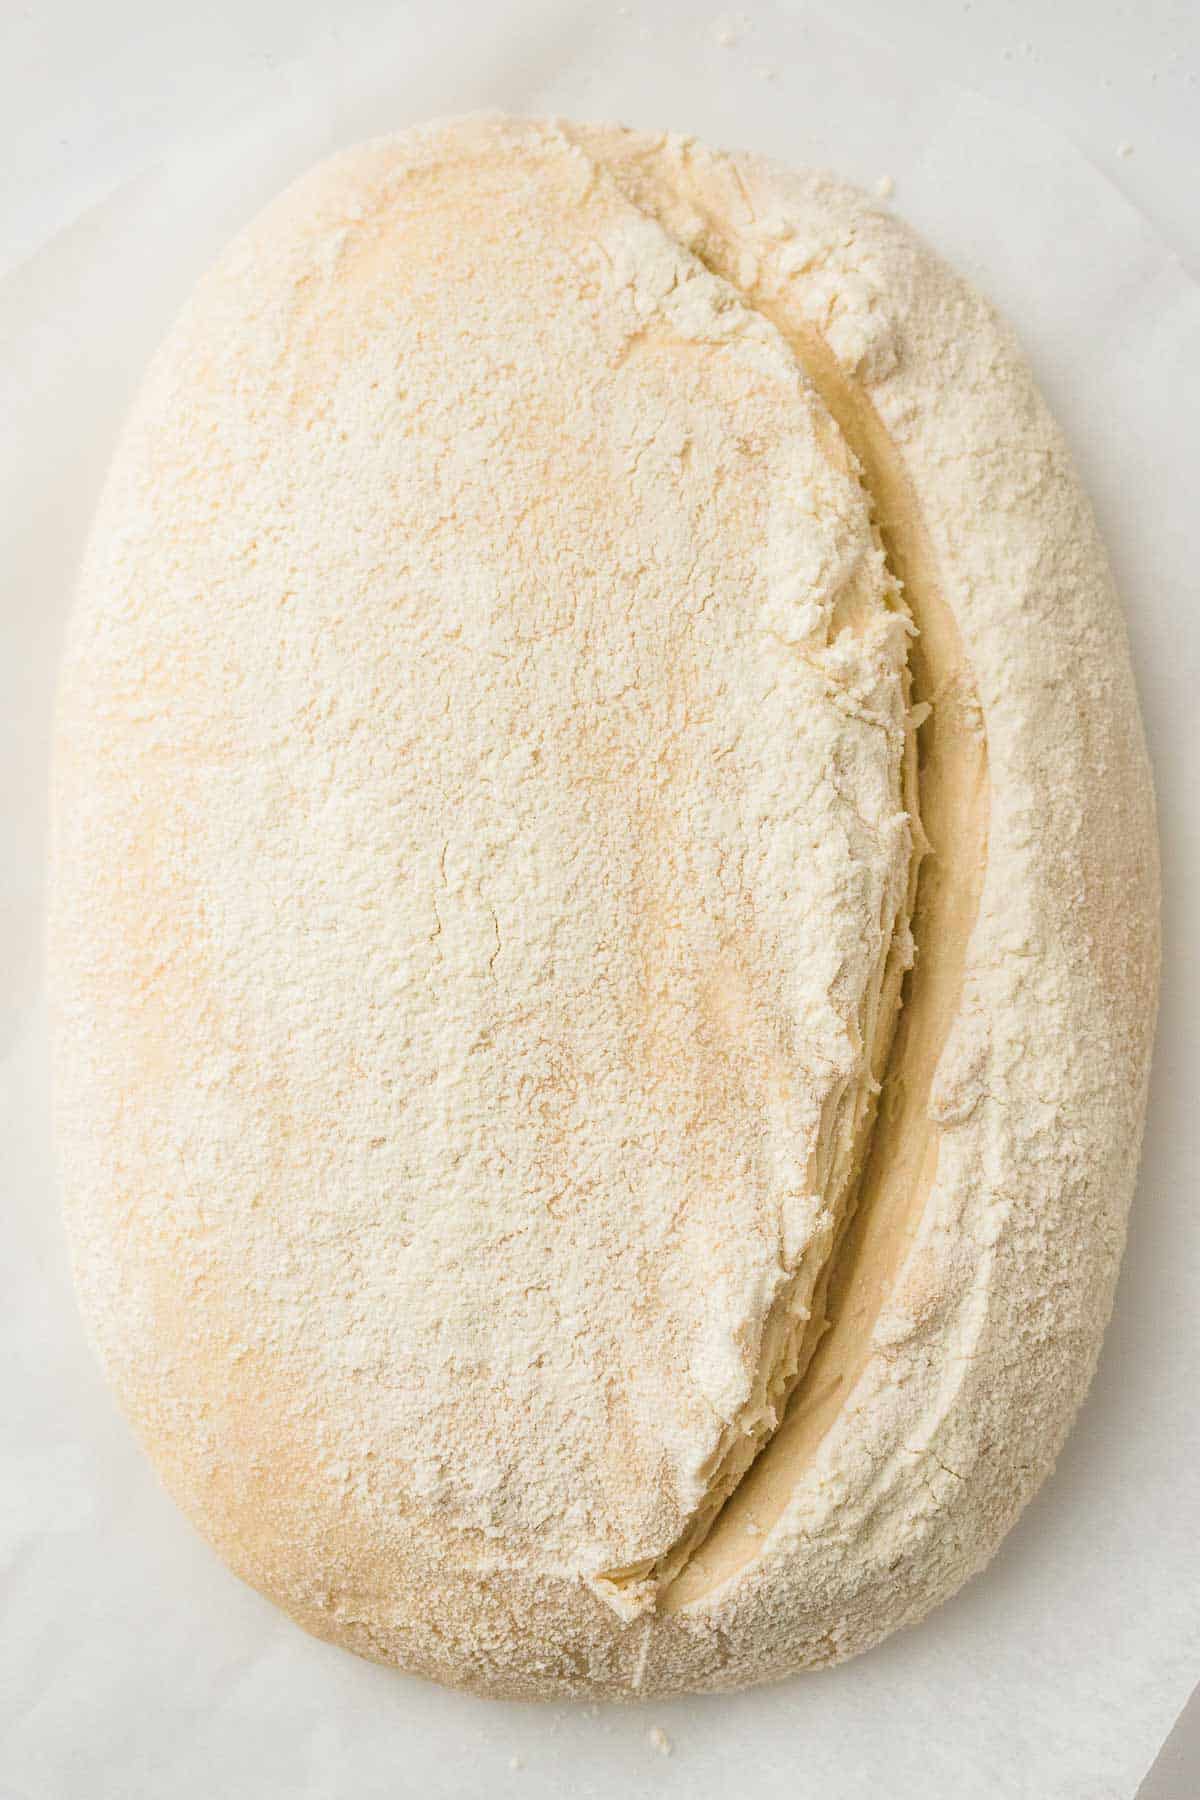
- Shape the loaf: Turn the dough onto a lightly floured surface and shape it into a round loaf. Gently pull the dough toward yourself to create surface tension without deflating all the air.
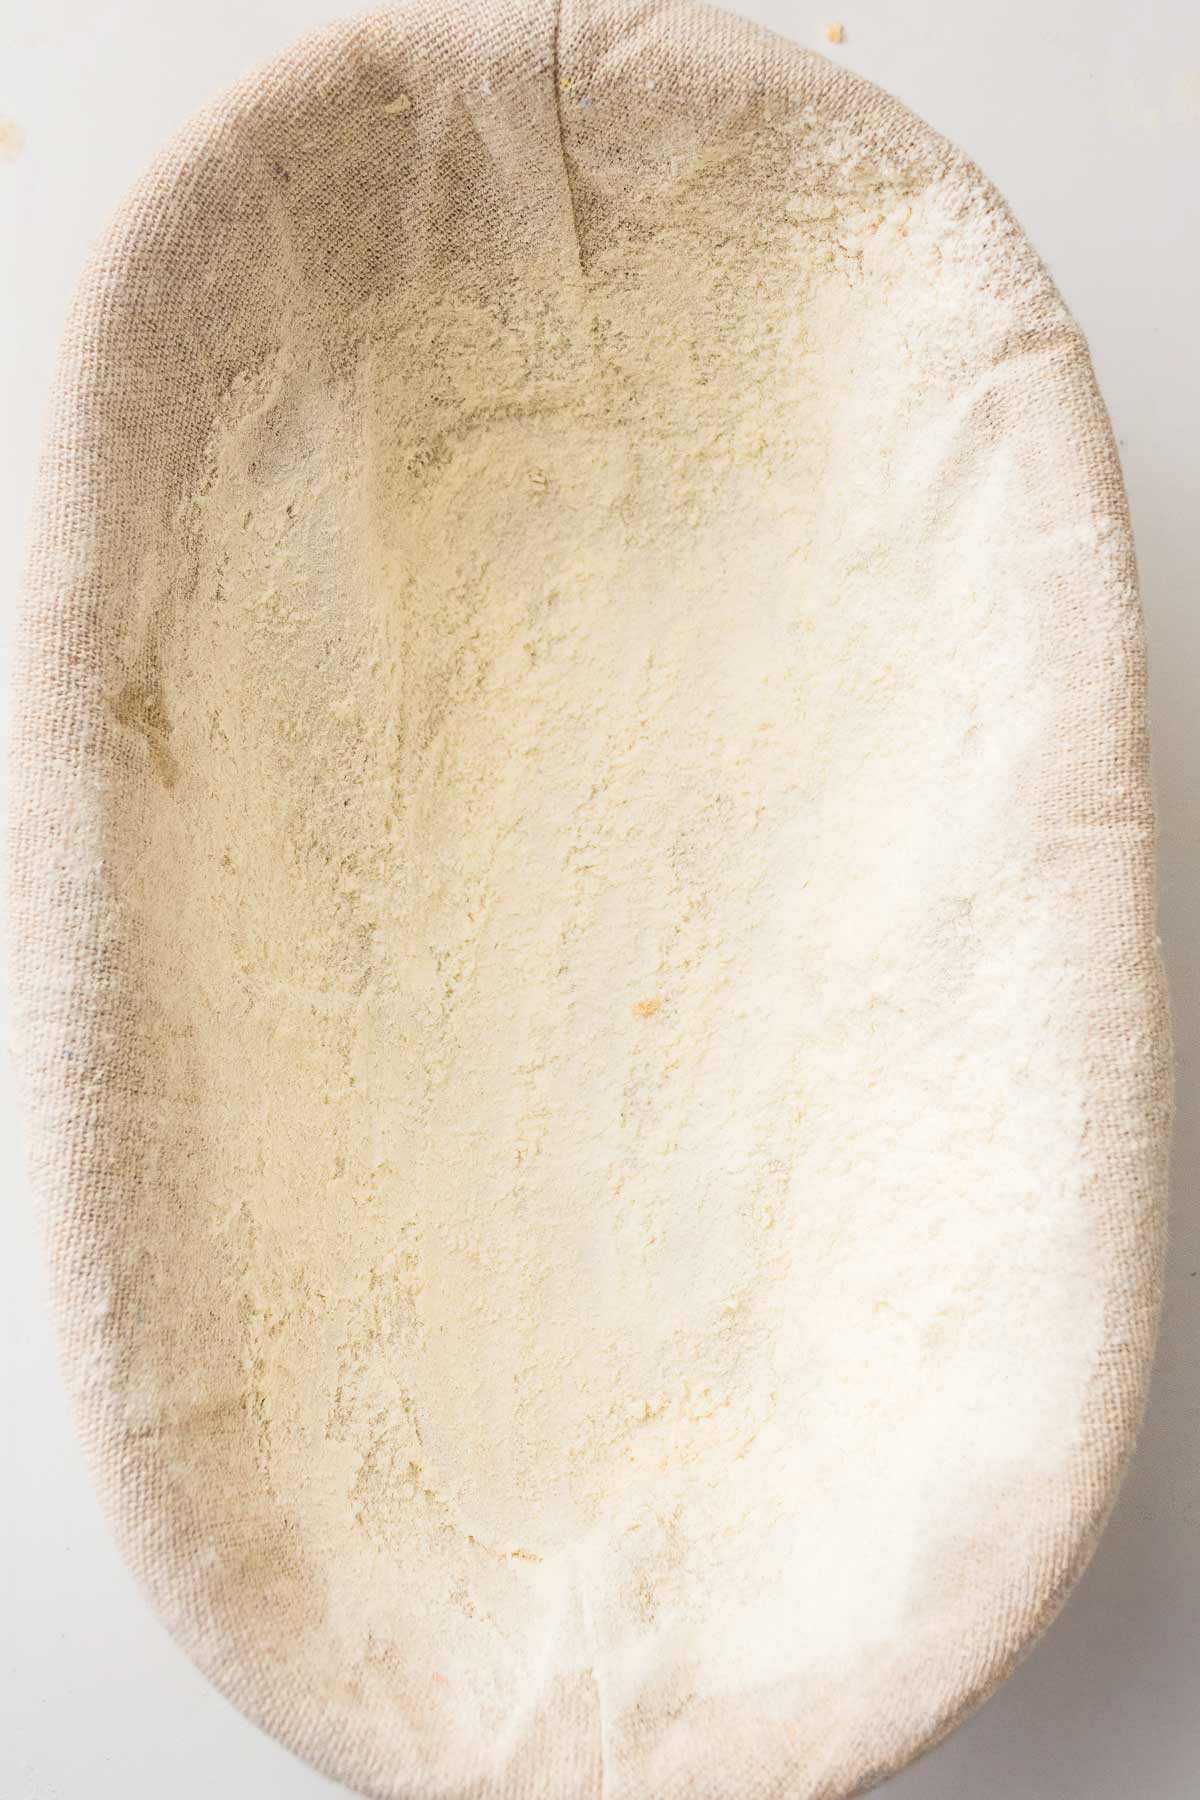
- Proof the dough: Place the dough seam-side up into a floured proofing banneton (basket) or a bowl lined with a floured kitchen towel. Cover and let rise for 1-2 hours at room temperature, or refrigerate overnight for even better flavor.
- Preheat the oven: Place a Dutch oven into the oven and preheat to 240°C / 465°F. A fully heated Dutch oven helps create the best crust and oven spring.
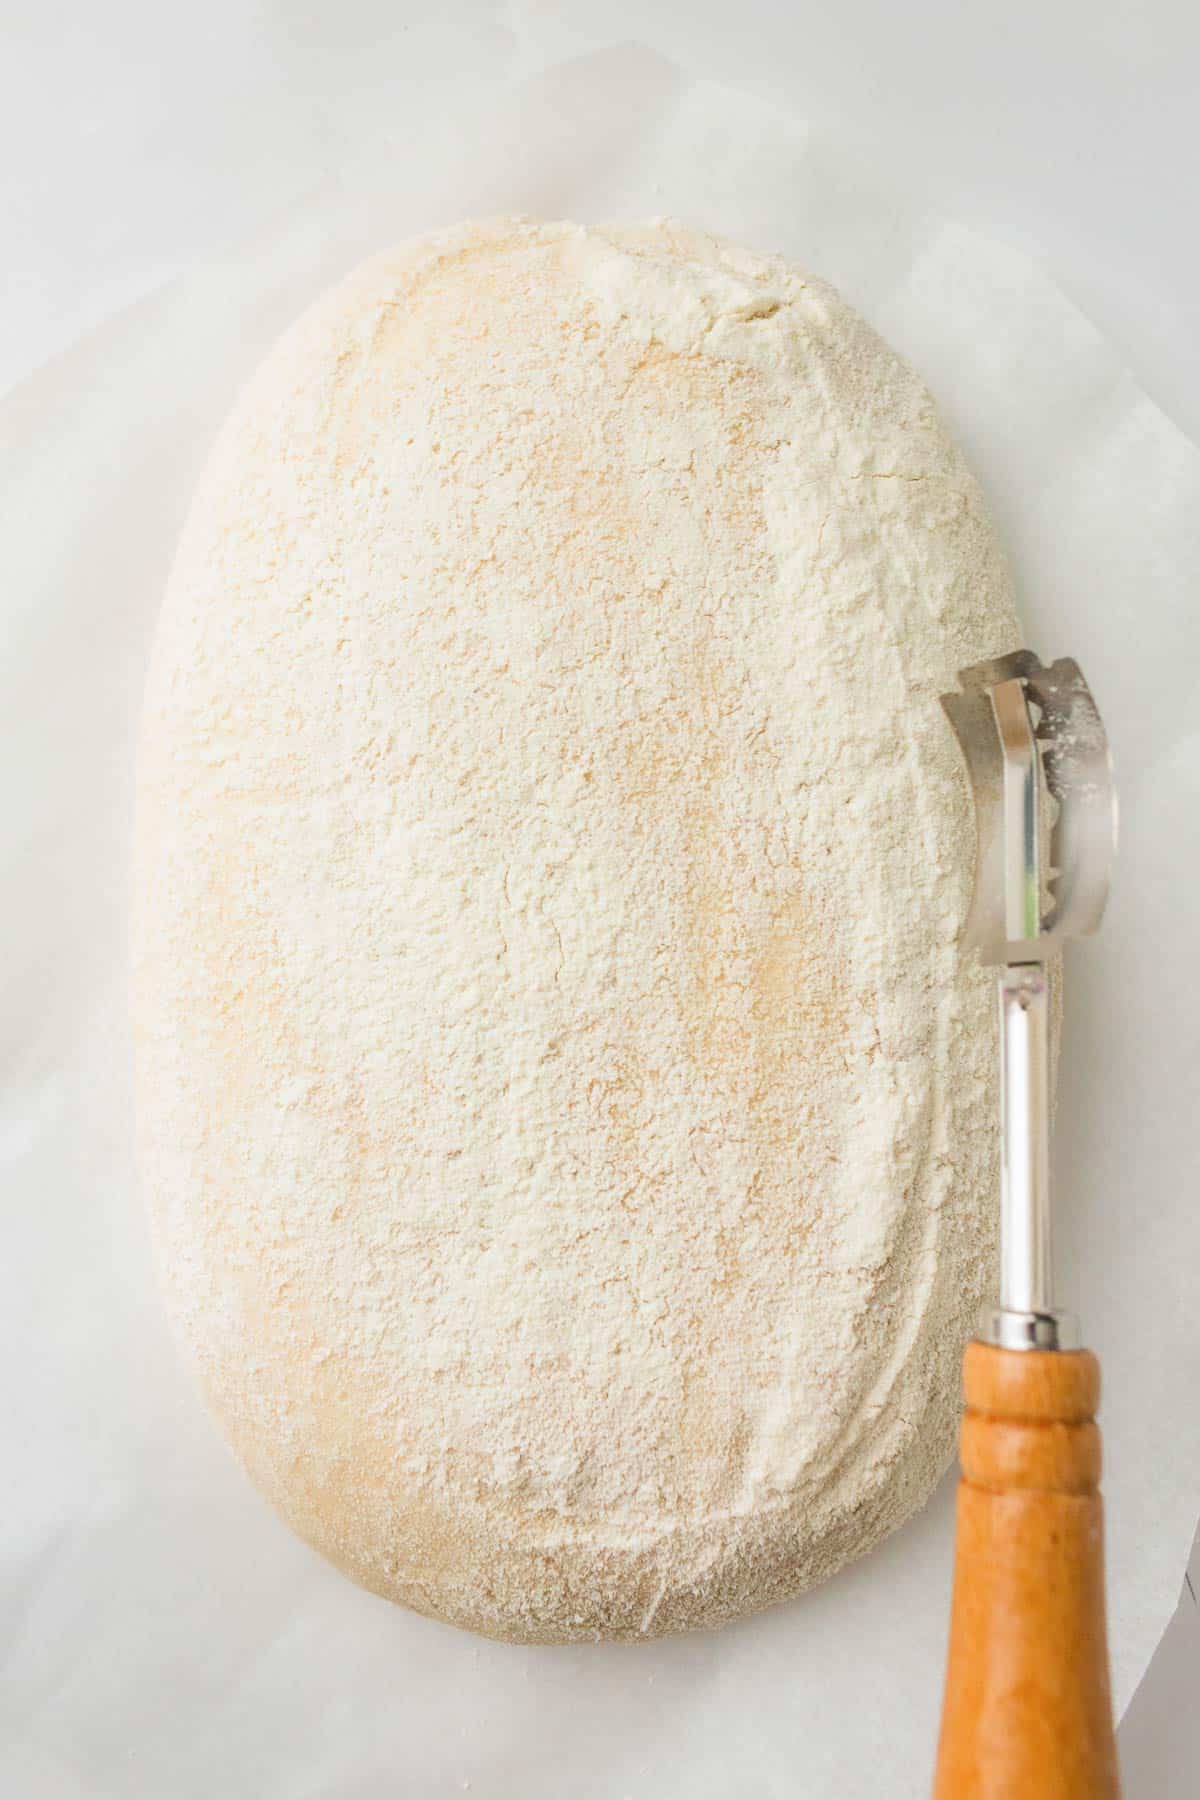
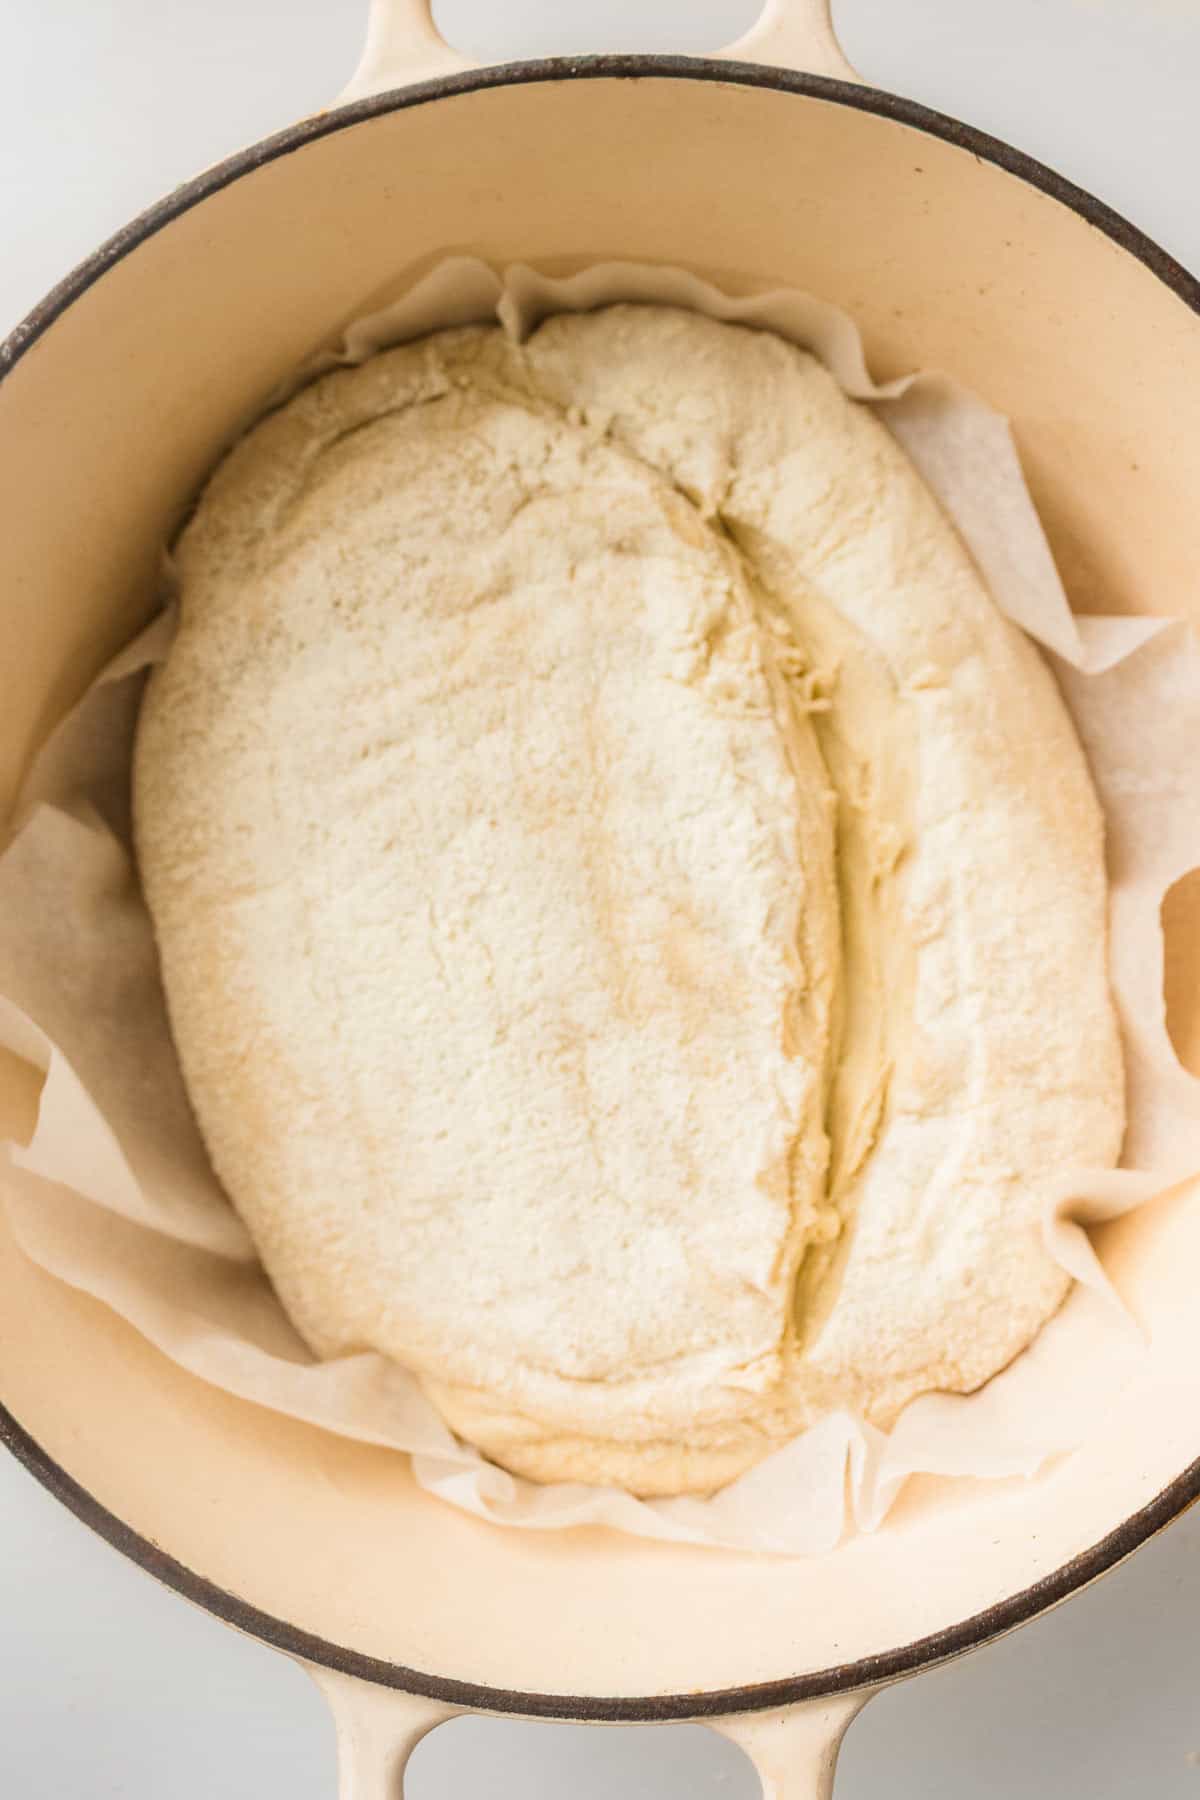
- Score and bake: Turn the dough onto parchment paper and score the top with a sharp knife or bread lame. Carefully transfer the dough into the hot Dutch oven.
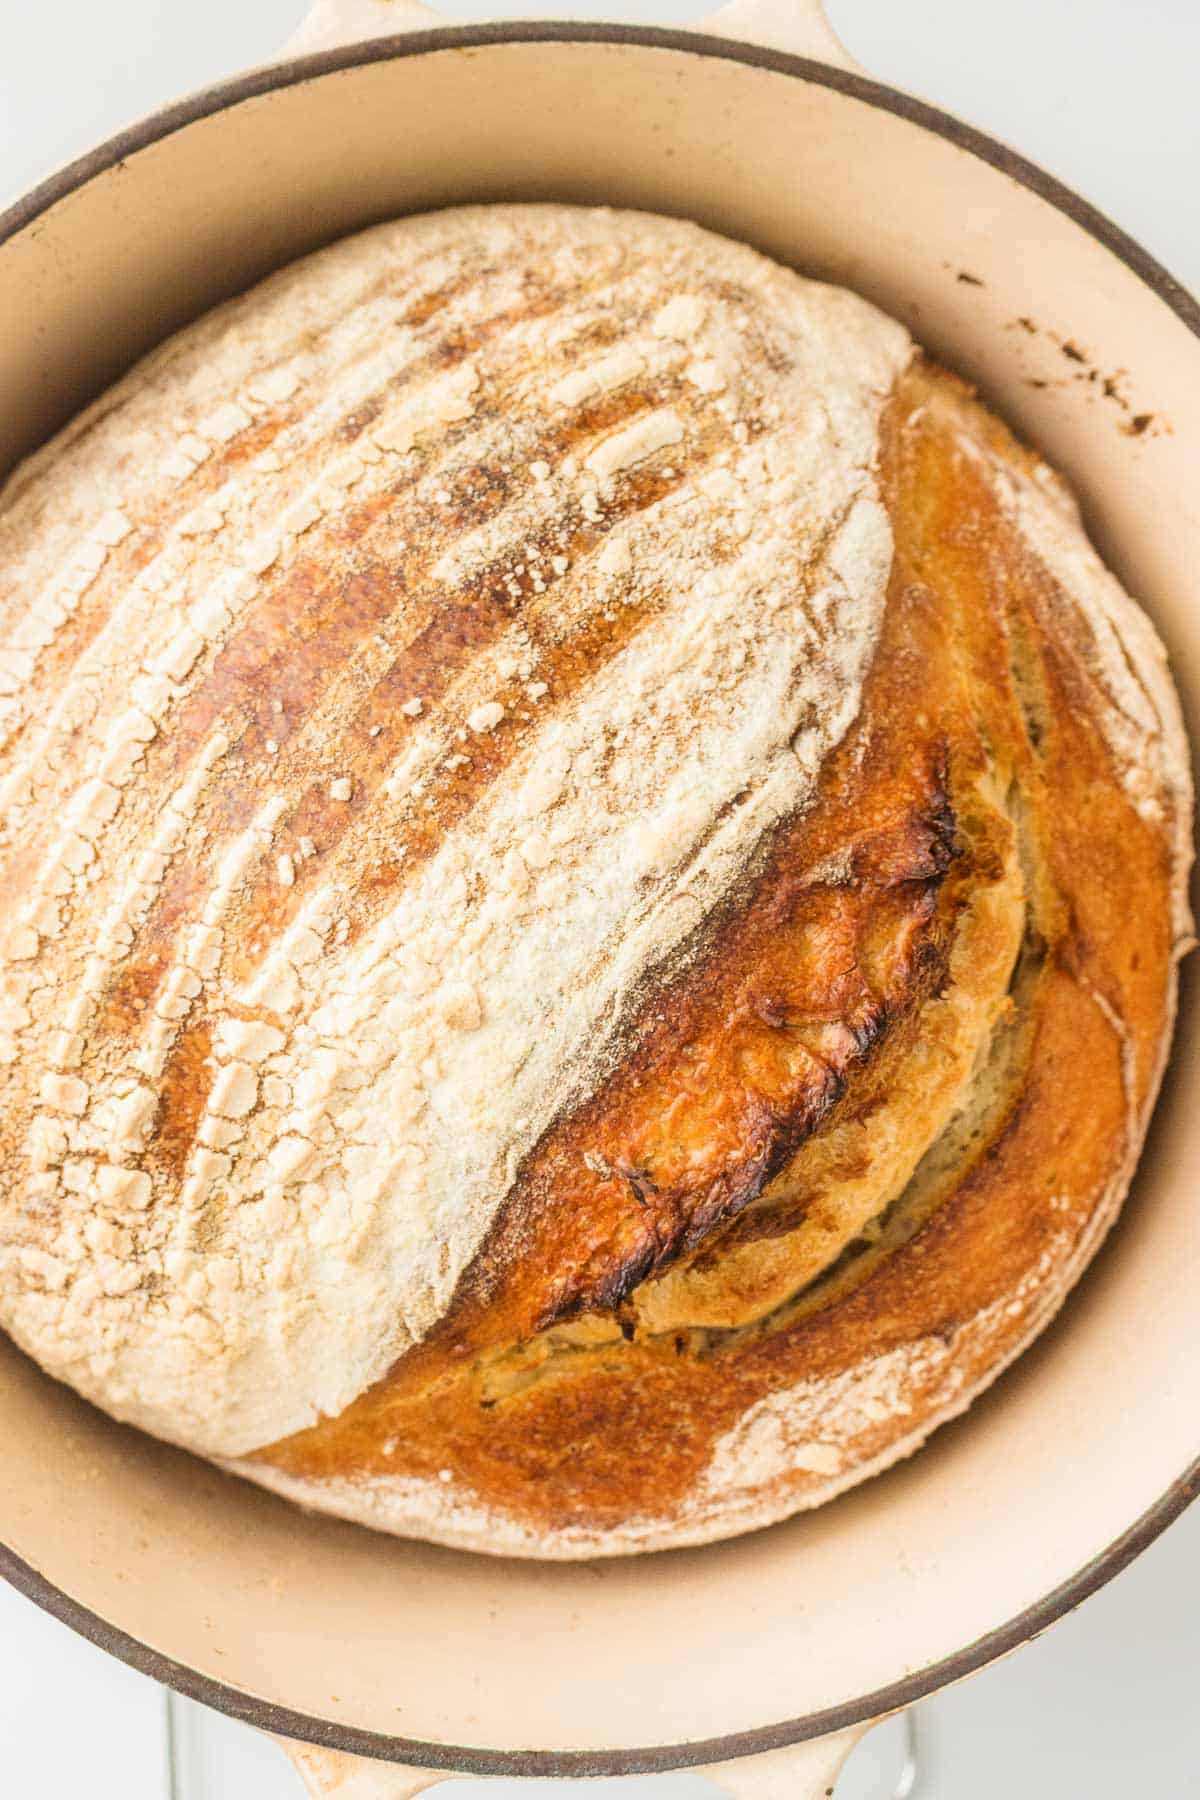
- Bake covered for 20 minutes, then remove the lid and bake another 20-22 minutes until the crust is deeply golden and crisp.
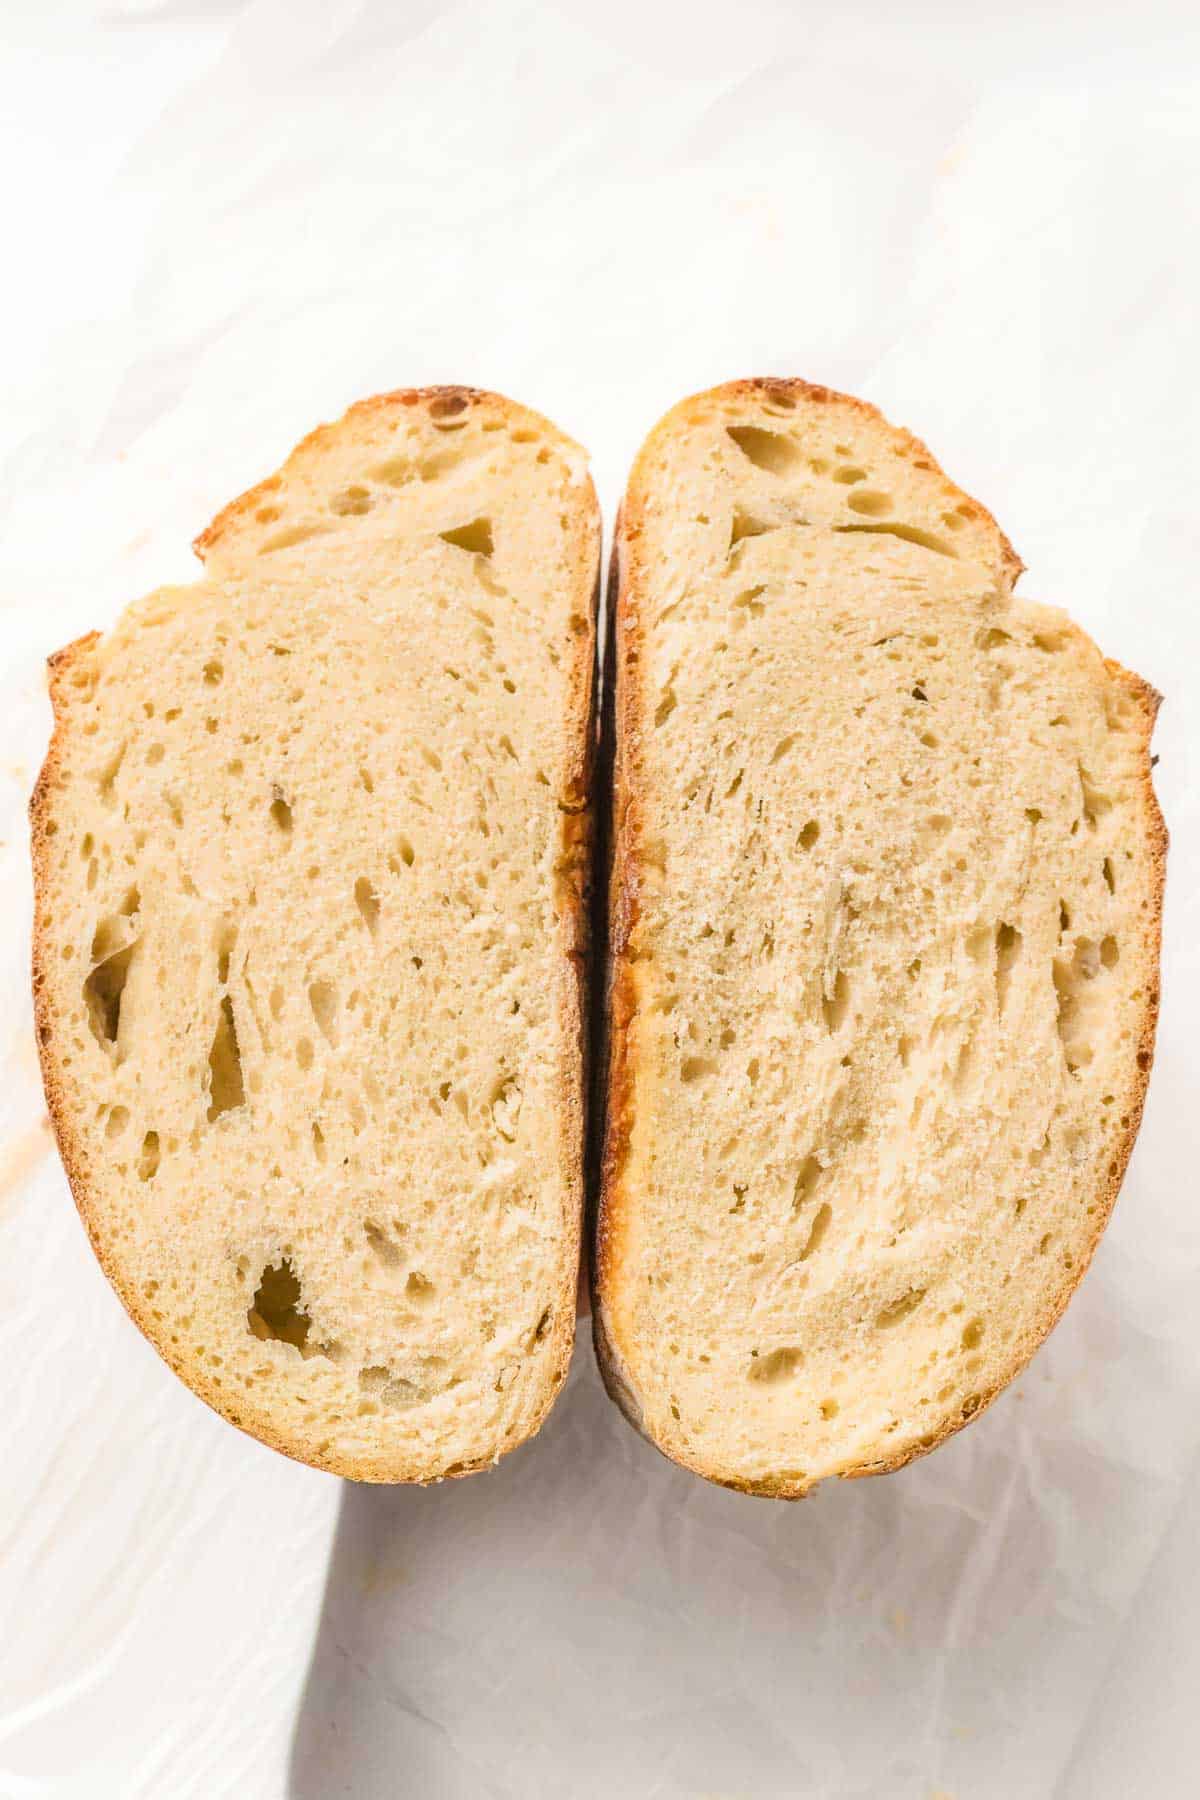
- Cool before slicing: Transfer the loaf to a wire rack and let it cool completely before slicing. Cutting too early can make the inside gummy instead of soft and airy.
My Favorite Tools
 Buy Now →
  Buy Now →
  Buy Now →
 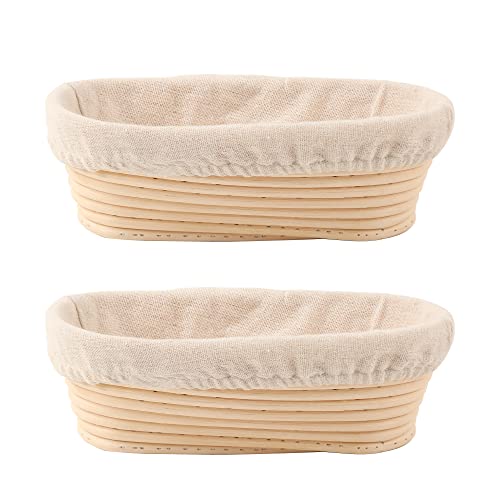 Buy Now →
  Buy Now →
  Buy Now →
  Buy Now →
Bread Lame for Dough Scoring Knife
Buy Now → Buy Now →
  Buy Now →
  Buy Now →
 Tips
- In colder kitchens, fermentation can take much longer. During winter, I usually leave my dough overnight because sourdough loves warmth way more than I do.
- A Danish dough hook is super helpful for mixing sticky sourdough dough by hand. It makes the whole process feel much less messy.
- Wet your hands slightly before stretch and folds. Trust me, this fixes about 90% of sticky dough problems.
- Don't panic if the dough feels sticky at first. Sourdough dough is supposed to feel softer and a little messy compared to regular bread dough.
- Don't add too much extra flour while shaping or the loaf can turn dry and dense. I used to keep adding flour because the dough felt sticky and ended up making literal brick bread.
- The overnight fridge proof is where the magic really happens. The flavor gets deeper and the crust turns so much better.
- Score the dough quickly and confidently with a sharp blade. Hesitating usually creates jagged cuts instead of those pretty bakery-style slashes.
- Bake the loaf until deeply golden brown. Pale sourdough almost always means less flavor and a softer crust.
- Preheating the Dutch oven properly is a total game changer. That blast of heat helps create the crispy bakery-style crust and big oven spring.
- Let the loaf cool completely before slicing. This is honestly the hardest part because the bread smells amazing, but cutting too early can make the inside gummy.
- If your dough sticks everywhere, congratulations, you're making real sourdough.
- Every sourdough loaf looks a little different, and that's part of the charm. Some of my "ugliest" loaves ended up tasting the best.

Serving Suggestions
This bread barely survives one day in my kitchen because everyone keeps cutting 'just one more slice.'
- Serve warm with butter, olive oil, or flaky sea salt.
- Use for sandwiches, grilled cheese, or breakfast toast.
- Pair with soups, stews, chili, or pasta dinners.
- Make avocado toast or bruschetta for an easy lunch.
- Toast leftovers for crispy garlic bread or croutons.
- Great for meal prep breakfasts and sandwich lunches.
- Delicious alongside cozy fall and winter dinners.
I especially love this bread toasted the next morning with butter and a little jam. The crust stays crisp while the inside turns soft and chewy again.
Troubleshooting
- Why is my sourdough loaf dense? Dense bread happens to literally everyone learning sourdough. Usually this happens because the starter wasn't active enough or the dough needed more fermentation time. Your dough should look airy, puffed up, and slightly jiggly before shaping.
- Why didn't my bread rise properly? Cold kitchens are basically sourdough's biggest enemy. Sometimes the dough simply needs a few extra hours to ferment. Weak starter can also cause poor oven spring.
- Why is my sourdough gummy inside? This usually happens when the loaf is sliced too early or underbaked. Let the bread cool completely before cutting into it.
- Why is my dough so sticky? Sourdough dough is naturally softer and stickier than regular bread dough. Avoid adding too much extra flour because that can make the loaf dense.
- Why is my crust too hard? The loaf may have baked too long or cooled uncovered in a very dry kitchen. Wrapping the cooled loaf lightly in a towel helps soften the crust slightly.
- Why didn't my sourdough get big holes? Large airy holes come from strong fermentation, gentle handling, and proper hydration. Overhandling the dough can press out too much air.
- Why did my loaf spread flat instead of rising up? Usually the dough was overproofed or didn't build enough strength during stretch and folds. I still accidentally overproof dough sometimes 🫠.
- Why does my sourdough taste too sour? Longer fermentation creates stronger tangy flavor. If you want milder sourdough, shorten the cold fermentation time slightly.
- Can I refrigerate the dough overnight? Yes, and I actually recommend it. Overnight cold fermentation improves flavor and makes the dough easier to score.
- How do I know when bulk fermentation is done? The dough should look puffier, airy, and slightly domed with bubbles around the edges. It should jiggle slightly when the bowl is moved.
- Can I freeze sourdough bread? Yes. Slice the loaf first, then freeze in a freezer-safe bag for up to 2 months. Toast slices straight from frozen.
Storing Leftovers
- To Store. Sourdough bread keeps best at room temperature. I usually wrap the loaf in a clean kitchen towel or place it in a paper bag to help the crust stay crisp while keeping the inside soft. It will stay fresh for about 2-3 days. Avoid storing sourdough in the refrigerator because it dries out much faster there.
- To Freeze. Sourdough freezes beautifully. I like slicing the loaf first, then storing the slices in a freezer-safe bag or container for up to 2 months. This makes it easy to grab individual slices for toast or sandwiches.
- To Reheat. For the best texture, toast slices straight from frozen or warm the loaf in the oven at 350°F for about 8-10 minutes. If the crust feels too hard, lightly sprinkle the loaf with water before reheating.
- To Make Ahead. You can refrigerate the shaped dough overnight before baking. This actually improves the flavor and gives the loaf an even better crust and chewy texture the next day.
More Homemade Bread Recipes


Before You Head Out
If you gave this recipe a try, I'd be so thankful if you could leave a ★★★★★ rating and review below. It helps other readers, supports my work, and means the world to me. Thank you for being part of The Yummy Bowl family. Happy cooking! ❤️
Recipe Card

Sourdough Loaf
Ingredients
Equipment
Method
- The night before baking, feed your sourdough starter about 6-8 hours before making the dough. Place it in a warm spot (around 78-80°F) and let it become bubbly and doubled in size. Once the starter reaches peak or near-peak activity, place it in the refrigerator overnight.
- The next day, remove the ripe starter from the fridge and let it come closer to room temperature before using it in the bread dough.
- Mix the dough: In a large mixing bowl, combine the bread flour and water until no dry flour remains. The dough will look rough and shaggy. At this stage it usually looks messy and questionable. Perfect.720 g bread flour, 380 g water
- Rest the dough: Cover the bowl and let the dough rest for 30 minutes. This helps hydrate the flour and improves texture later.
- Add the starter and salt: Add the active sourdough starter and salt. Mix thoroughly until fully incorporated and the dough starts feeling smoother.140 g active sourdough starter, 14 g fine sea salt
- Do stretch and folds: Over the next 2 hours, perform stretch and folds every 30 minutes. This sounds fancy, but it's basically just gently lifting and folding the dough. Gently pull one side of the dough upward and fold it over the center. Rotate the bowl and repeat on all sides.
- Bulk ferment the dough: This is the hardest part for impatient people (me). Cover and let the dough rise at room temperature for about 6-8 hours, or overnight if your kitchen is cooler. The dough should look airy, puffed up, and slightly jiggly.
- Shape the loaf: Turn the dough onto a lightly floured surface and shape it into a round loaf, creating gentle surface tension.
- Proof the dough: Place the dough seam-side up into a floured proofing basket or a bowl lined with a floured towel. Cover and let rise for 1-2 hours, or refrigerate overnight for deeper flavor.
- Preheat the oven: Preheat the oven to 240°C / 465°F with a Dutch oven inside.
- Score and bake: Turn the dough onto parchment paper, score the top with a sharp blade, and carefully transfer it into the hot Dutch oven.
- Bake covered then uncovered: Bake covered for 20 minutes. Remove the lid and bake another 20-22 minutes until the crust is deeply golden and crisp. That first crackling sound after baking is honestly the best part.
- Cool completely: Transfer the loaf to a wire rack and let cool completely before slicing. This helps the inside stay soft and chewy instead of gummy.
- Enjoyed this recipe? Leave a quick 5-star rating and review to let me know!
Nutrition
Notes
Tried this recipe?
Let us know how it was!Note: Nutrition information is estimated and varies based on the products used.
Full Nutrition Disclaimer can be found here.
Join TYB
Insider
Get access to exclusive recipes,
weekly meal plans, printable
grocery lists, and AD-FREE
browsing designed to make
mealtime easier.


Comments
No Comments