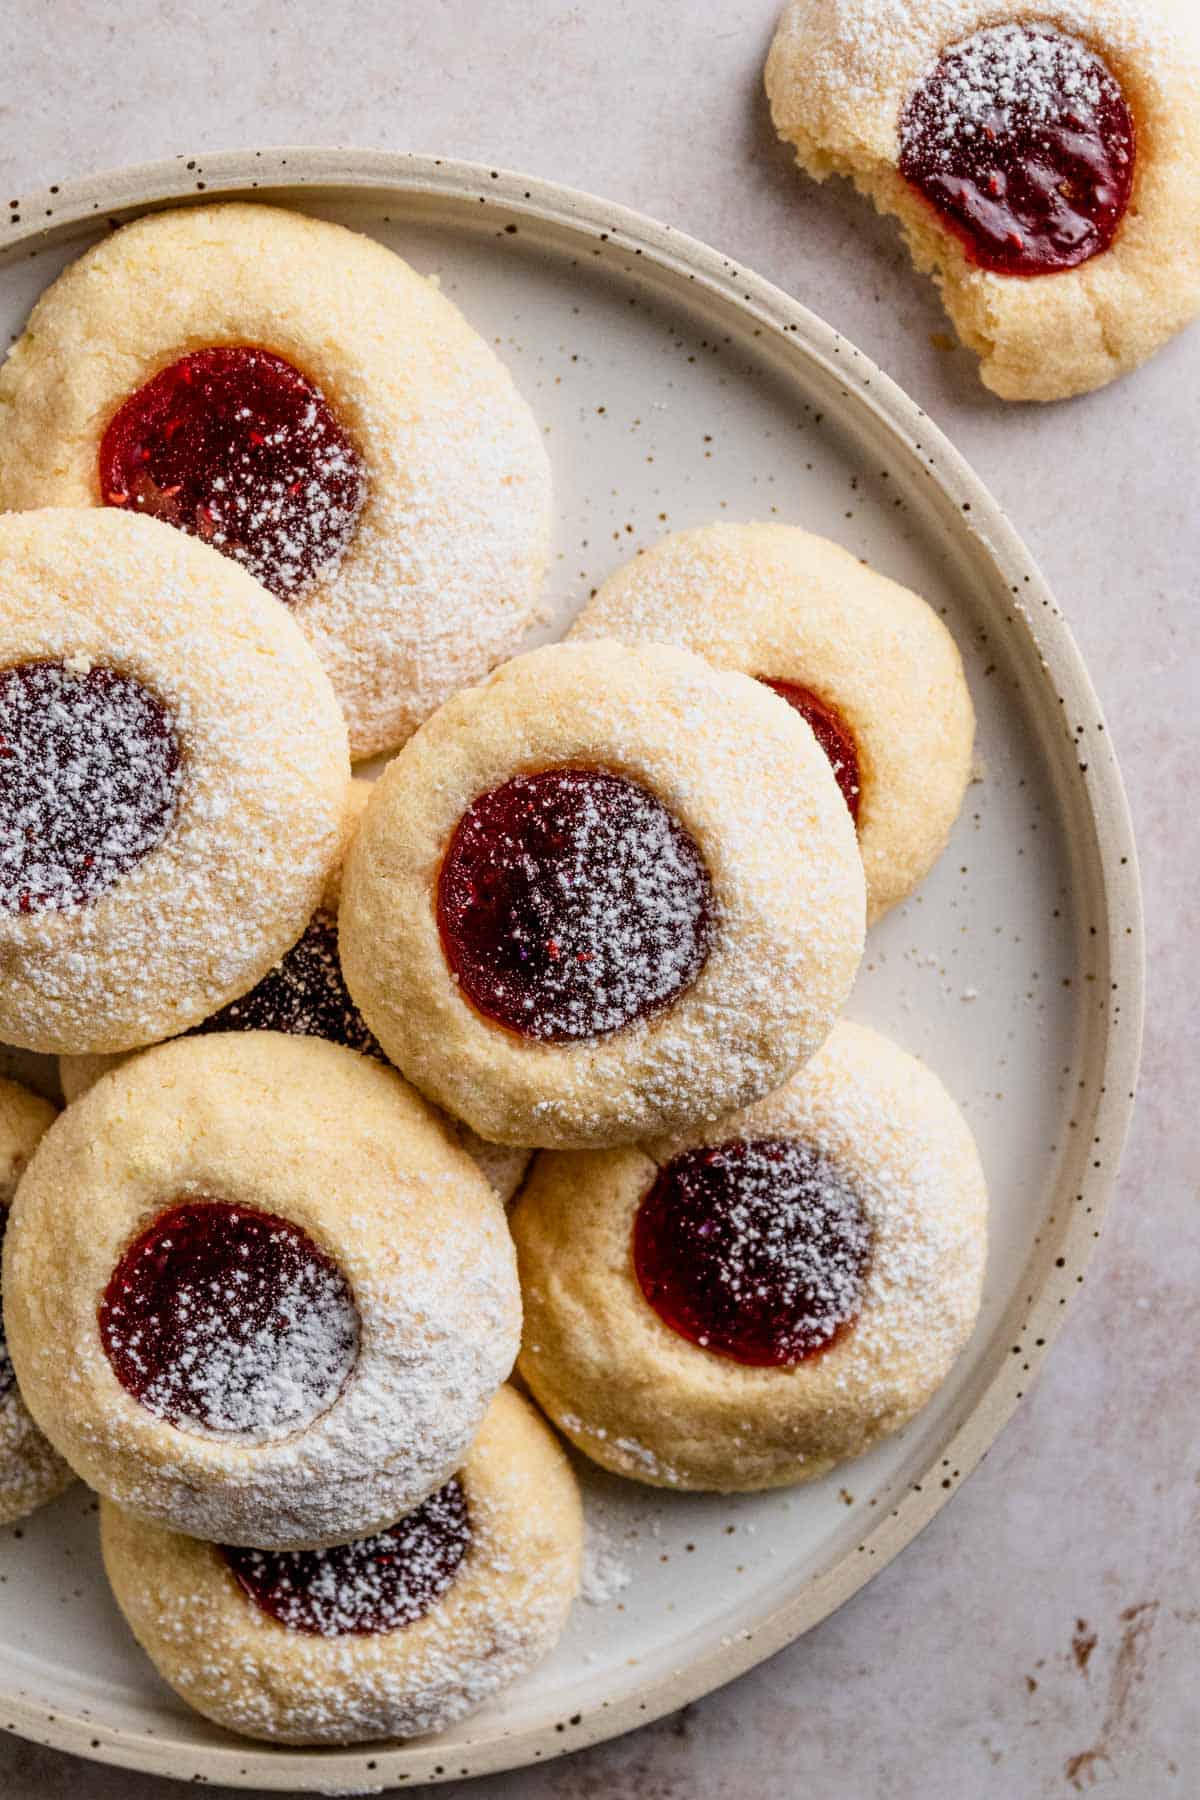
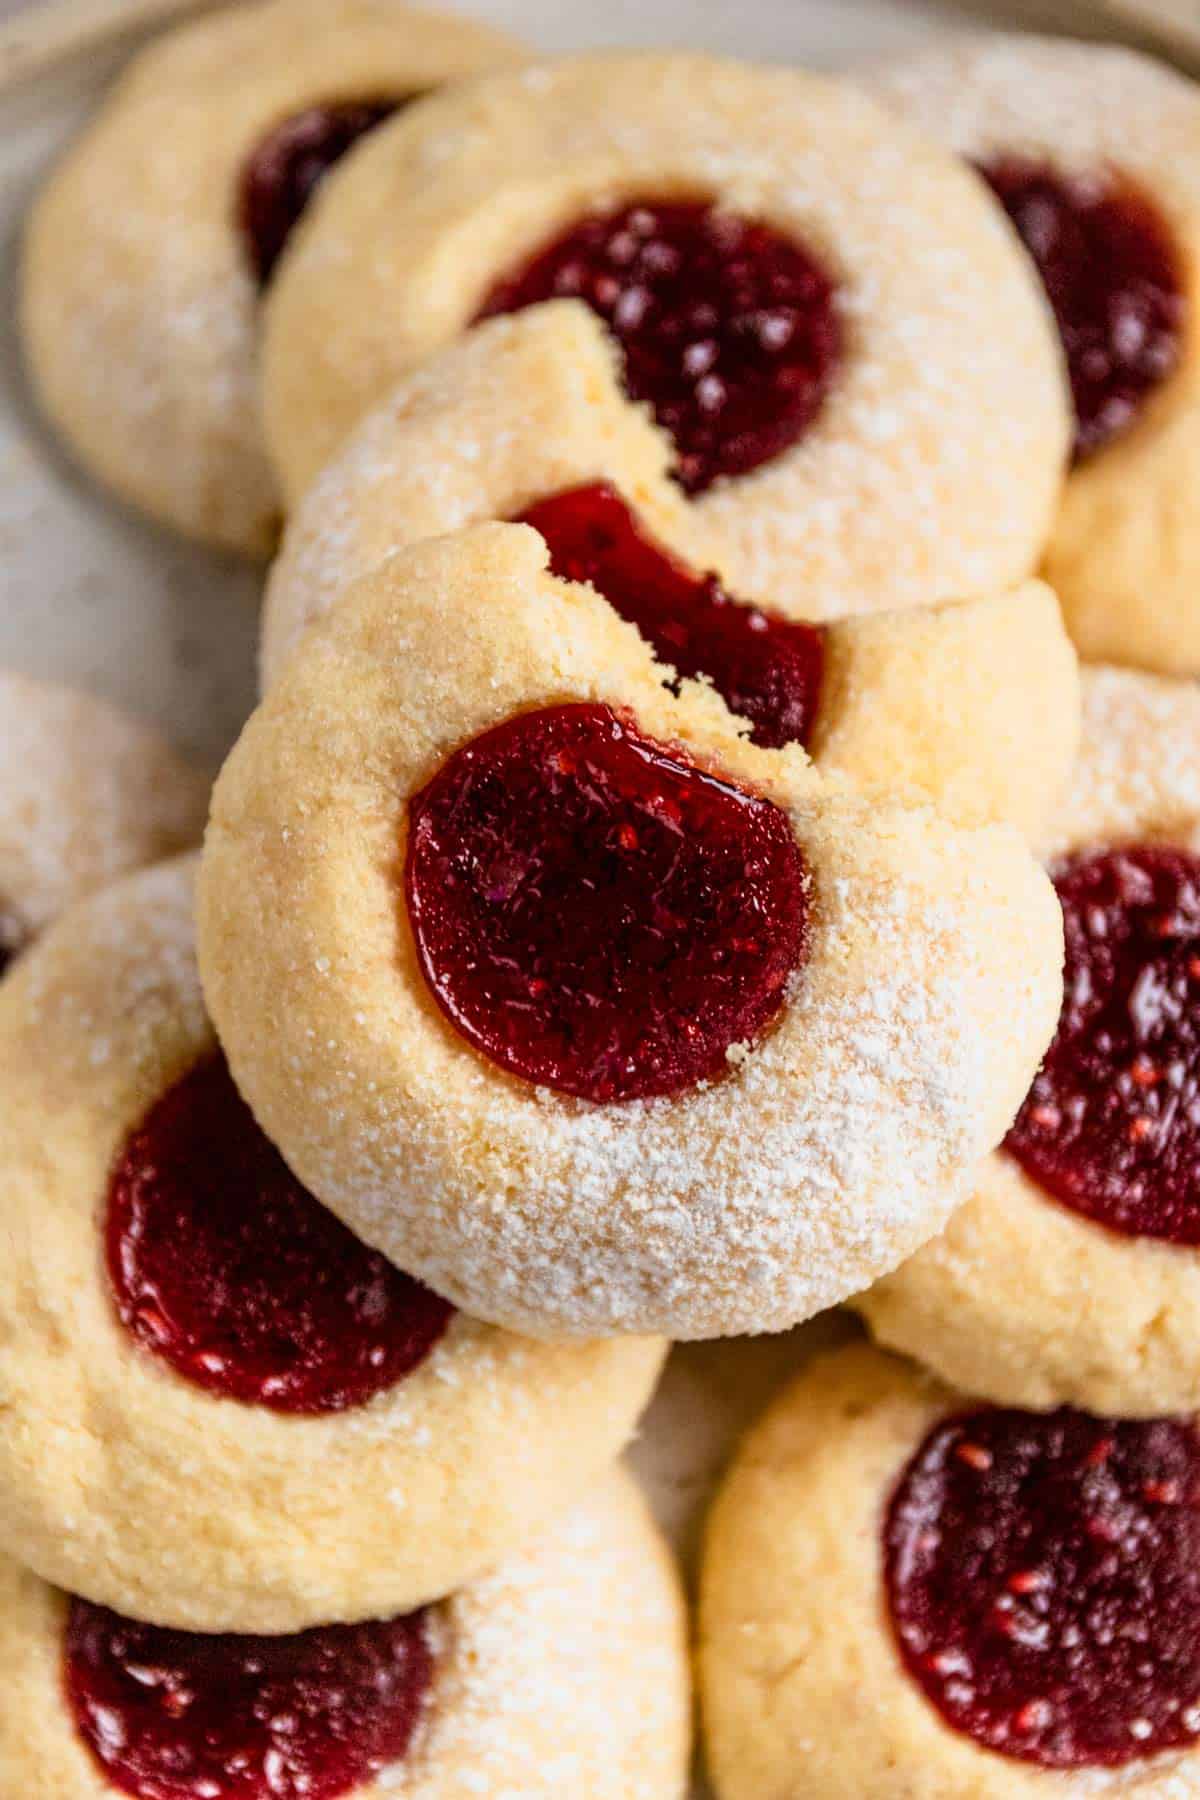
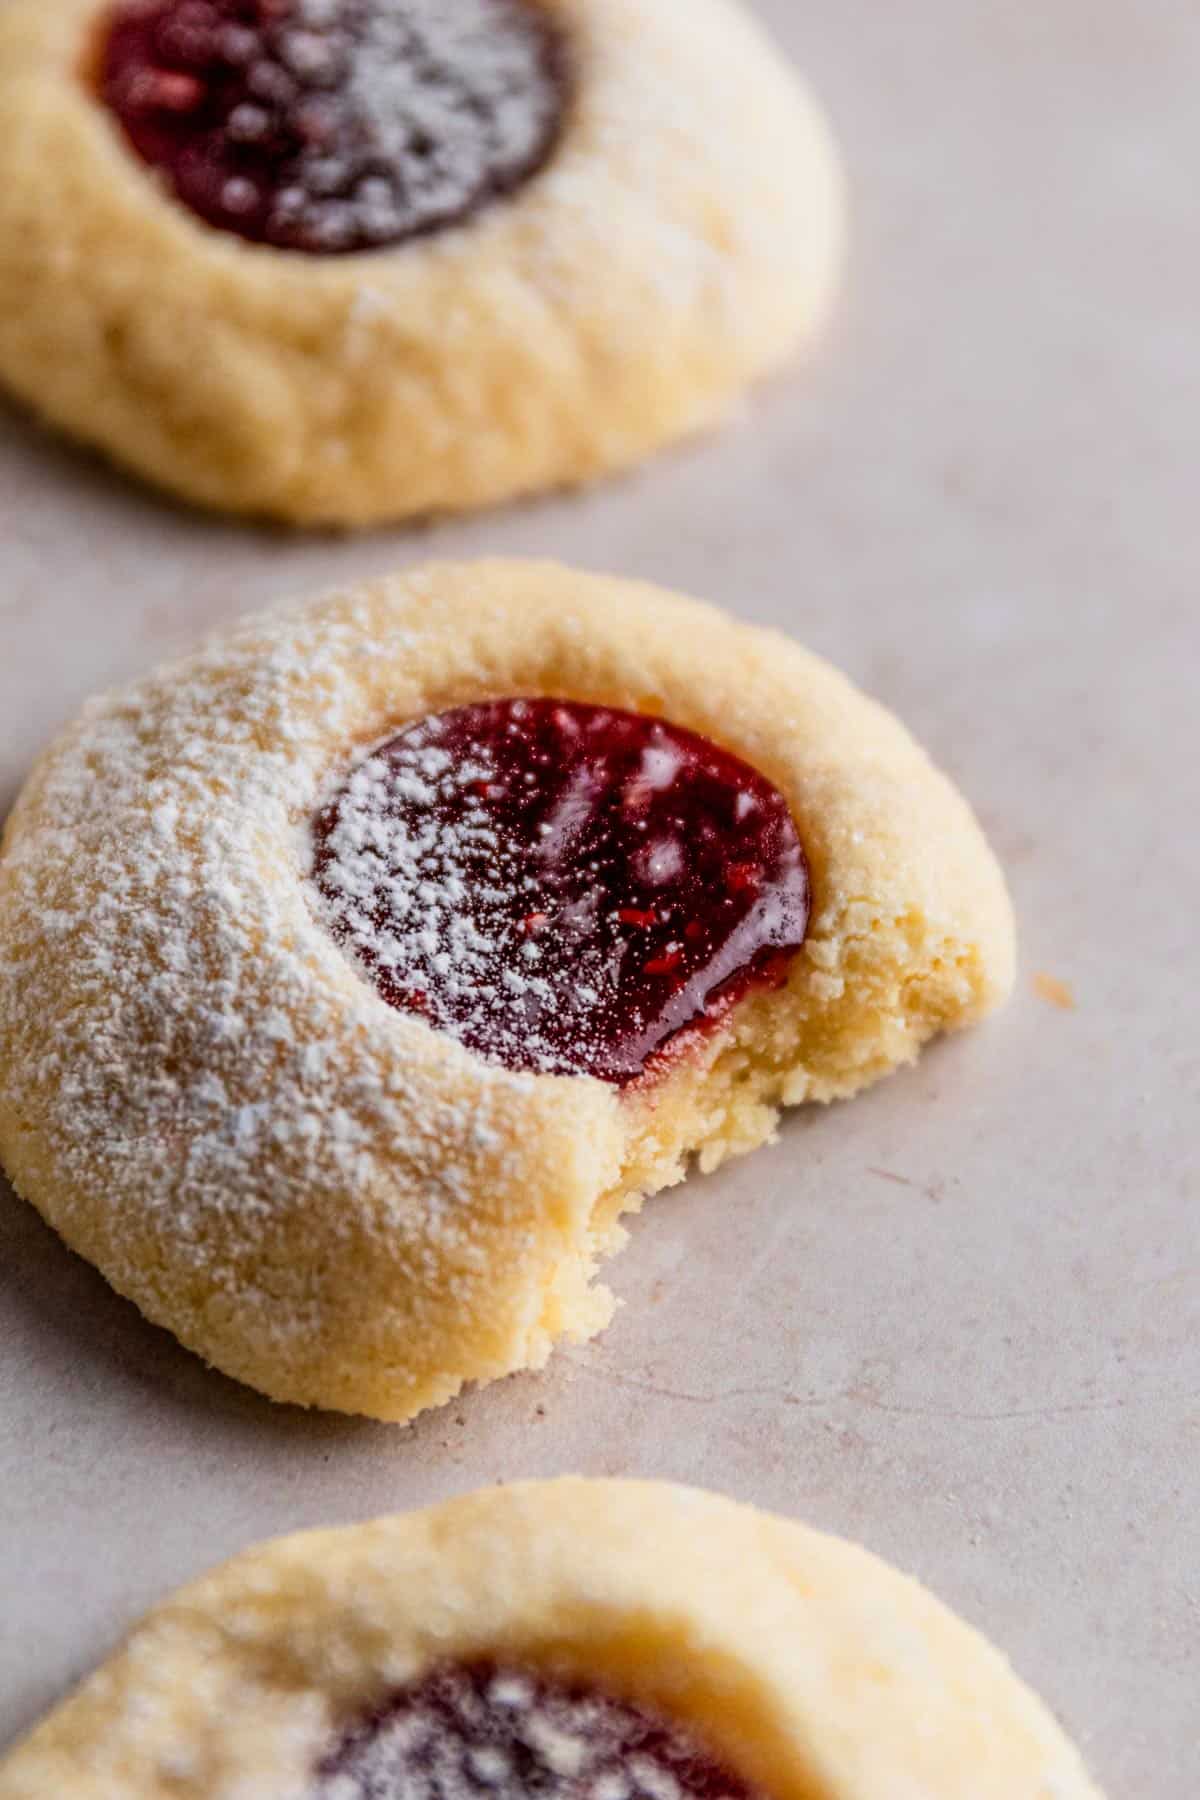
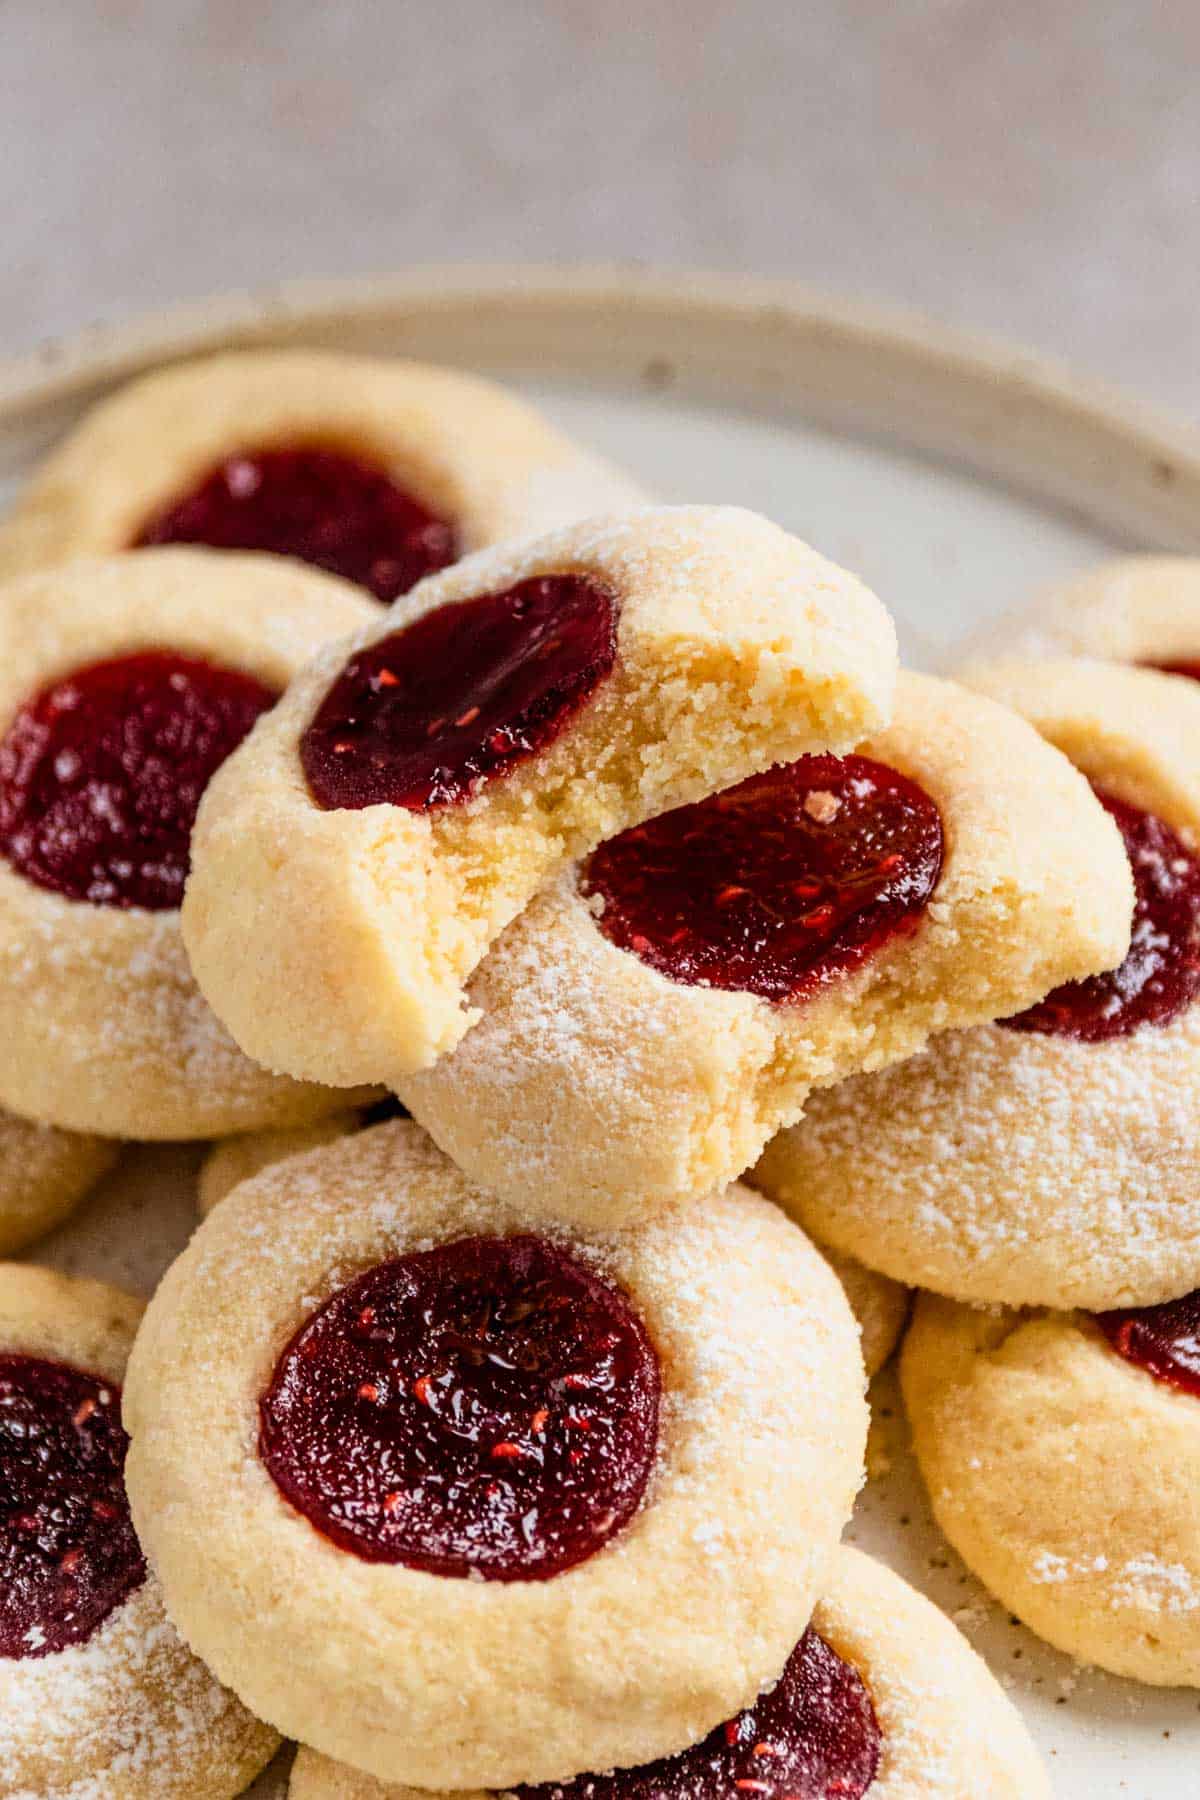
Raspberry thumbprint cookies are soft cookies that will remind you of a buttery shortbread filled with tangy raspberry jam. You can make these with regular or gluten-free flour blend and both versions are incredibly flavorful. These cookies just melt in your mouth!
Jump To
Try other popular cookies rhubarb cookies or oatmeal cookies.
Why It's Yummy
Raspberry jam cookies are a popular dessert for quite a few reasons:
- Versatile cookies - Thumbprint cookies are simple to customize with a variety of flavors and fillings, including fruit jams, melty chocolate, peanut butter, caramel and so many more. You can take it to the next step by dipping baked cookies in melted milk or white chocolate as I did with my almond flour thumbprint cookie recipe.
- Ease - These cookies might look complicated but in reality, they are relatively simple to make. And these cookies require only a handful of ingredients that you most probably already have in your kitchen.
- A recipe you can count on - these thumbprint cookies are great for gluten-free flours blends and the result is always soft and tender buttery flavor and cookies that don’t fall apart without adding any extra leaving agents.
- These beloved cookies will remind you of childhood and are often quite popular during holiday baking. Everyone loves these cookies in our family, and still can’t believe that these cookies can be gluten-free.
Want to Save This Recipe?
Enter your email and we’ll send the recipe directly to you!
By submitting this form, you consent to receive emails from The Yummy Bowl.
Ingredients
- Raspberry Jam - it is the classic flavor but other favorite options are very welcome: caramel, strawberry rhubarb, peanut butter, other fruit jams, preserves and chocolate.
- Unsalted Butter - this is what gives those cookies their tender, rich buttery flavor and texture. For vegan version, use vegan butter instead.
- Sugar - I used both confectioners sugar and a little bit of white sugar. White granulated sugar helps with the sweetness and chewy texture and confectioners sugar makes those cookies very tender.
- Pure Vanilla extract - usually 1 teaspoon is enough but for added floral sweet flavor I like to add 1 ½ teaspoons.
- Flour - these are made with gluten free flour blend with xanthan gum but regular all-purpose will produce very similar results. I also have a great recipe for homemade gluten free flour. From popular brands, we love Bobs Red Mill.
- Salt - use just a little to balance the overall cookies' flavor and their sweetness. If using salted butter, omit the salt but I highly recommend using unsalted butter here.
Instructions
Preheat oven to 325 degrees Fahrenheit line a baking sheet with parchment paper and set aside.
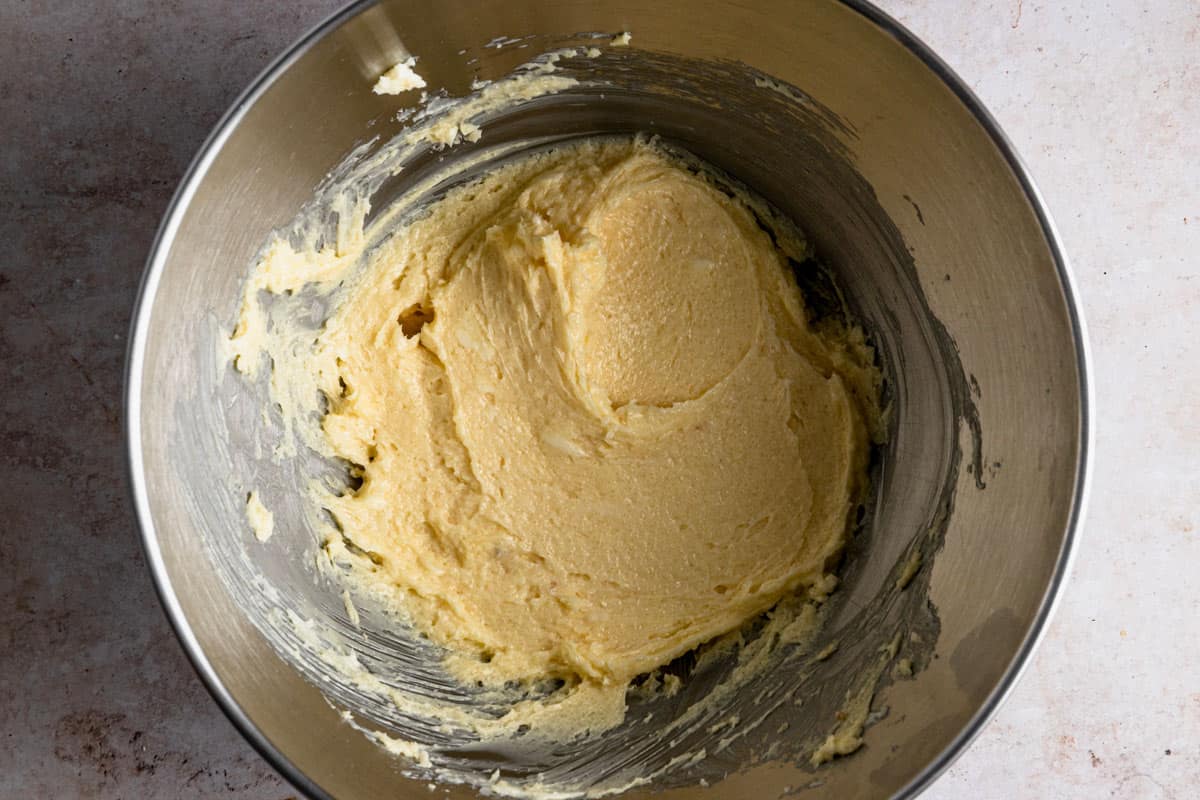
In a large mixing bowl or bowl of a stand mixer fitted with the paddle attachment beat butter and both sugars until light and fluffy.
📋 JULIA'S TIP Why use unsalted butter? The salt content in various butter brands varies. Depending on the brand, different amount of salt is added according to their recipes. I like to use unsalted butter in baking, so I can control the salt content myself.
Take the time during this step as this will determine how your cookie dough turns out. If beaten well, in the end, the texture should melt in your mouth immediately.
If beaten too little, the cookies may taste similar but not as good as they should. The batter should be somewhat sticky.
Slowly add egg yolk, vanilla, and salt. Beat on low until well combined.
Add the flour to the butter mixture and combine.
The batter will be somewhat sticky. If using a gluten-free flour blend, depending on the brand the batter may be overly sticky.
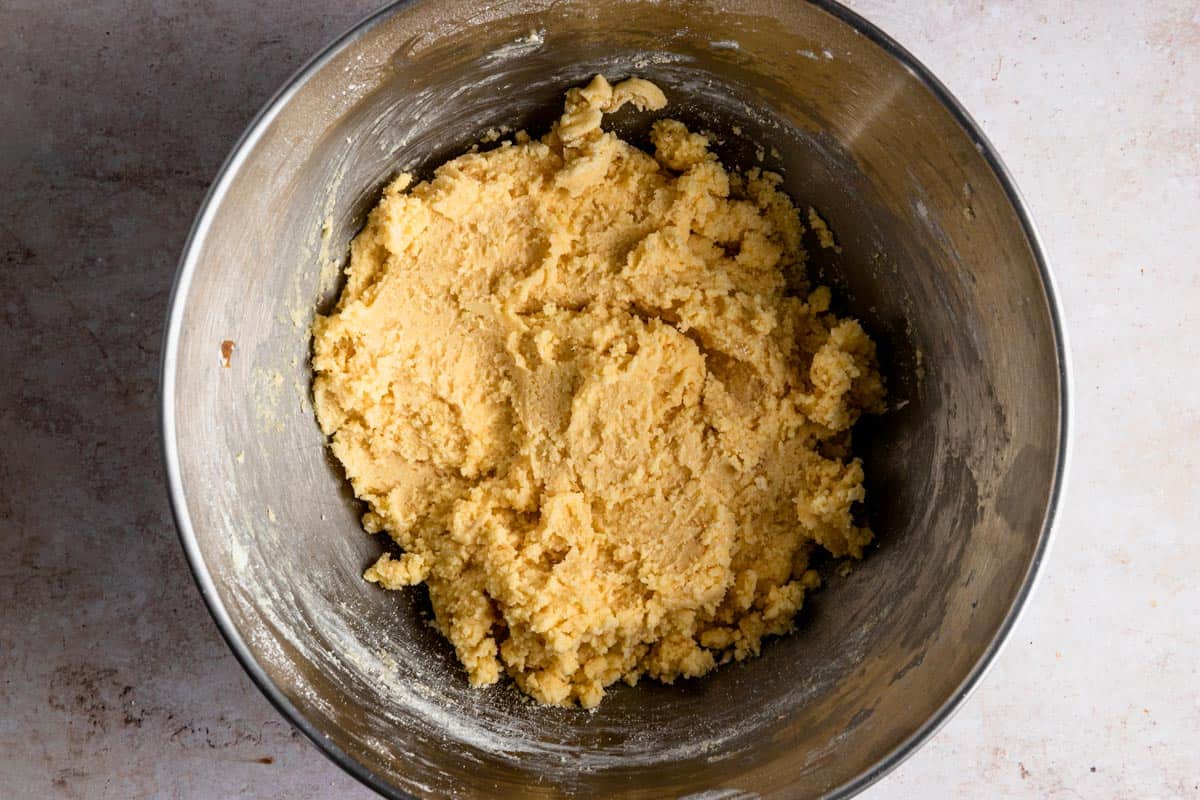
In this case I recommend refrigerating or freezing the dough until it is easy to manage. The cookies will not change in terms of texture or flavor after freezing. But they will sure spread way less.
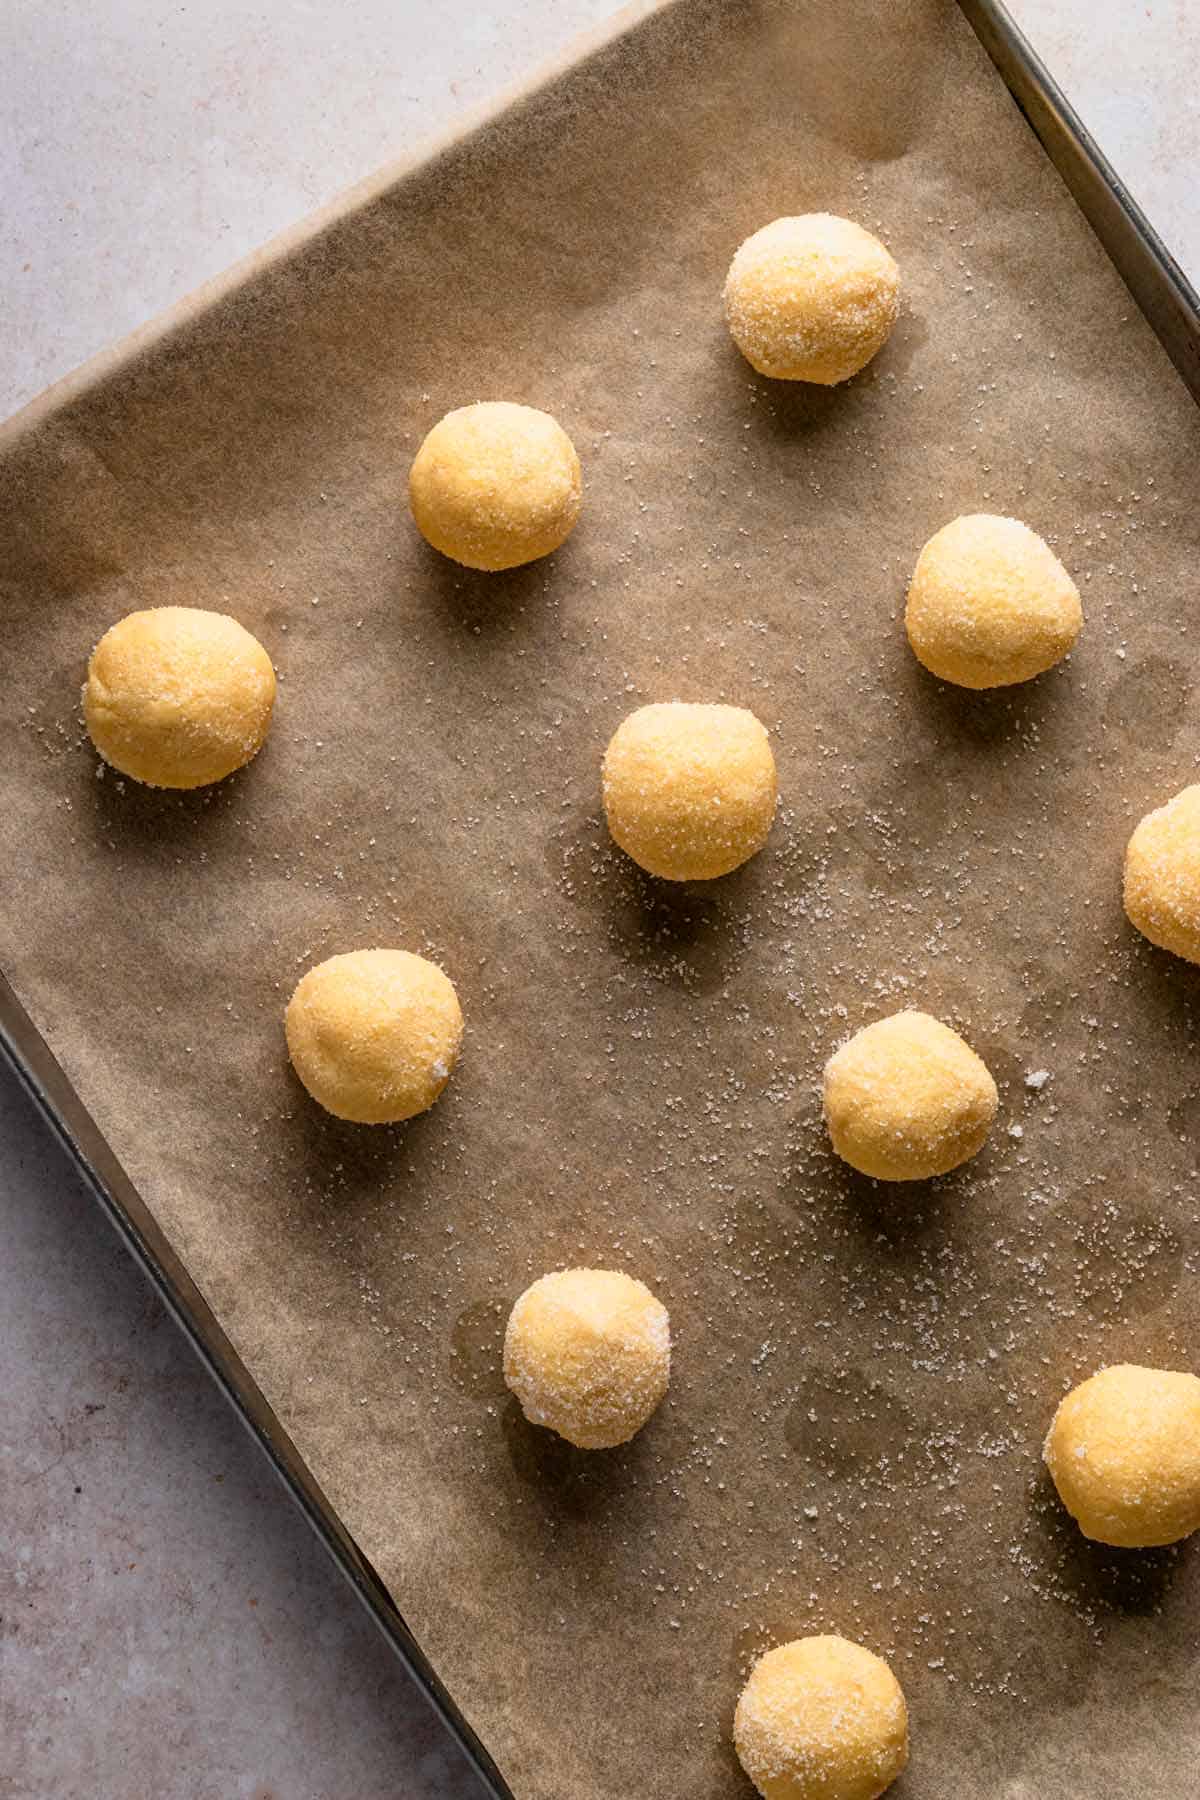
Scoop the dough into portions of about 1 ½ tablespoons each and arrange on the baking sheet lined with parchment paper.
Roll each portion into a nice round ball shape, dip in granulated sugar (you need about ¼ cup for this batch) and place back on the tray.
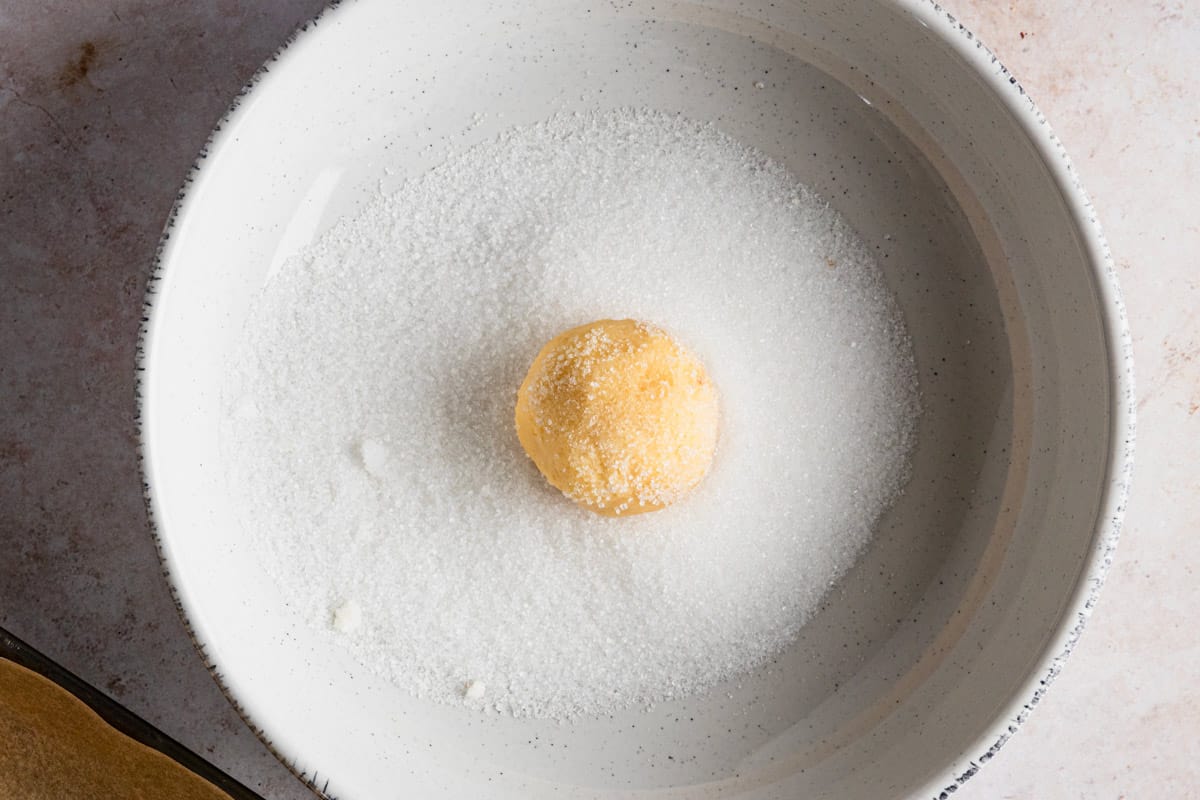
These cookies don’t spread as much, so there’s no need to leave more than 1 ½ - 2 inches between each.
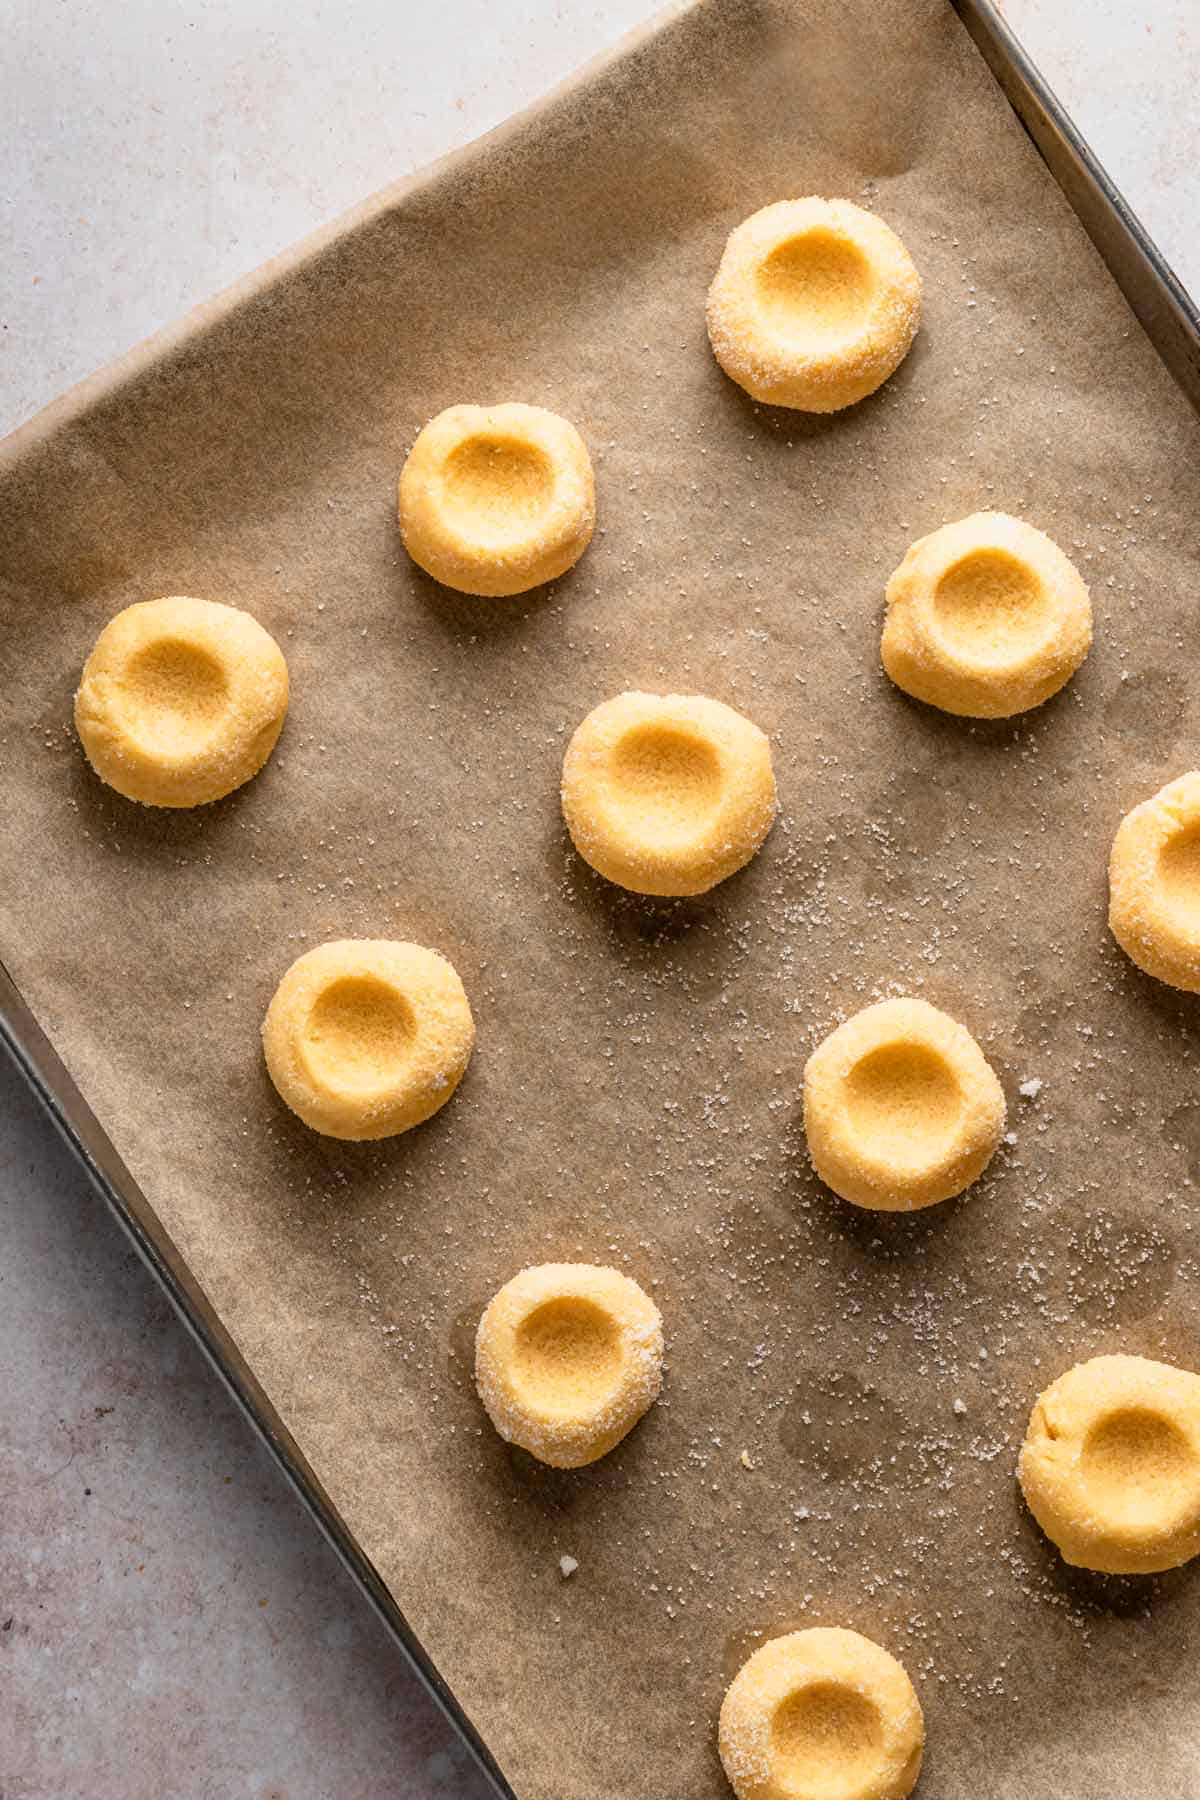
Press down the center of each ball with the back of a teaspoon measuring spoon,( the handle-end of a wooden spatula, a small bottle cork or your thumb!), making a deep well in the middle.
It should be deep enough to fill with 1 teaspoon of jam but should not be too wide.
If you make it wide and not deep, cookie jam may spread out on top of the cookie while baking, making it still eatable but not the prettiest-looking cookies.
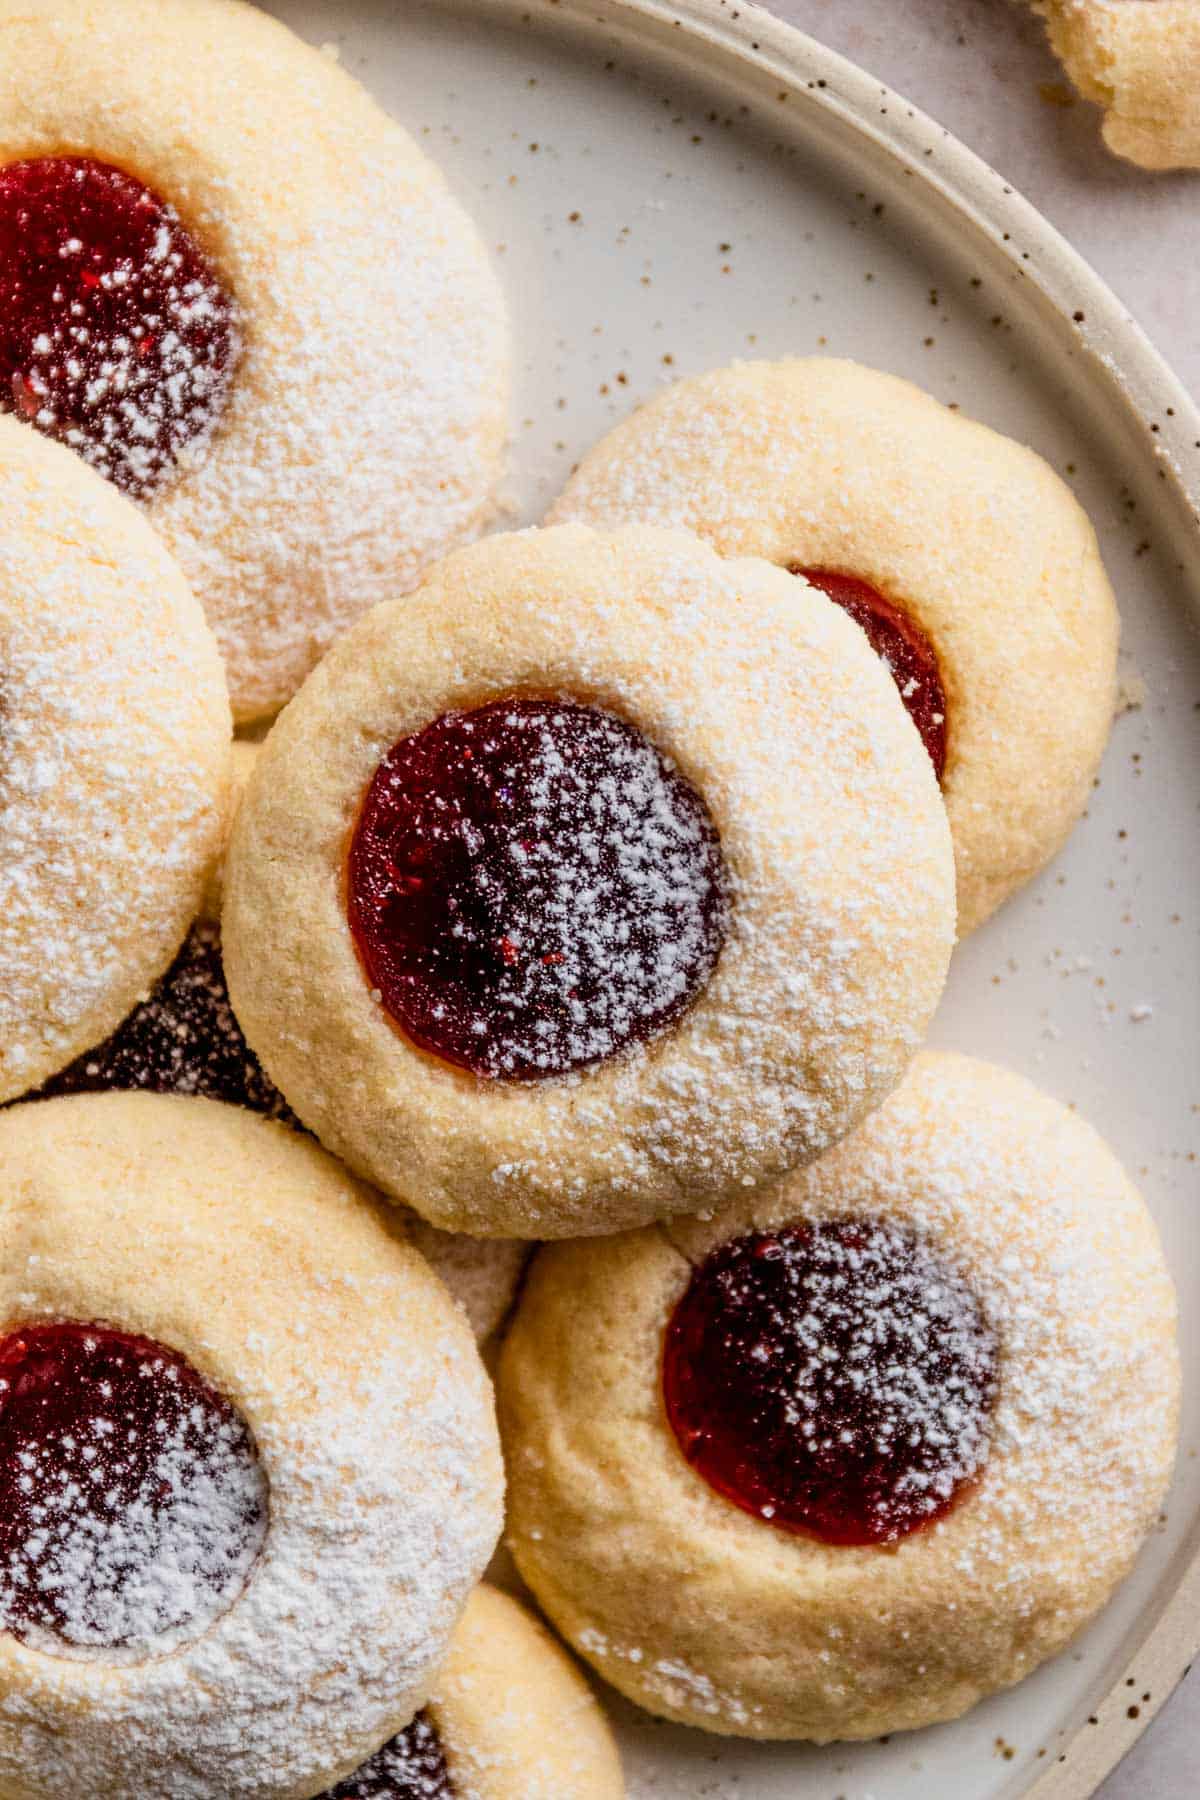
Spoon about 1 teaspoon of raspberry jam (don’t overfill) into each indentation and transfer the tray with cookies onto the middle rack of the oven.

Bake for 10-15 minutes.

Remove from the oven and allow to cool on the baking sheet for at least 10 minutes or until firm. Sprinkle more confectioner’s sugar if desired.
Tips
- Use softened to room temperature butter - as with most of my cookie recipes, using softened butter will help to blend more easily with sugar and the end result should be creamy and even.
- Use high-quality ingredients - flour brand that you trust and have previously made cookies with, butter, and raspberry jam (jam should be thick). This will ensure your cookies taste great and are of high quality.
- I recommend chilling the dough for at least 30 minutes until it is not overly sticky and easy to work with. Your cookies will spread less.
- Don't overfill - don't add too much of the raspberry jam into each indentation. This will make cookies spread more and the flavor will become too sweet.
- Add-ins and mix-ins - you can add nuts and chocolate chips into the batter if you wish. Mini chocolate chips are best here, and you only need a very small amount as this is a small-batch cookie recipe.
- The easiest way to make a small well in the cookies is to use the back of a measuring spoon (teaspoon size) or a small bottle cork.
- Make sure to take the time while beating the sugar and butter (room temp!) as this will determine how your dough turns out. If beaten well, in the end, the texture should melt in your mouth immediately. If beaten too little the cookies may taste similar but not as good as they should.
- The dough should be somewhat sticky.- if your dough is too crumbly, you didn’t mix the dough long enough. Try mixing the dough fully/longer and let it come together. The dough should be somewhat sticky.
- Fruit jam vs fruit preserve - whatever you’ll use the cookies will taste superb, but here are few things to keep in mind. The thicker your jam, the less likely it will spread or ''run’’ during baking, so I would recommend using chunky, thick fruit preserve for your cookies.
- When making a well in the middle of the cookies, try to make it deep and shallow. If you make it wide and not deep, cookie jam may spread out on top of the cookie while baking, making it still eatable but not the prettiest-looking cookies.
- Allow the cookies to cool completely before eating. About 10 minutes or so. The jam and the texture will set nicely by that time and your cookies will not fall apart easily. Although this being said, these cookies are tender and will start to crumble after storing them for too long.
- Depending on which gluten-free flour blend you're using, make sure it has xanthan gum in it, if not you'll need to add ½ teaspoon.
- These raspberry thumbprint cookies make an excellent gift box and are beloved at any family gathering or holiday. Easy to double the recipe for a larger batch.
Variations
- Chocolate thumbprint cookies - Add a little amount of cocoa powder to the dough and fill the wells with chocolate ganache or melted chocolate (chocolate bars + butter).
- Peanut butter thumbprint cookies - Instead of jam, use creamy peanut butter to fill the indentations.
- Lemon thumbprint cookies - Add orange, lime or lemon zest to the batter. For the filling, you could use thicker lemon curd.
- Almond thumbprint cookies - you can add almond extract to your cookies or try my almond flour thumbprint cookies next!
- Caramel thumbprint cookies - Add my caramel sauce or pumpkin caramel to the indentation and sprinkle the cookies with sea salt flakes once baked.
Storing and Freezing Instructions
- To Store. Store thumbprint cookies in an airtight container at room temperature for up to a week.
- To Freeze. Freeze for up to two to three months. If you can, freeze these on a flat surface without stacking them up on top of each other. My best recommendation here is to flash freeze (just enough for cookies to harden and not stick to each other) these on a baking sheet and then transfer to an airtight container or ziplock bag and then freeze them completely.
FAQs
Just like with many cookies, these thumbprint cookies can spread if not chilled before baking. If the butter you used was too soft and warm the cookies will spread quite a few inches. Try freezing the dough until it is hardened and set.
Thumbprint cookies tend to crack a little, and it is quite normal especially after making the small indentations in the middle. But it may also be the reason if you have overmixed your batter or used too much flour. If a small crack appears, quickly pinch and press the dough back together on the edge.
Sure they do! Place the cookies in one single layer on a baking sheet or similar and pop them in the freezer until they harden. Once cookies are set, transfer them to a ziplock bag or airtight container. I also recommend placing parchment paper sheets between the layers.
More Cookie Recipes
Recipe Card

Easy Thumbprint Cookies With Jam (Vegan, Gluten Free, Dairy Free)
Want to Save This Recipe?
Enter your email and we’ll send the recipe directly to you!
By submitting this form, you consent to receive emails from The Yummy Bowl.
INGREDIENTS
- 1 ¼ cups all purpose flour, or gluten-free flour blend, see notes
- 1 egg yolk , room temperature
- 8 tablespoon unsalted butter , at room temperature
- ⅓ cup confectioners' sugar
- 1 teaspoon pure vanilla extract
- ⅛ teaspoon salt
- ¼ cup white sugar , + ¼ cup for dipping
- 13 teaspoons Raspberry jam
- ½ teaspoon xanthan gum, if needed, see notes
INSTRUCTIONS
- Preheat oven to 325°F and Line a baking sheet with parchment paper and set aside.
- In a large mixing bowl or bowl of a stand mixer fitted with paddle attachment beat butter and both sugars until light and fluffy. Make sure to take the time during this step as this will determine how your cookie dough turns out. If beaten well, in the end, the texture should melt in your mouth immediately. If beaten too little, the cookies may taste similar but not as good as they should. The batter should be somewhat sticky.
- Slowly add egg yolk, vanilla, and salt. Beat on low until well combined.
- Add the flour to the butter mixture and combine. The batter will be somewhat sticky. If using gluten-free flour blend, depending on the brand the batter may be overly sticky. In this case I recommend refrigerating or freezing the dough until it is easy to manage. The cookies will not change in terms of texture or flavor after freezing. But they will sure spread way less.
- Scoop the dough into portions of about 1 ½ tablespoons each and arrange on the baking sheet lined with parchment paper. Roll each portion into a nice round ball shape, dip in granulated sugar (you need about ¼ cup for this batch) and place back on the tray. These cookies don’t spread as much, so there’s no need to leave more than 1 ½ - 2 inches between each.
- Press down the center of each ball with the back of a teaspoon measuring spoon,( the handle-end of a wooden spatula, a small bottle cork or your thumb!), making a deep well in the middle. It should be deep enough to fill with 1 teaspoon of jam but should not be too wide. If you make it wide and not deep, cookie jam may spread out on top of the cookie while baking, making it still eatable but not the prettiest looking cookies.
- Spoon about 1 teaspoon of raspberry jam (don’t overfill) into each indentation and transfer the tray with cookies onto the middle rack of the oven. Bake for 10-15 minutes.
- Remove from the oven and allow to cool on the baking sheet for at least 10 minutes or until firm. Sprinkel more confectioner’s sugar if desired.
NOTES
- I've using a gluten-free flour blend without xanthan gum or a similar leaving agent, add ½ teaspoons of xanthan gum.
- I used this gluten-free flour blend: Schär Mix C - Patisserie.
- Use softened to room temperature butter - as with most of the cookies, using softened butter will help to blend more easily with sugar and teh end result should be creamy and even.
- Use high-quality ingredients - flour brand that you trust and have previously made cookies with, butter, and raspberry jam (jam should be thick). This will ensure your cookies taste great and of high quality.
- The most easy way to make a small well in the cookies is to use the back of a measuring spoon (teaspoon size) or small bottle cork.
ADD YOUR OWN PRIVATE NOTES
Note: Nutrition information is estimated and varies based on the products used.
Full Nutrition Disclaimer can be found here.


Andrea
I am planning to make these for a work party. I wondered if I could prep the dough on Sunday to bake on Wednesday evening? Could I make the dough and keep it refrigerated until Wednesday and still have great cookies?
Julia
I think yes, just let the dough come to room temperature. These cookies don't spread as much and while it is better to make them fresh, refrigerating for a short period of time should be ok. The cookies should be airy and melt in your mouth texture 🙂 Let me know how it goes!
Hailey
What are the bottoms meant to look like I'm unsure if they're cooked correctly
Julia
they should not me crisp, these cookies are very tender and should remain soft and tender after cooling.
Kathy
My husband says they are”just like my mom used to make!”
Thank you!
Julia | The Yummy Bowl
thank you, glad you liked it! They are one of my favorites!
Julia | The Yummy Bowl
Raspberry cookies are incredibly flavorful - raspberry jam and buttery shortbread like consistency, these cookies are to become your new favorites.