

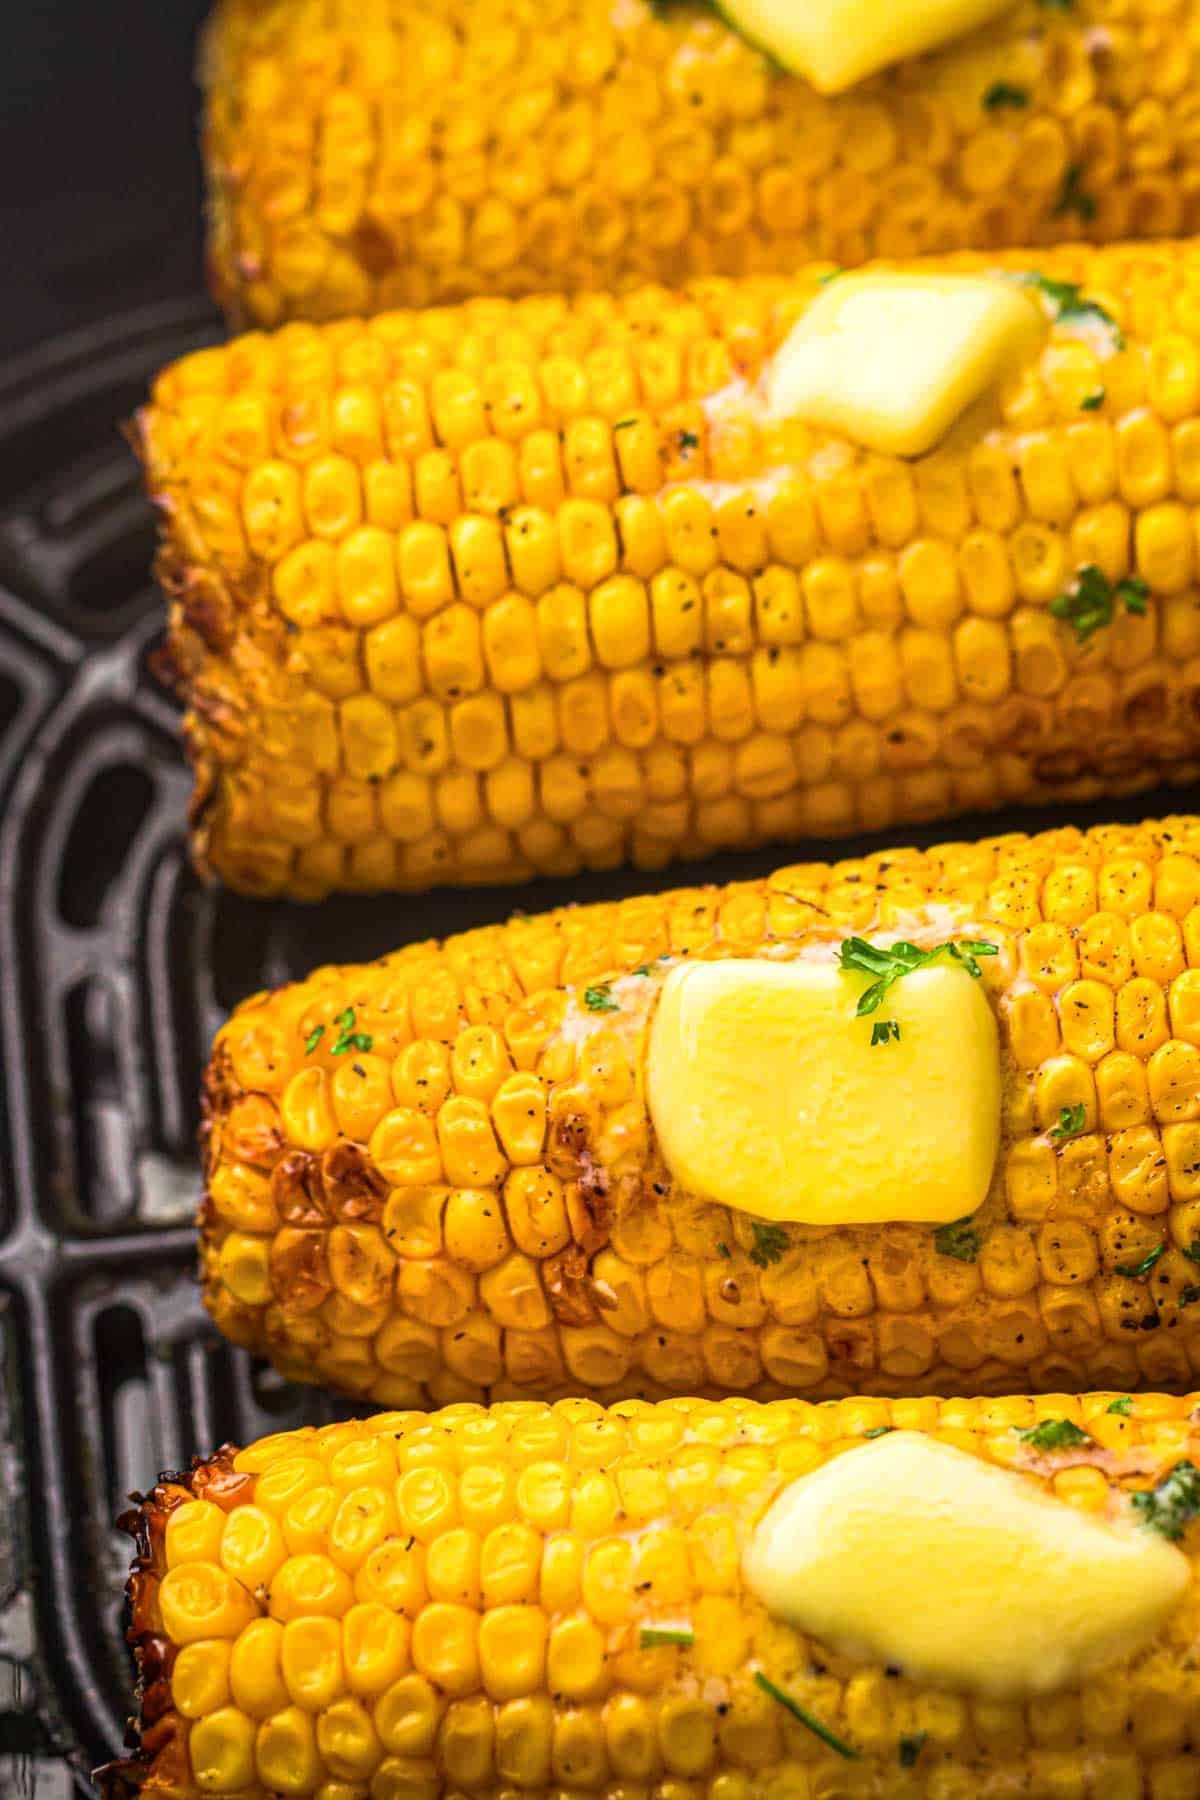
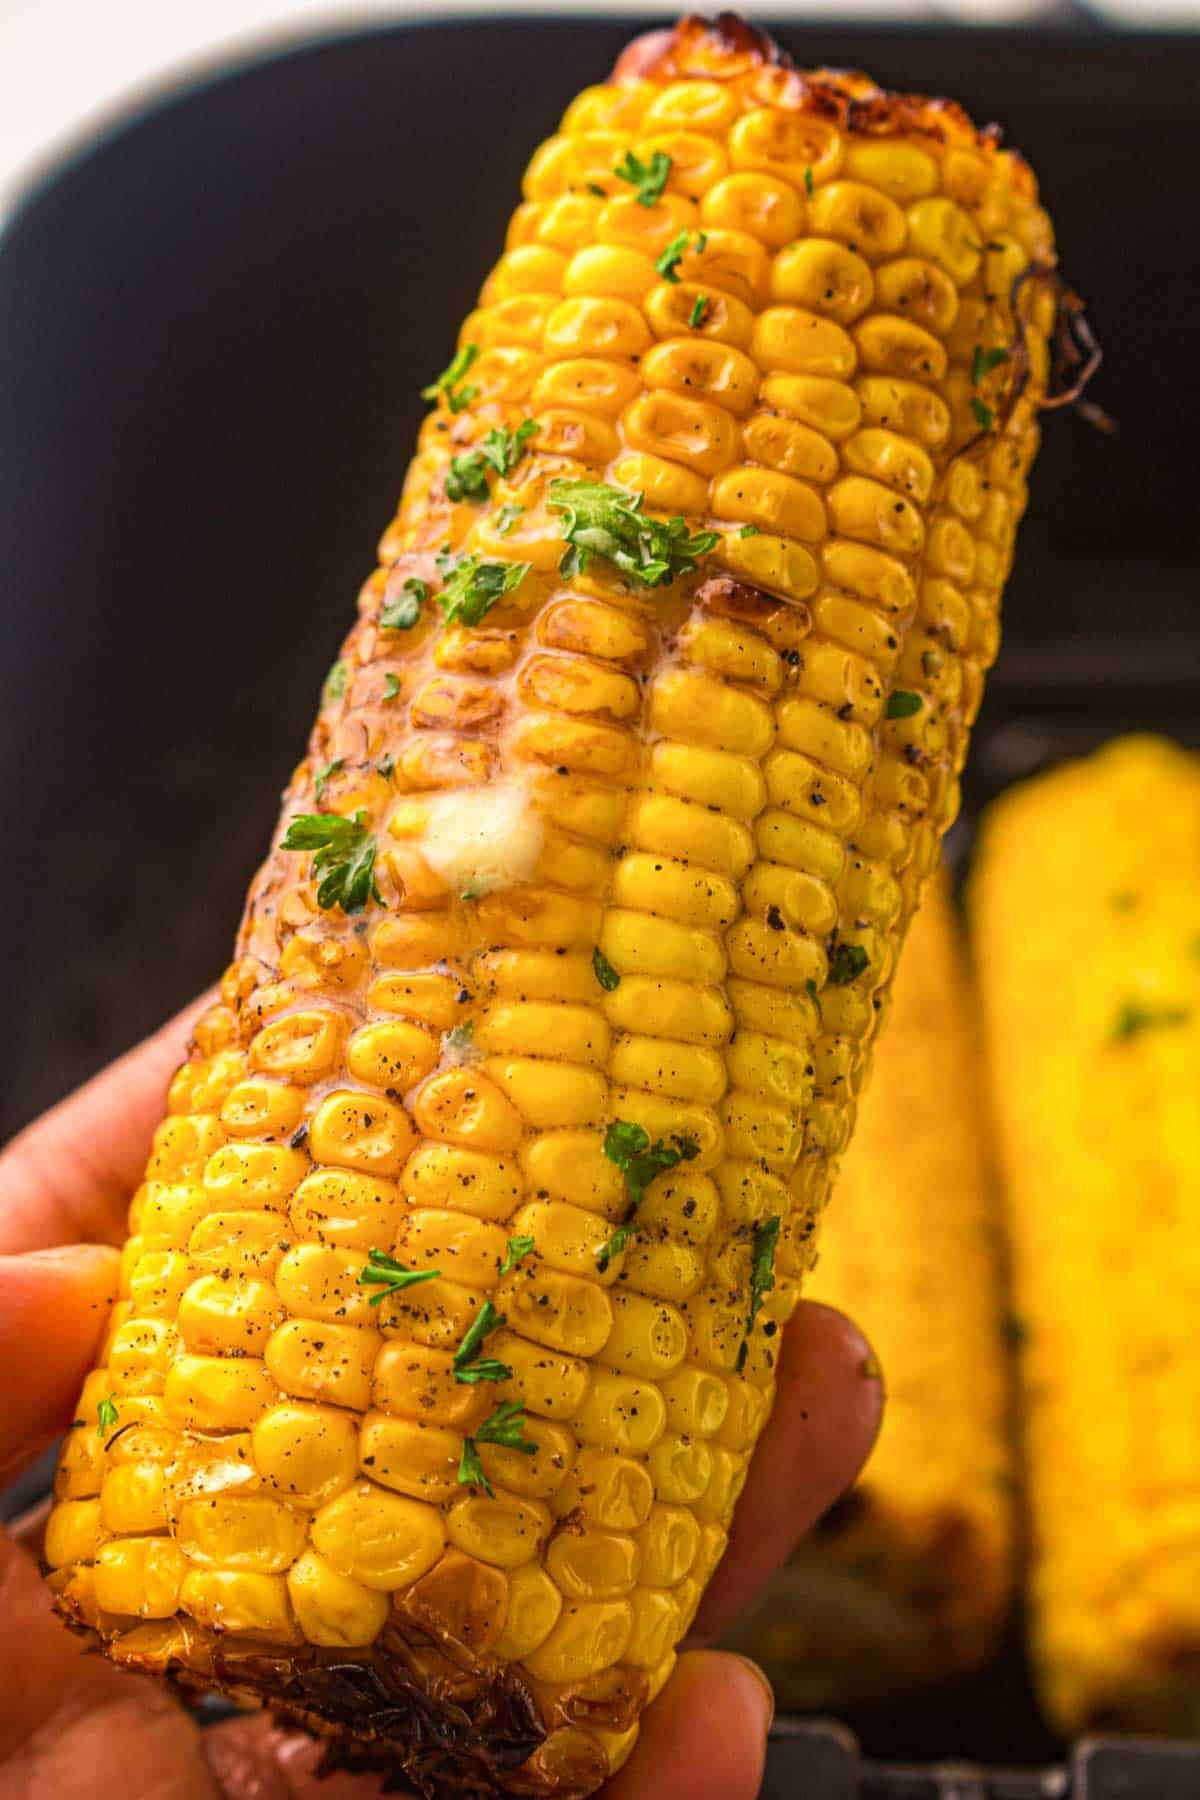
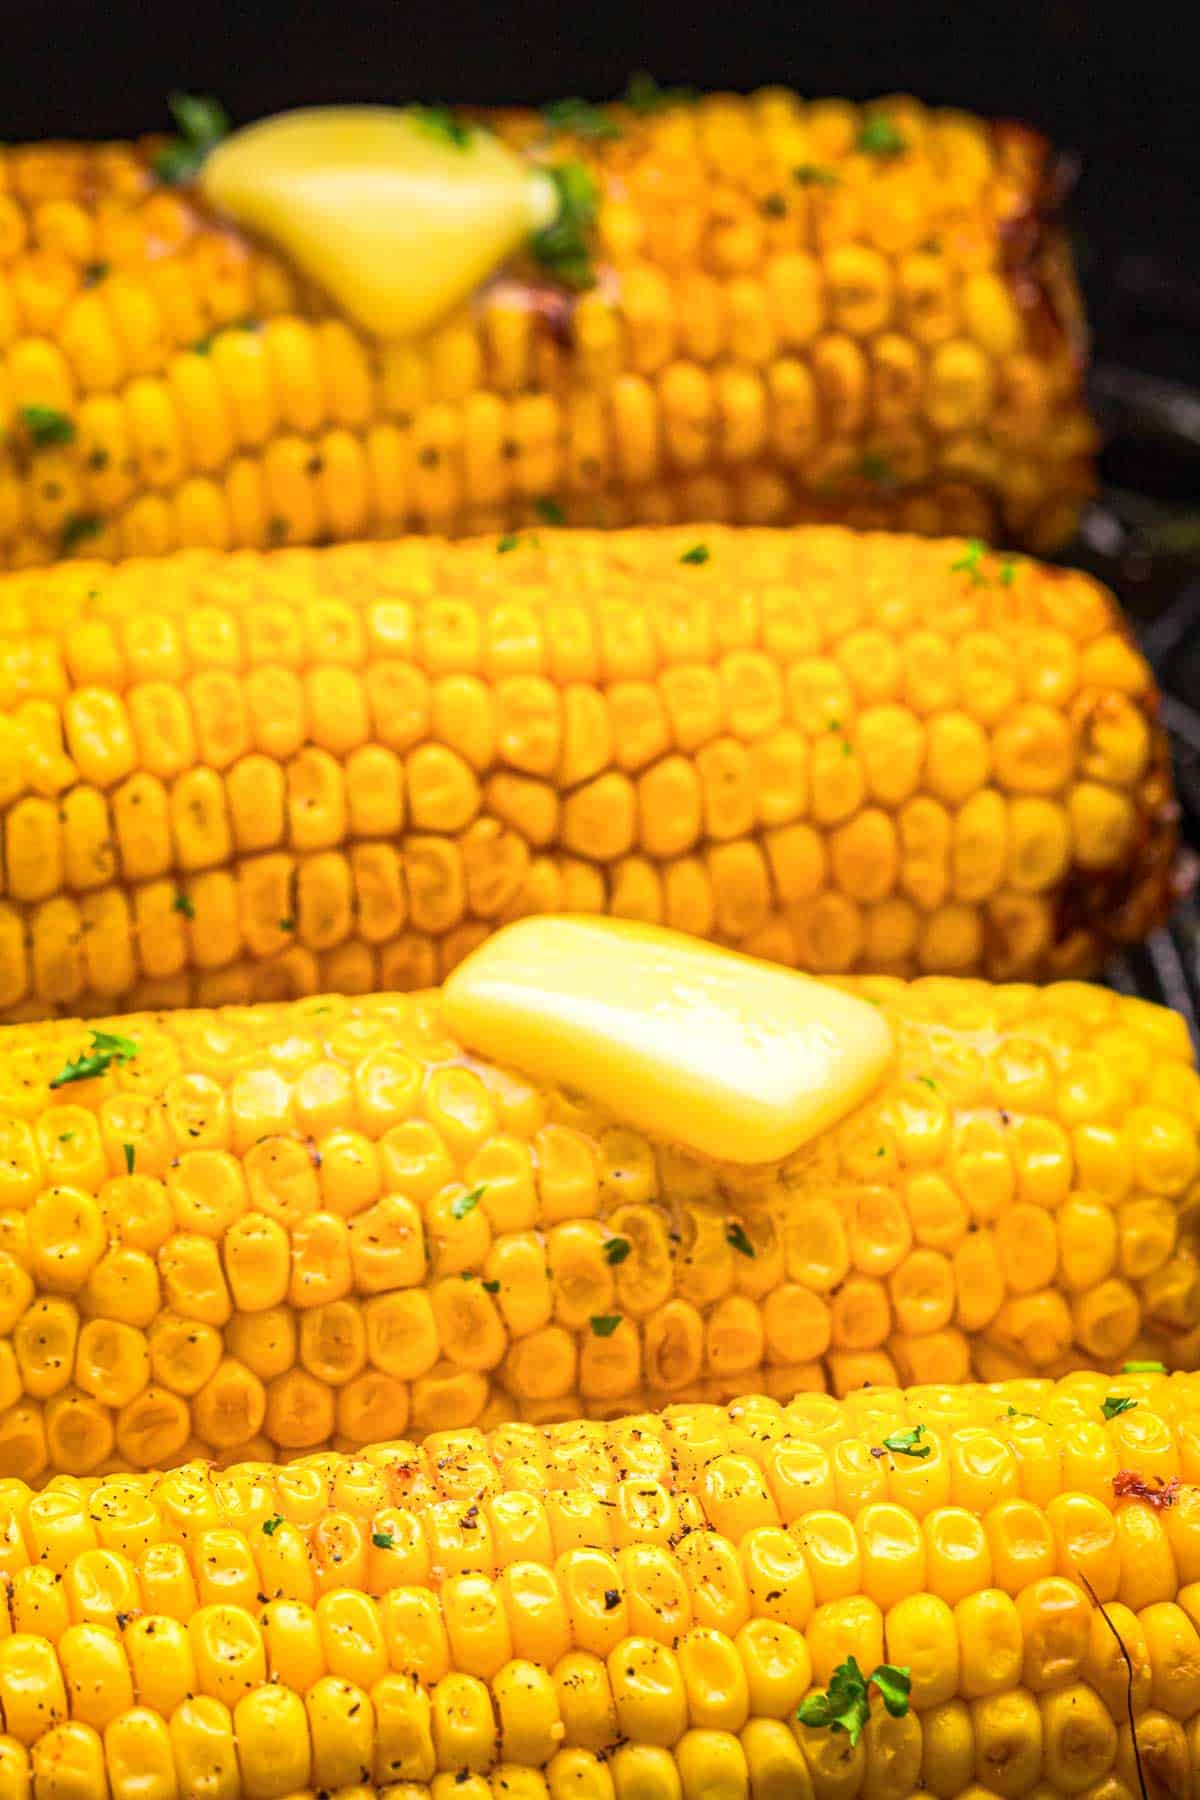
This Air Fryer Sweetcorn on the Cob takes just 1 pan, 18 minutes, and is practically hands-off-no boiling water, no fuss. It's juicy, buttery, and slightly charred in all the right ways.
Want to Save This Recipe?
Enter your email and we’ll send the recipe directly to you!
By submitting this form, you consent to receive emails from The Yummy Bowl.
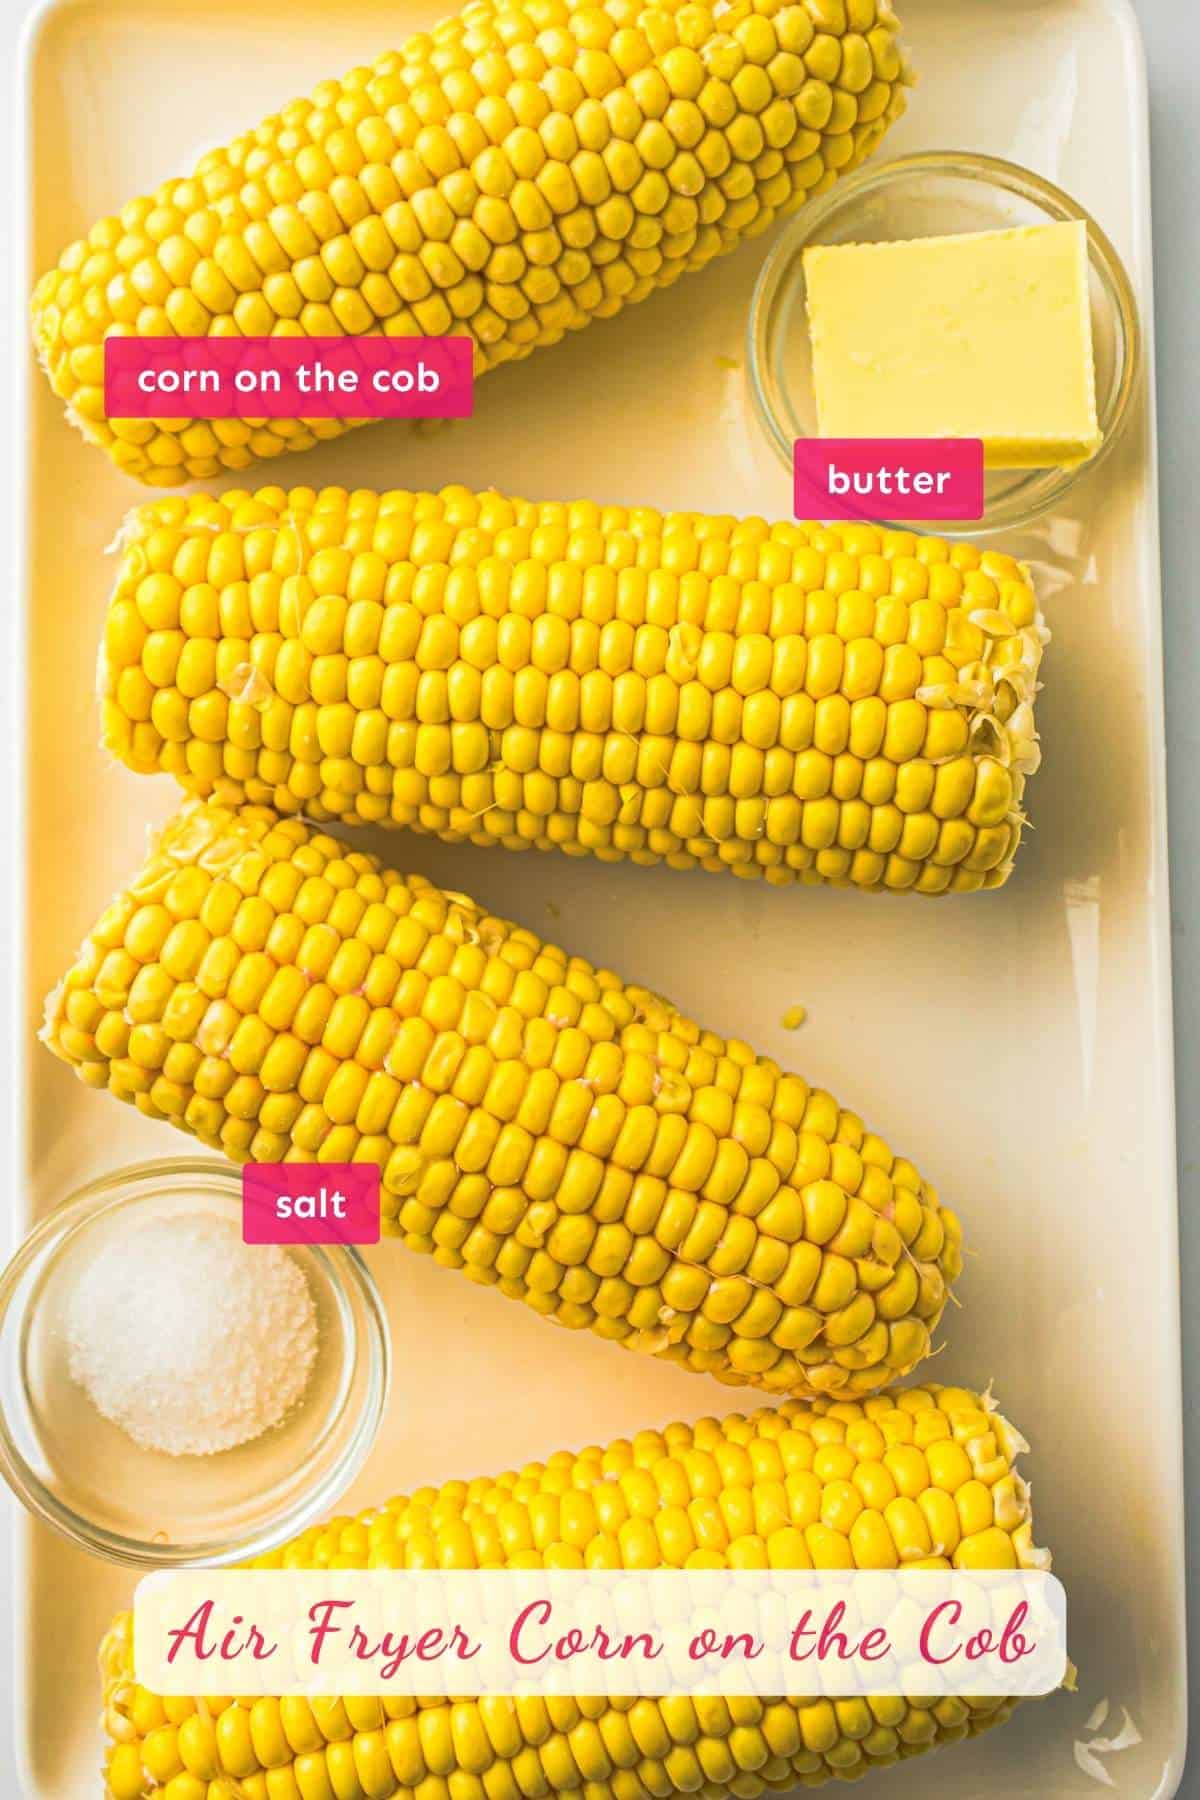
Ingredients
- Corn on the cob - Fresh, husked ears work best. If you can, buy it the day of for the sweetest flavor.
- Unsalted butter - This gives you full control over the saltiness. You can swap for vegan butter or even olive oil if needed.
- Salt - Brings out the natural sweetness of the corn. I like to keep it simple, but you can add more seasonings later if you want.
- You can also add some spicy mayo like in my Cajun corn recipe. Yum!
📋 You can find the full ingredient list in the Recipe Card below the article.

How To Make Air Fryer Corn on the Cob
- Preheat your air fryer: Set it to 390°F (200°C) and let it warm for 3-5 minutes.
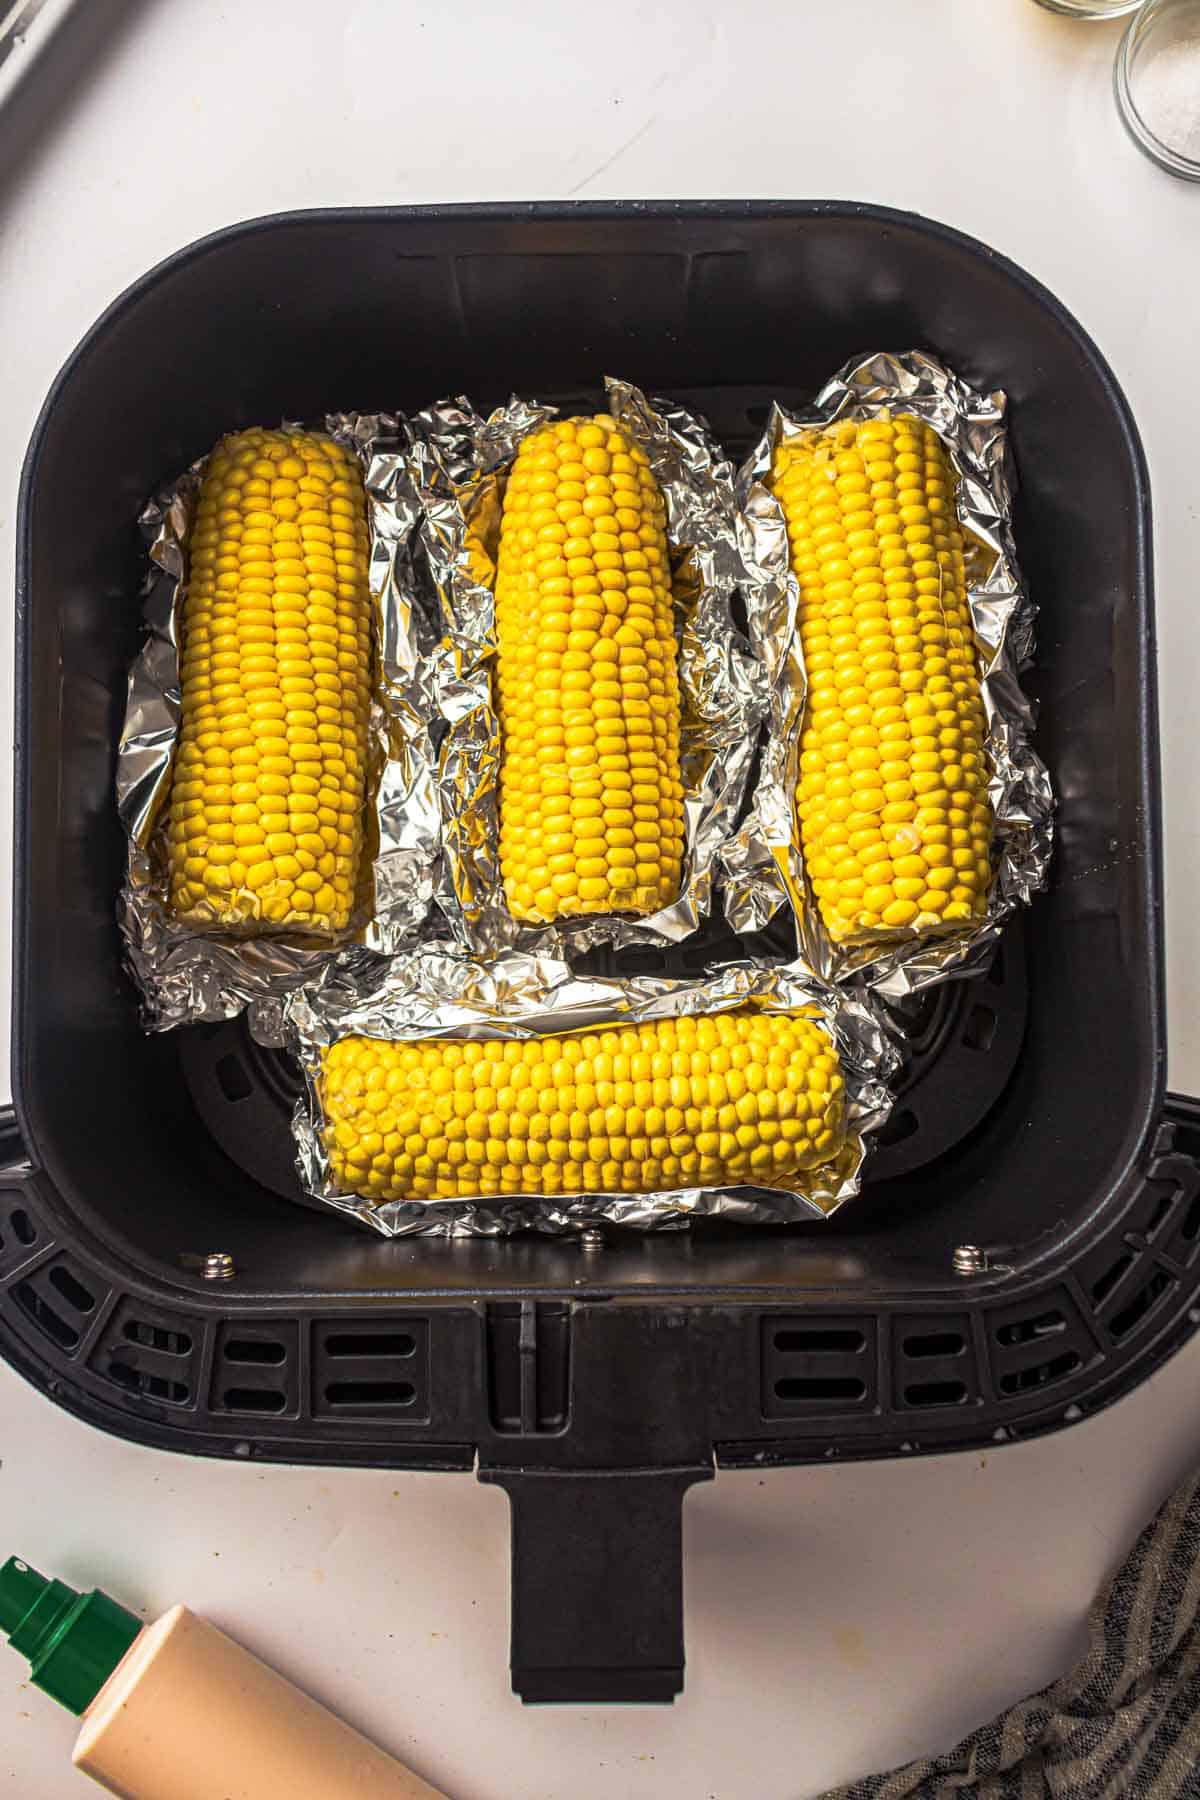
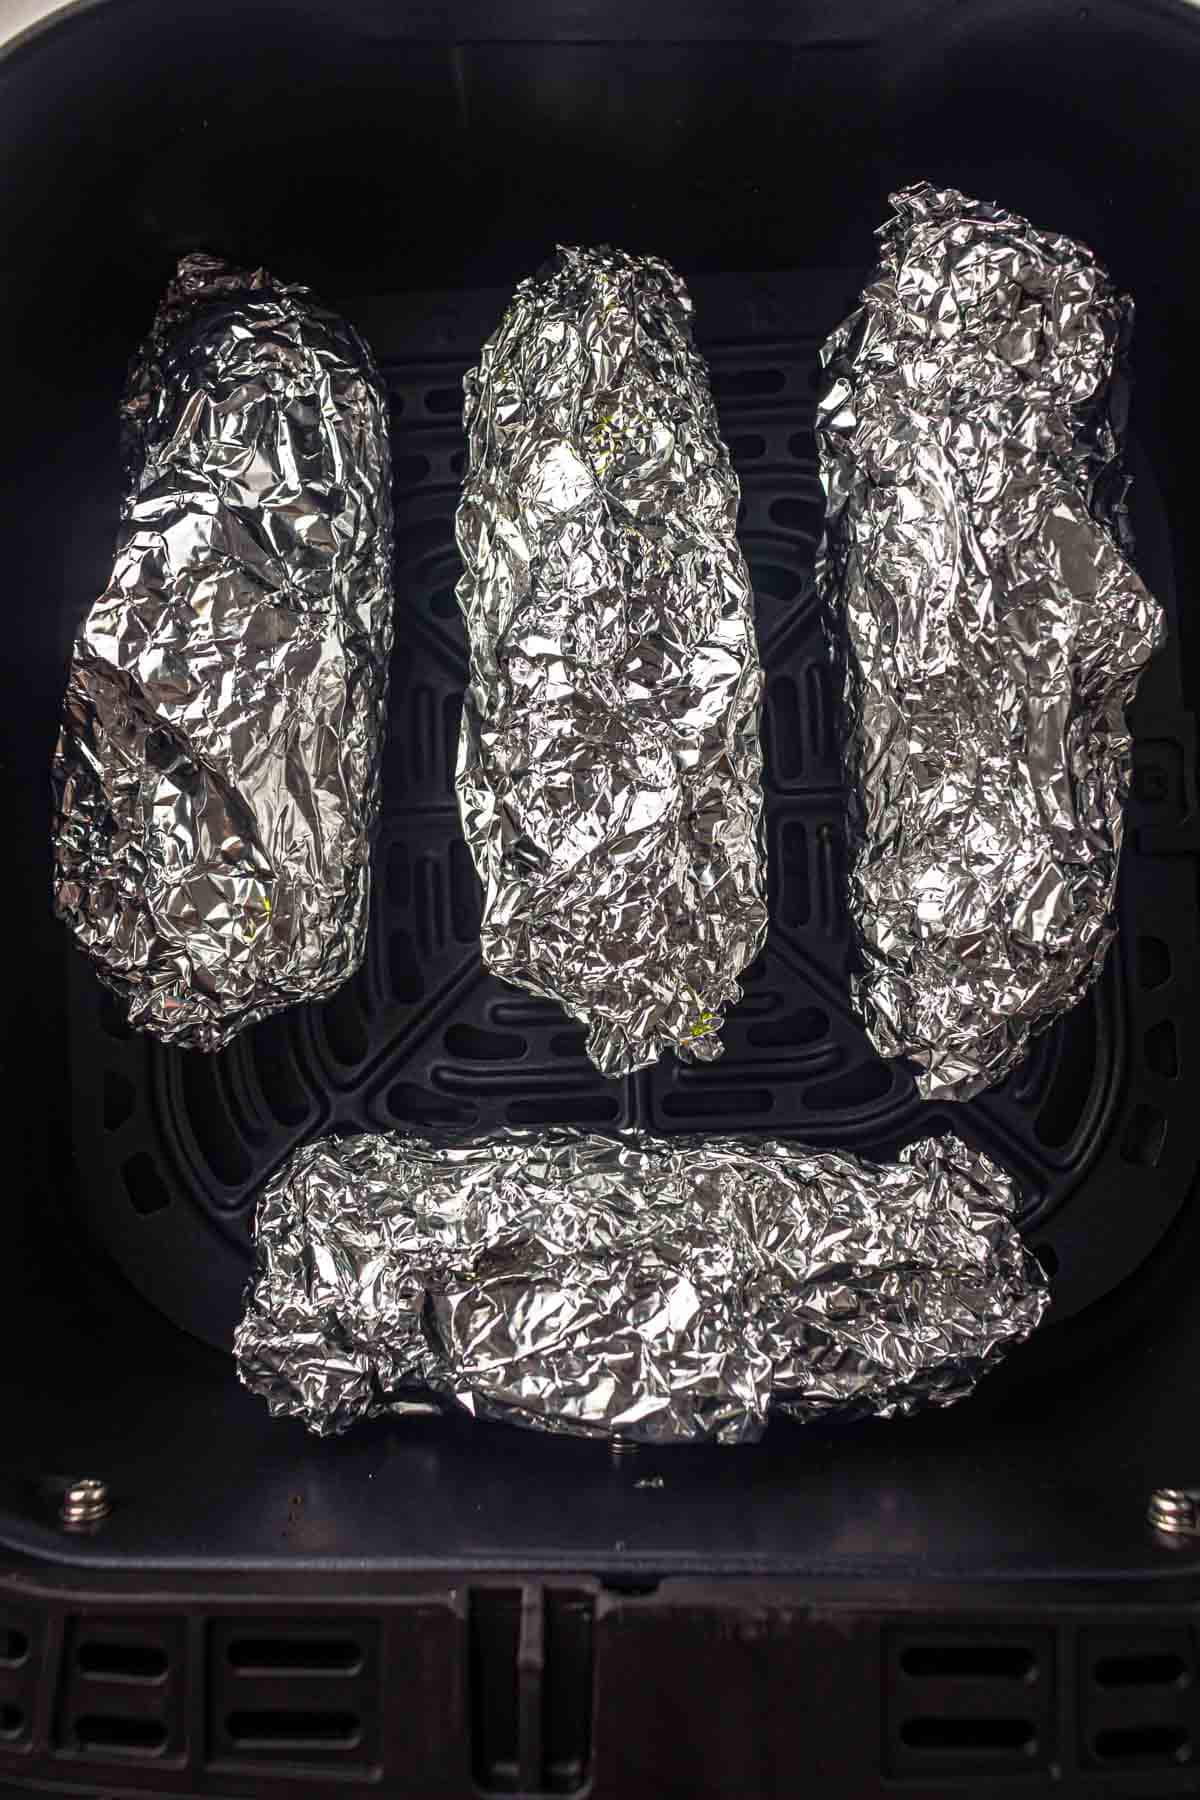
- Wrap the corn: Place each ear on foil, add 1 tablespoon butter, and sprinkle with salt.
- Seal it up: Wrap each ear tightly in the foil.
- Air fry (covered): Place in a single layer in the basket. Cook for 10 minutes.

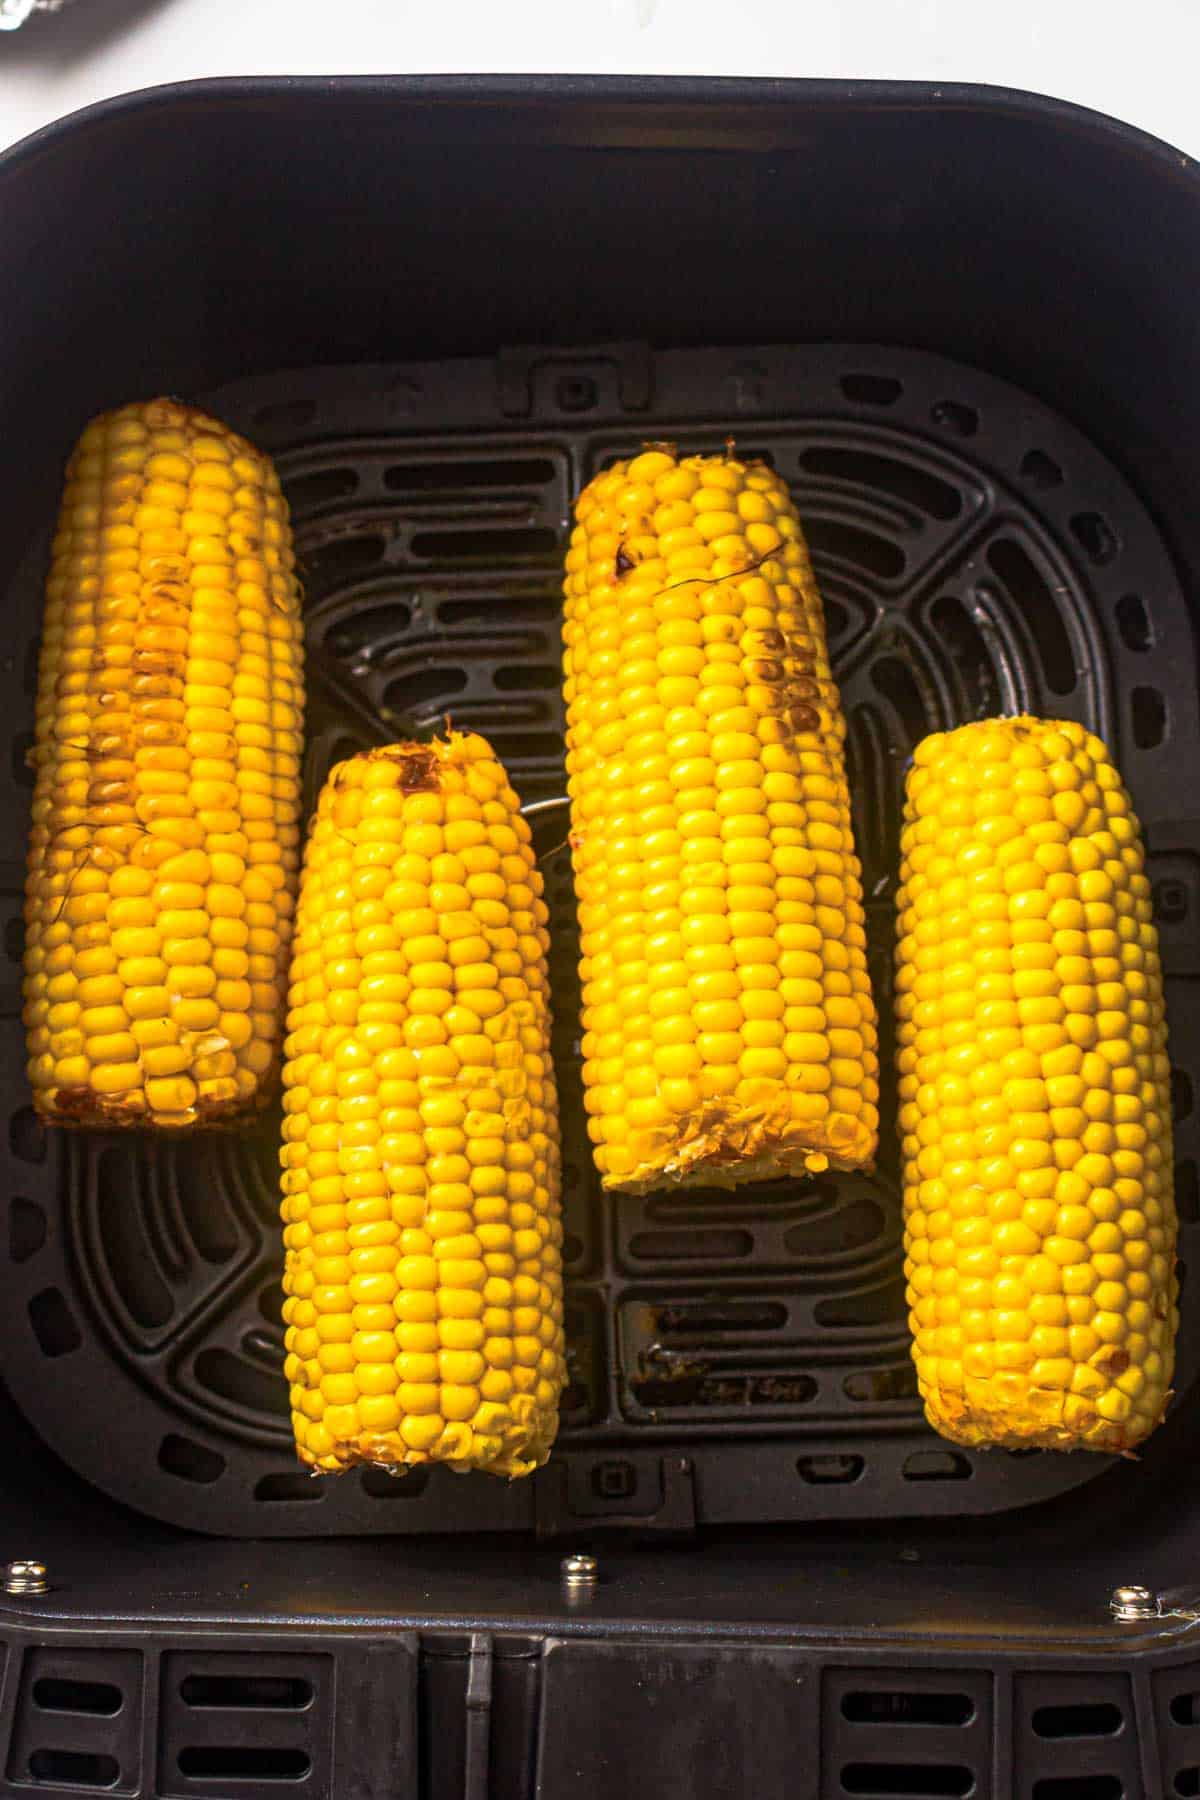
- Unwrap and crisp: Carefully remove foil and return the corn to the basket.
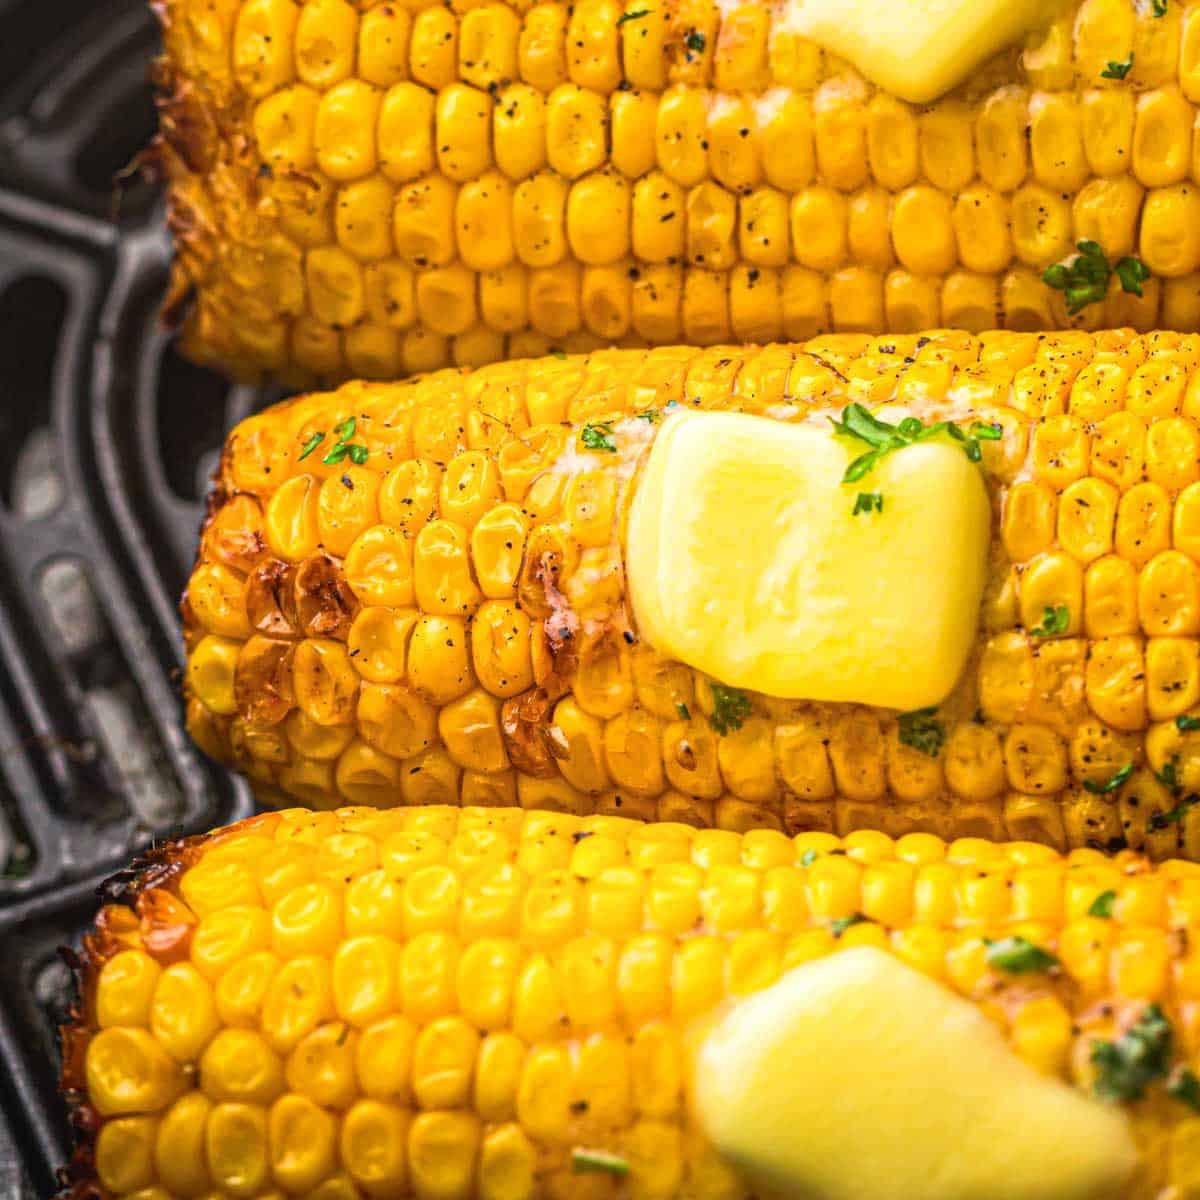
- Air fry (uncovered): Cook another 3 minutes to get a slight char.
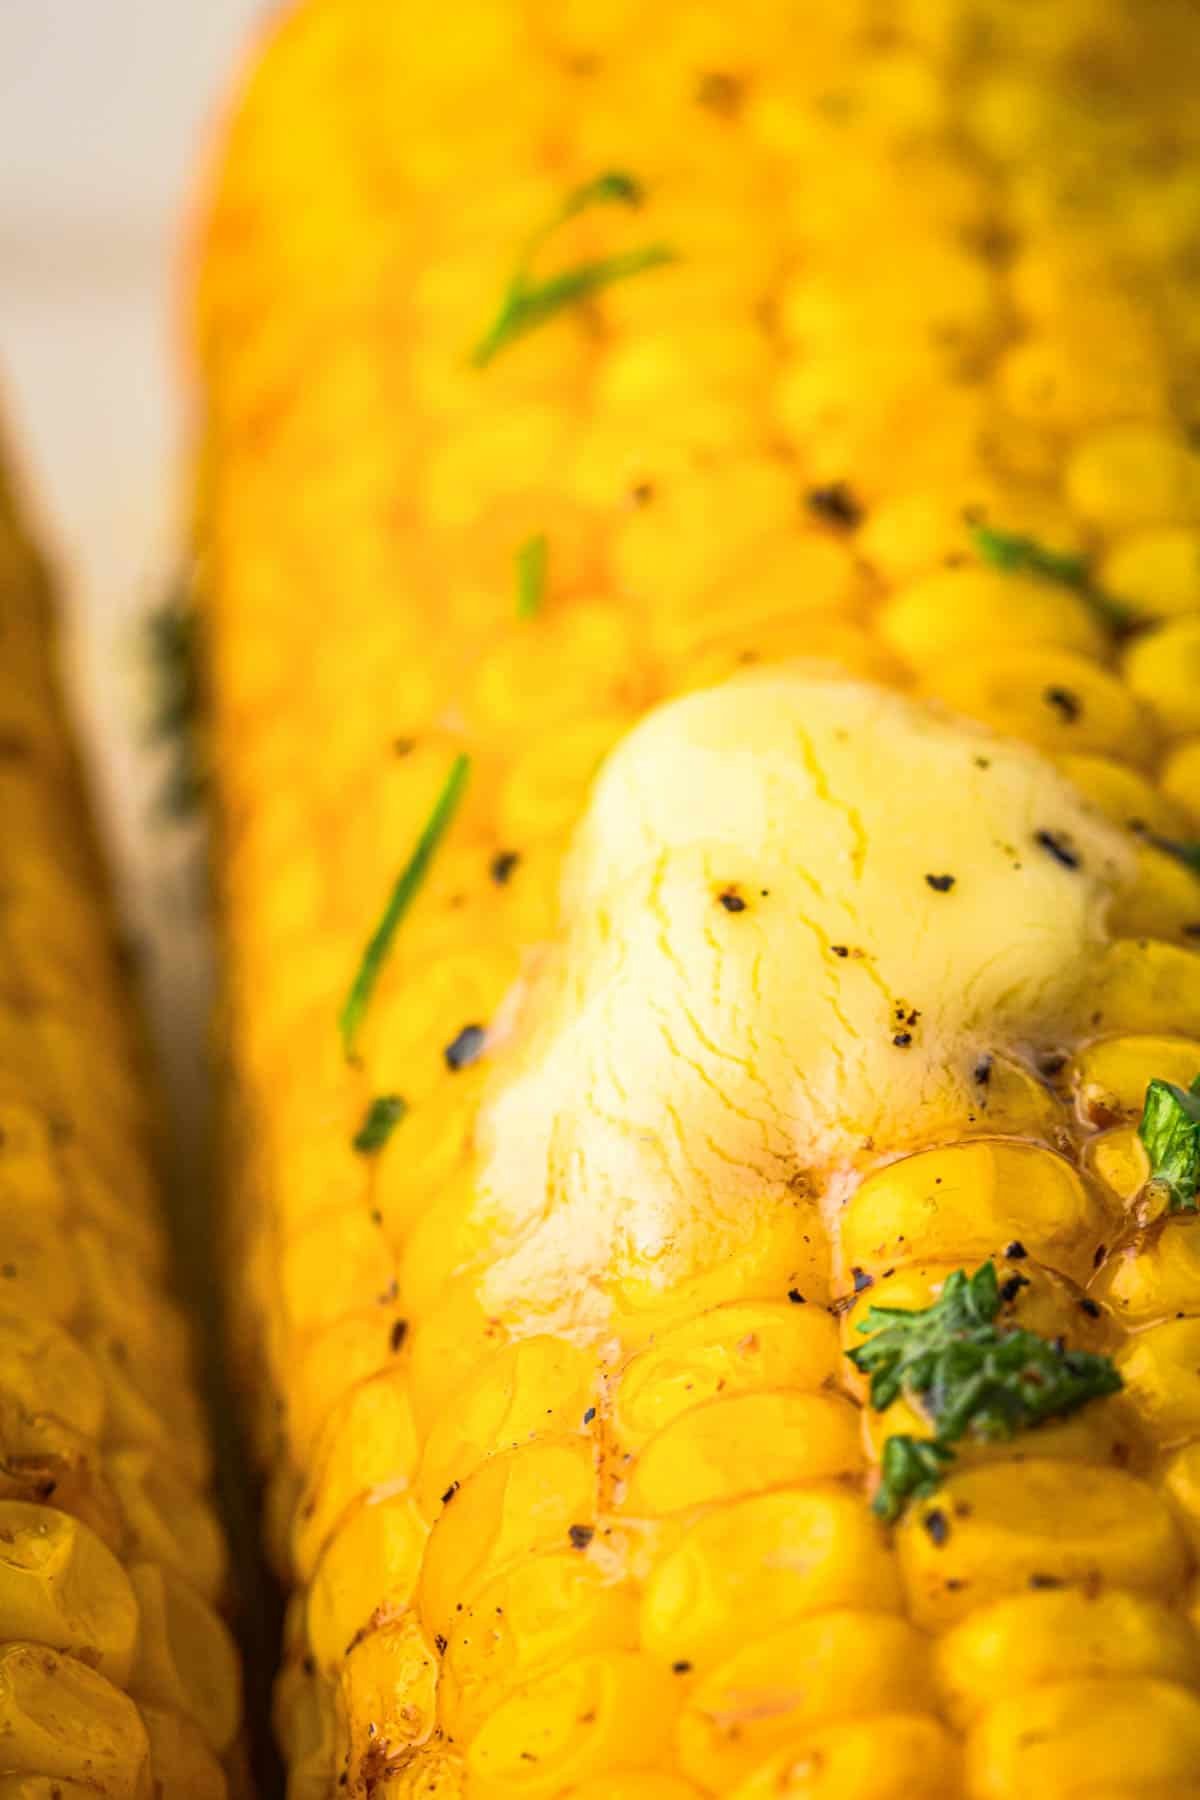
- Serve: Remove and enjoy while hot with extra butter or your favorite toppings!
- My favorite air fryer!
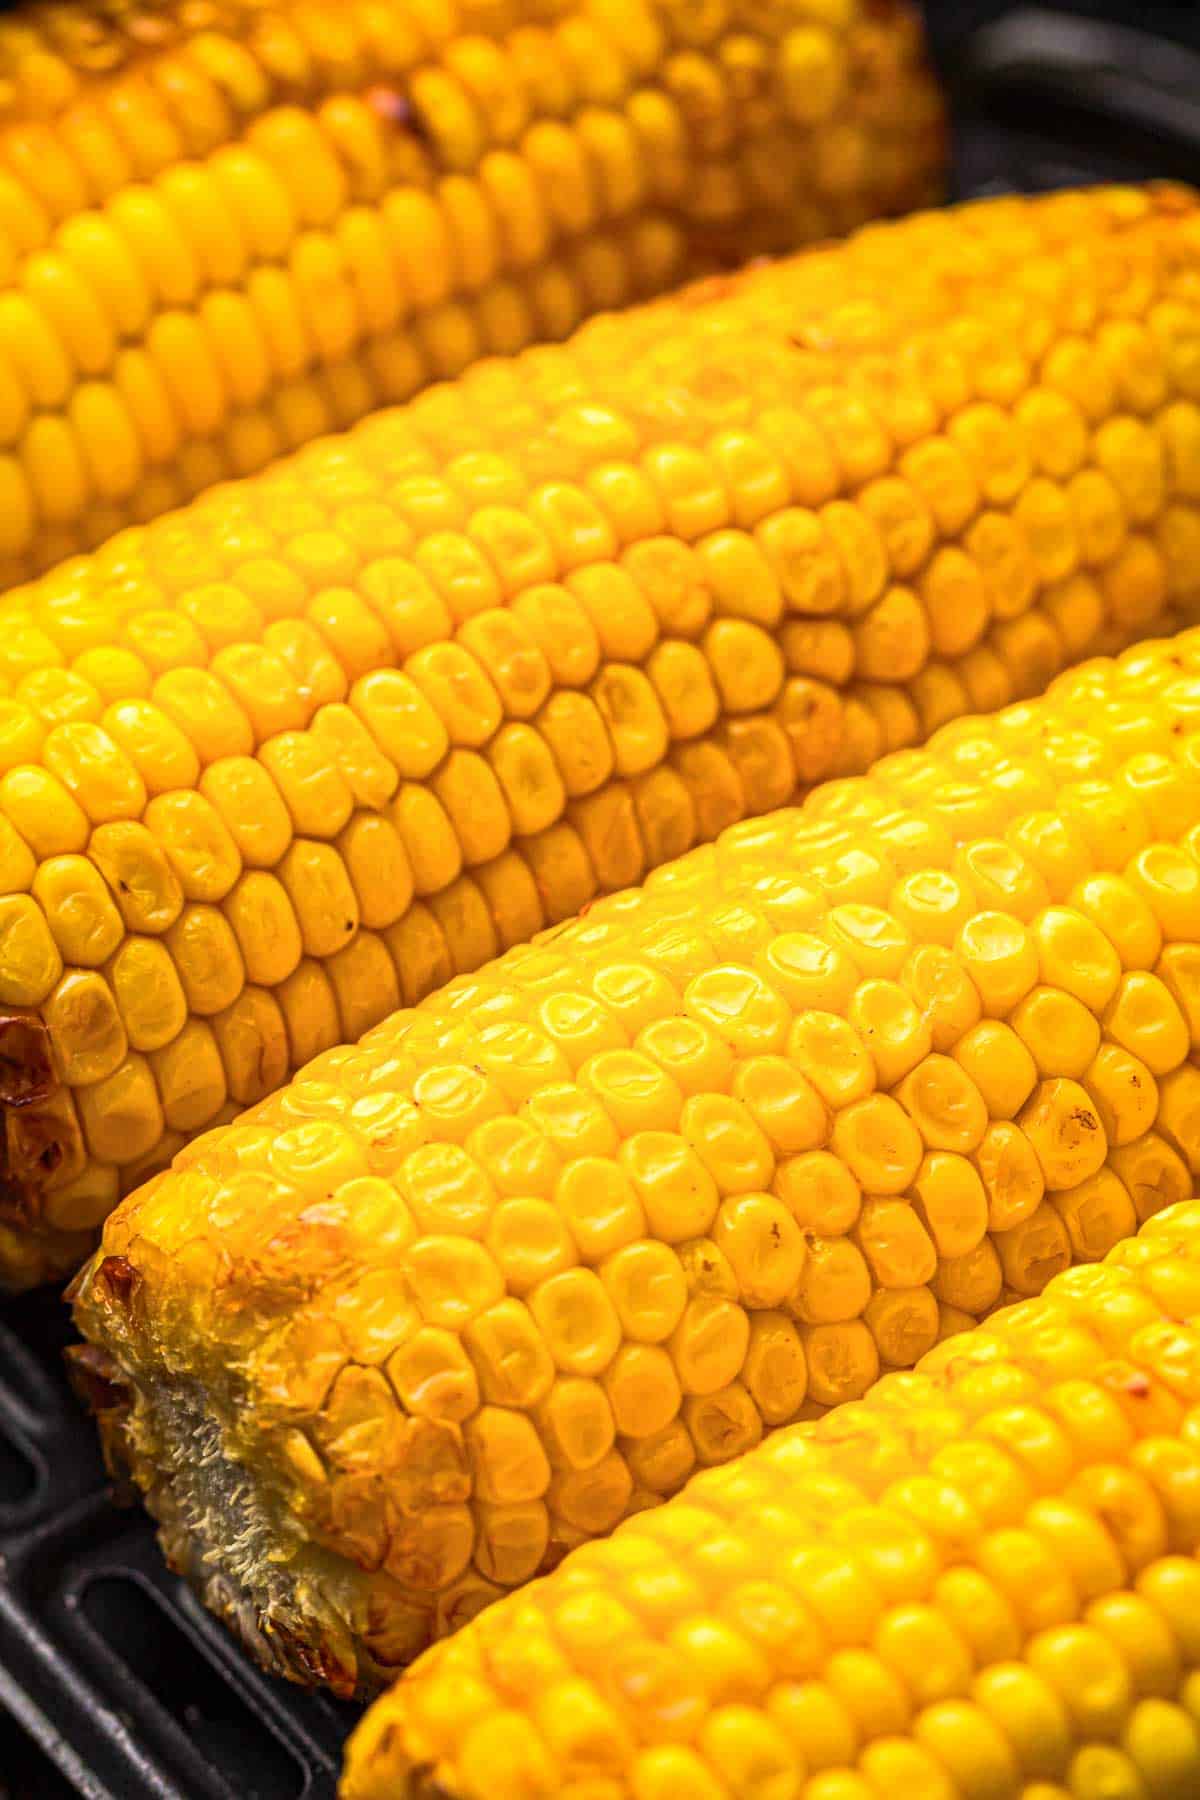
Don't skip the final uncovered air fry step! Those last 3 minutes without foil give the corn its delicious slight char and deeper roasted flavor. It's what makes this recipe taste like grilled corn without the grill!
My Top Air Fryer Accessories

COSORI 12-in-1 Air Fryer 5.8QT
Buy Now → Buy Now →
  Buy Now →
  Buy Now →
Silicone Air Fryer Egg Bite Molds
Buy Now →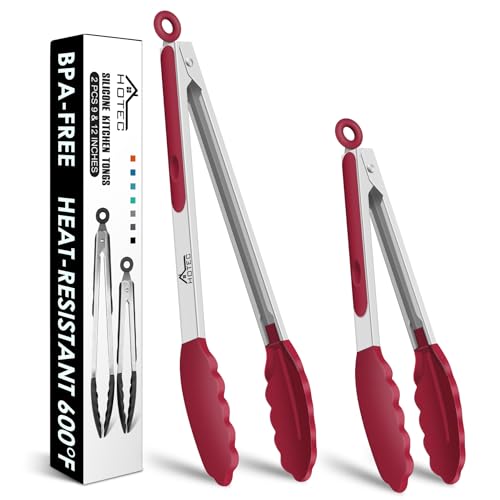 Buy Now →
 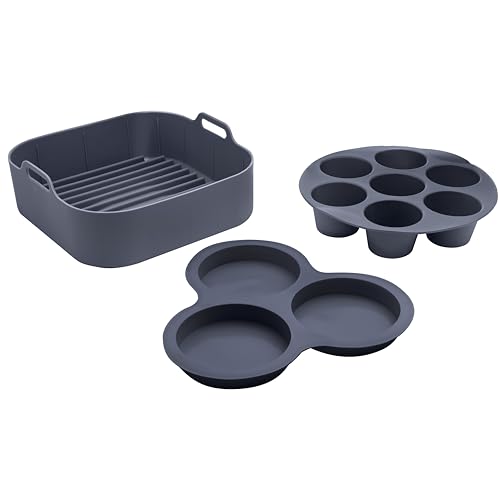 Buy Now →
Air Fryer Grill Pan for COSORI
Buy Now →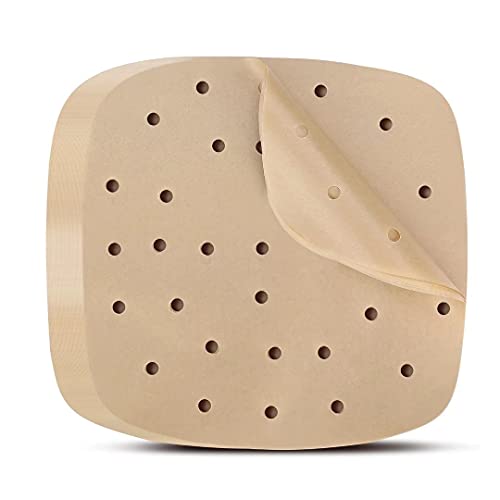
Air Fryer Perforated Parchment Paper
Buy Now → Buy Now →
  Buy Now →
  Buy Now →
  Buy Now →
 Tips
- Swap butter for olive oil - A great dairy-free or Mediterranean-inspired twist.
- Make it spicy - Add a sprinkle of chili powder or smoked paprika before wrapping.
- Add garlic - Mix minced garlic or garlic powder into the butter for extra flavor.
- Try parmesan or nutritional yeast - Sprinkle right after cooking for a cheesy finish.
- Use herbed butter - Basil, parsley, or chive compound butter turns this into something fancy.
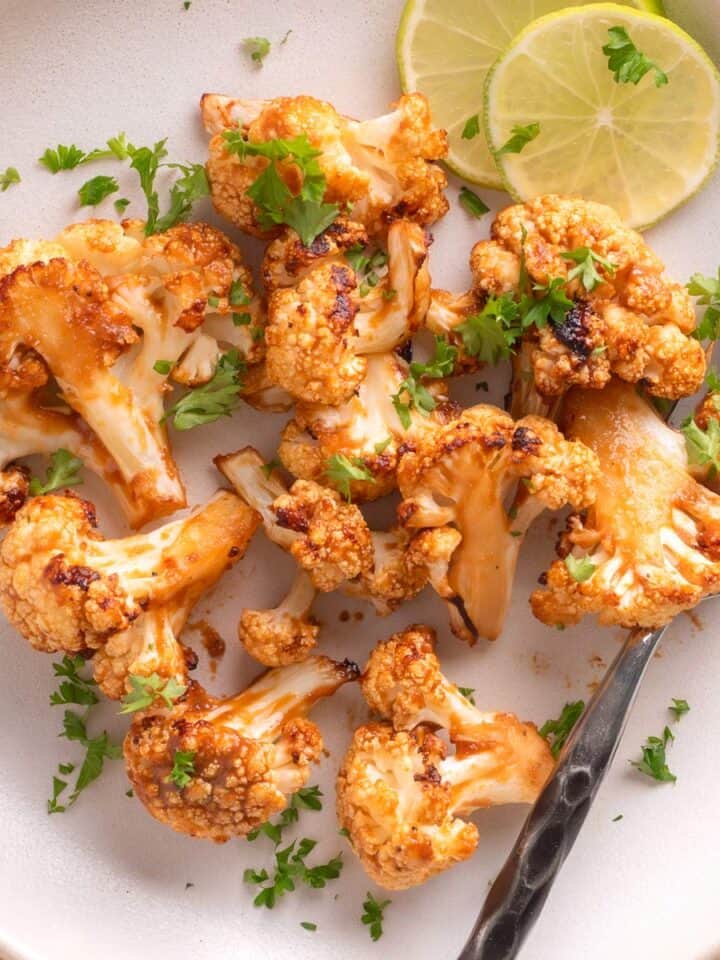
- Add lime juice - Squeeze a little fresh lime on top for a zesty pop.
- Make it smoky - A dash of smoked paprika adds a grilled-vibe flavor, even without the grill.
- Double the batch - Just make sure your air fryer basket isn't overcrowded. Cook in batches if needed.
Freezing And Storing Instructions
- To Store. Keep leftover corn in an airtight container in the fridge for up to 3 days.
- To Freeze. Remove kernels from the cob and freeze flat in a bag. Use within 2-3 months.
- To Make Ahead. You can wrap the corn with butter and seasoning in foil and refrigerate up to 24 hours ahead.
- To Reheat. Pop into the air fryer at 350°F for 3-4 minutes or microwave for 1-2 minutes.
If you use your air fryer often, you can also browse my Amazon storefront with my favorite air fryer tools and kitchen gadgets here, where I've collected many of the accessories I personally use.
More Air Fryer Recipes
Before You Head Out
If you gave this recipe a try, I'd be so thankful if you could leave a ★★★★★ rating and review below. It helps other readers, supports my work, and means the world to me. Thank you for being part of The Yummy Bowl family. Happy cooking! ❤️
Recipe Card
Air Fryer Corn on the Cob
Ingredients
Method
- Preheat your air fryer: Set it to 390°F (200°C) and let it warm for 3-5 minutes.
- Wrap the corn: Place each ear on foil, add 1 tablespoon butter, and sprinkle with salt.4 tablespoons unsalted butter, ½ teaspoon salt, 4 ears of corn
- Seal it up: Wrap each ear tightly in the foil.
- Air fry (covered): Place in a single layer in the basket. Cook for 10 minutes.
- Unwrap and crisp: Carefully remove foil and return the corn to the basket.
- Air fry (uncovered): Cook another 3 minutes to get a slight char.
- Serve: Remove and enjoy while hot with extra butter or your favorite toppings!
- If you loved this recipe, please leave a 5-star rating and review below!
Nutrition
Tried this recipe?
Let us know how it was!Note: Nutrition information is estimated and varies based on the products used.
Full Nutrition Disclaimer can be found here.
Recipes You'll Love


Join TYB
Insider
Get access to exclusive recipes,
weekly meal plans, printable
grocery lists, and AD-FREE
browsing designed to make
mealtime easier.


Comments
No Comments