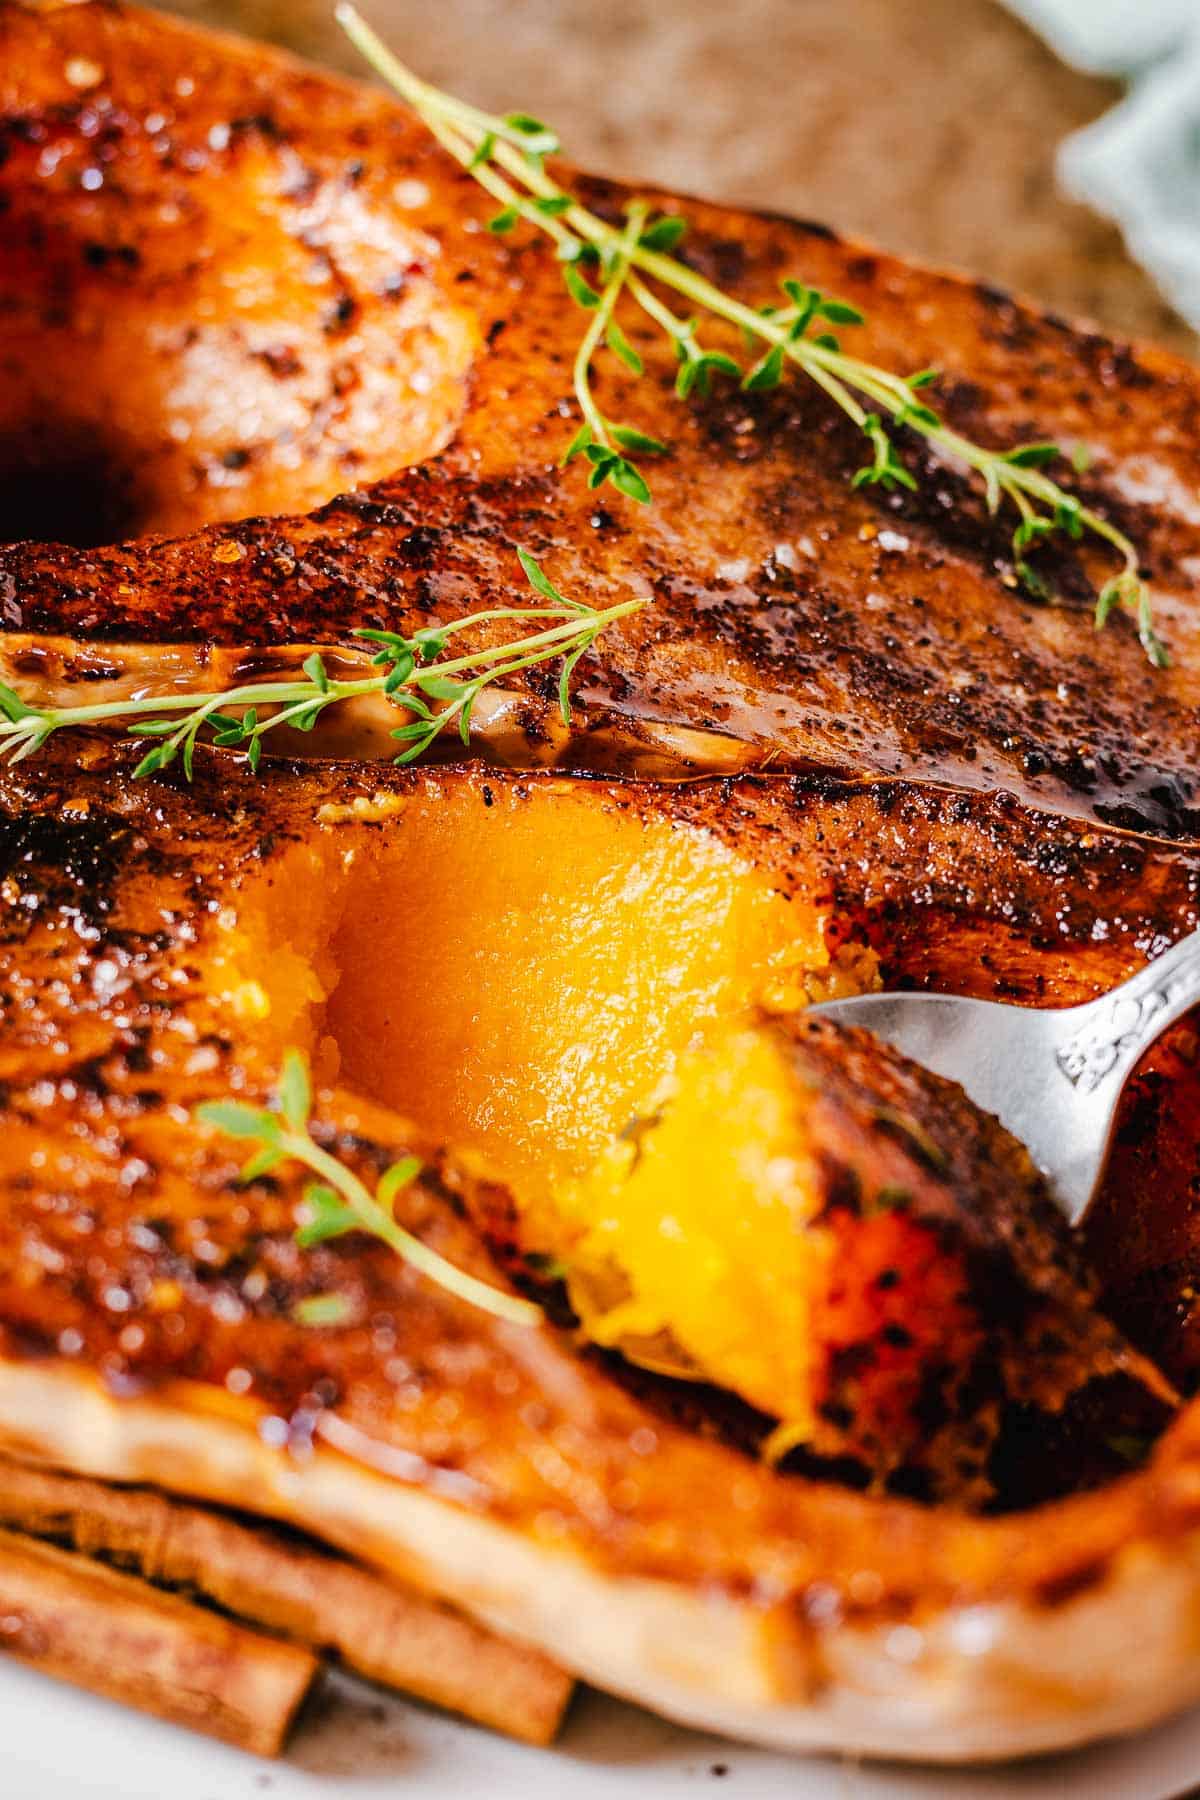
Make Baked Butternut Squash with brown sugar and cinnamon in a few easy steps. You’ll love how tender and caramelized this butternut squash is thanks to spices and brown sugar glaze.
Enjoy it on its own, make a soup, or serve it in salads. Just like my sausage stuffed butternut squash, it's a perfect side for pork tenderloin, chicken, and stir-in pasta dishes.
Jump To
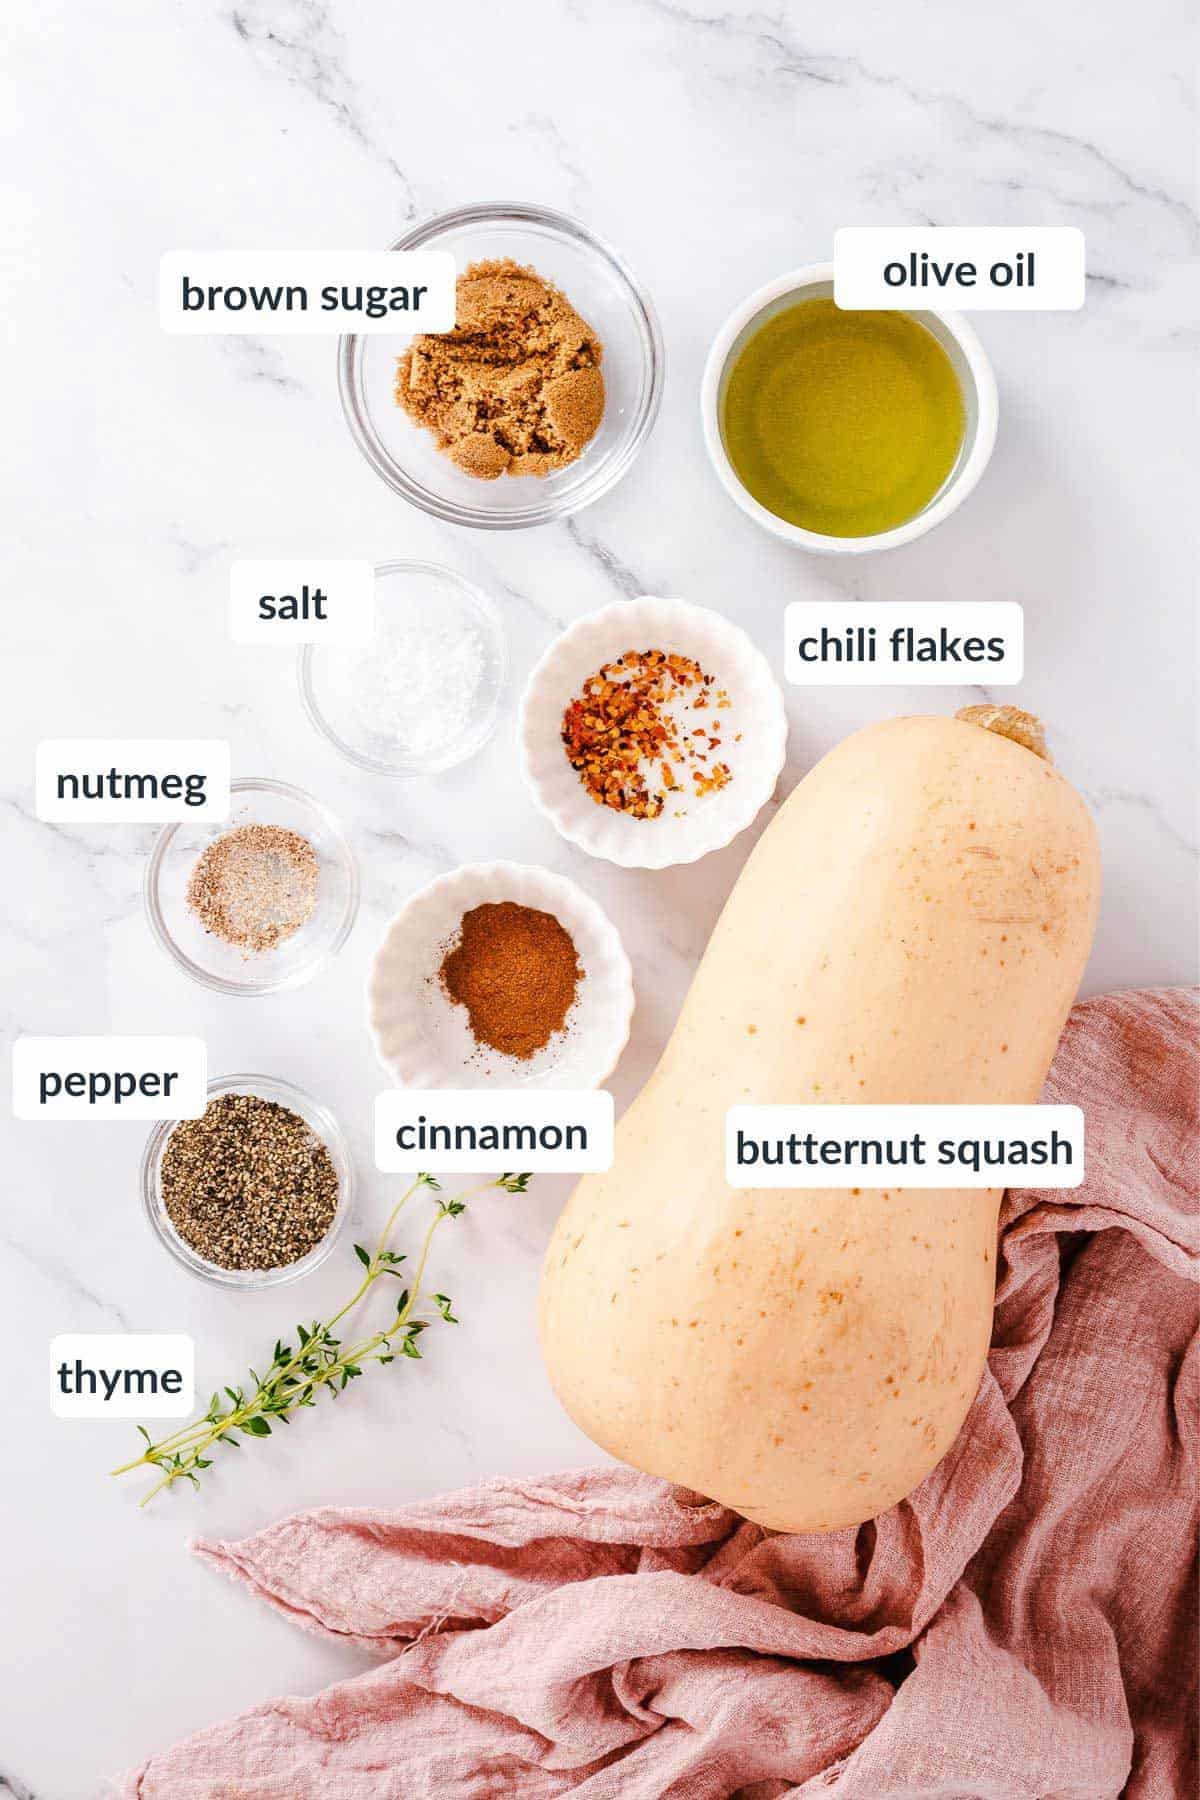
Ingredients
- Butternut Squash - choose your size depending on how much you need in the end. For example, if you get twice smaller squash or only use one half to bake you’ll need to reduce the amount of sugar glaze in half as well. Either way you may not use up all of the glaze and have extra left in the end. Store the glaze in an airtight container in the fridge for up to a week. Reheat on the stovetop or microwave. You can add a few spoonfuls of water to thin it down a bit.
- Fresh herbs - don’t limit yourself to only thyme as you can use a combo of herbs such as rosemary, parsley, cilantro, basil, and estragon - fresh or dried!
- Cinnamon - does add flavor and a festive feel to the dish! The ultimate spice for butternut squash and all sorts of pumpkins. Not a fan? Just leave it out or add a pinch of nutmeg instead. Won't taste the same but definitely good as well!
- Brown sugar - adds that necessary touch of sweetness and makes a delicious crunch caramelized top layer.
Want to Save This Recipe?
Enter your email and we’ll send the recipe directly to you!
By submitting this form, you consent to receive emails from The Yummy Bowl.
How To Bake Butternut Squash
STEP 1: Preheat oven to 425 F. Combine all the spices and oil in a small bowl.
Add only a small pinch of salt. Set aside.
Too much salt will draw out the moisture from squash which will cause it to steam instead of browning.
STEP 2: Wash the butternut squash and cut it in half lengthwise. Cut out the top and the bottom part, about 1-2 inches first.
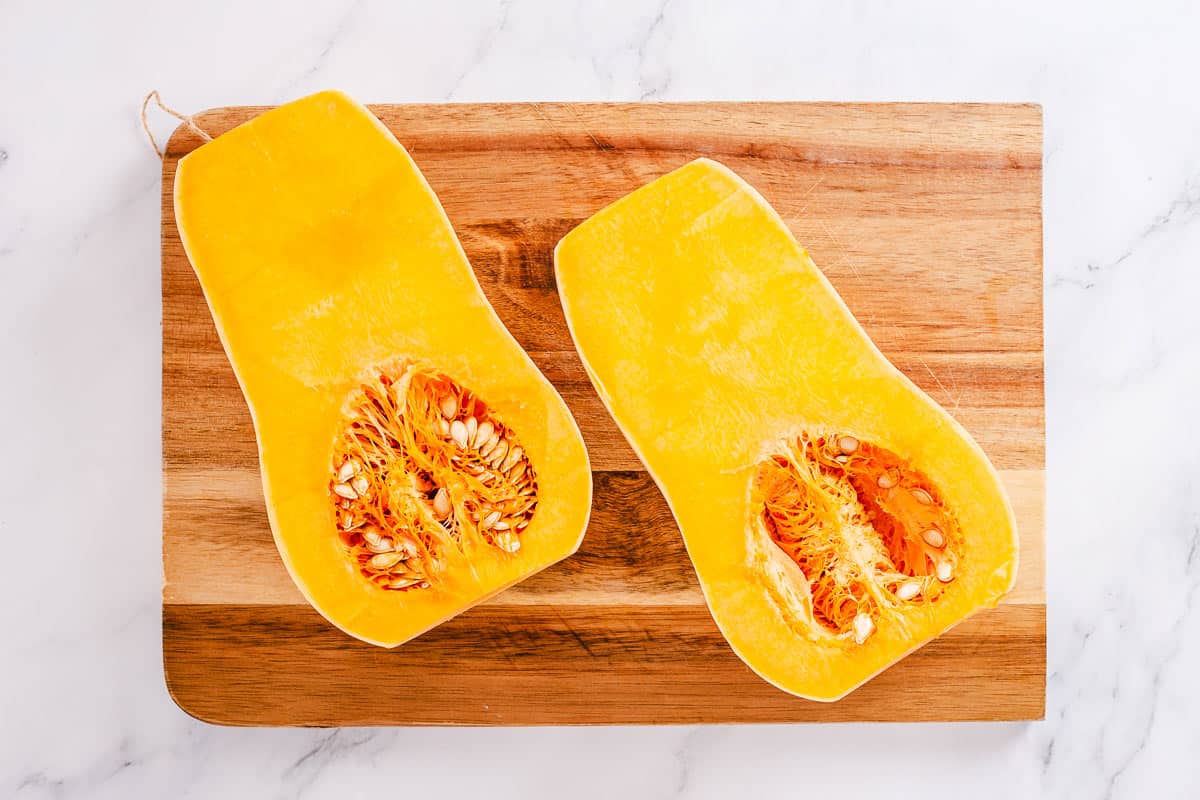
Spoon out the seeds completely (and roast them in the oven later!).
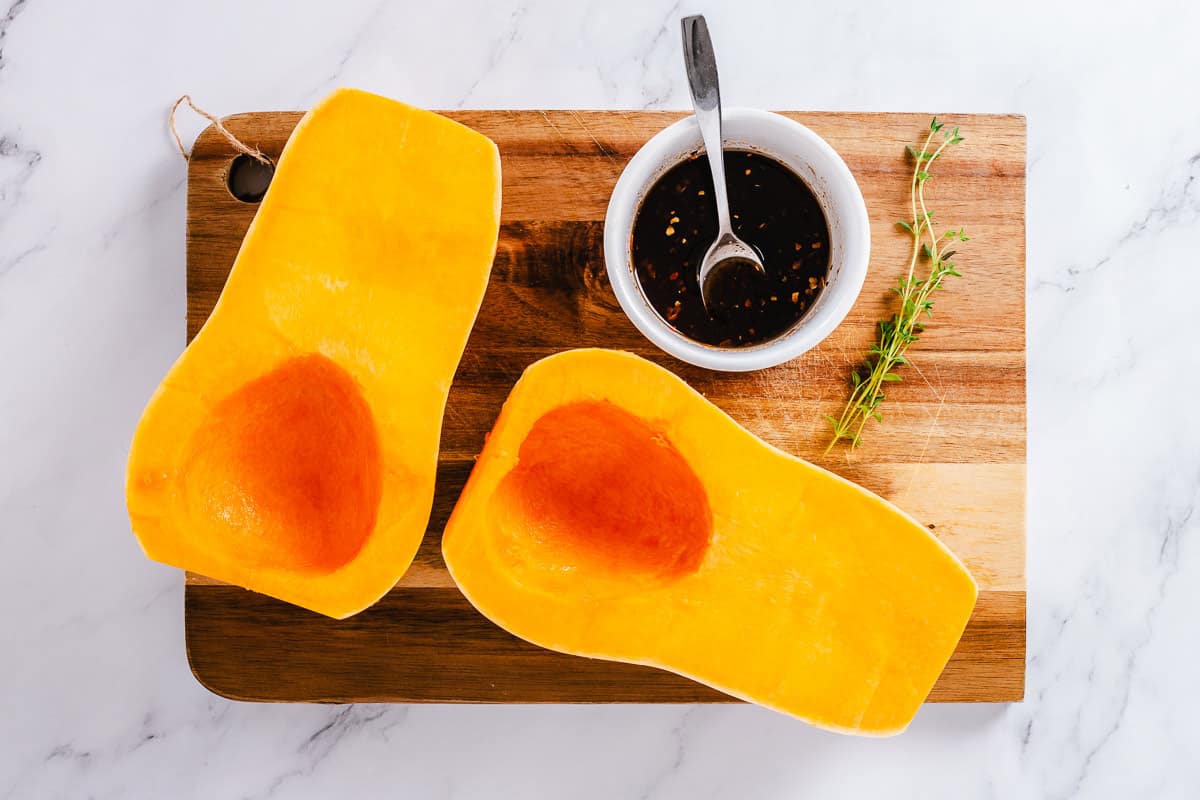
STEP 3: Transfer the squash to a large prepared baking sheet or baking dish lined with parchment paper and brush the top of the squash generously with the brown sugar glaze.
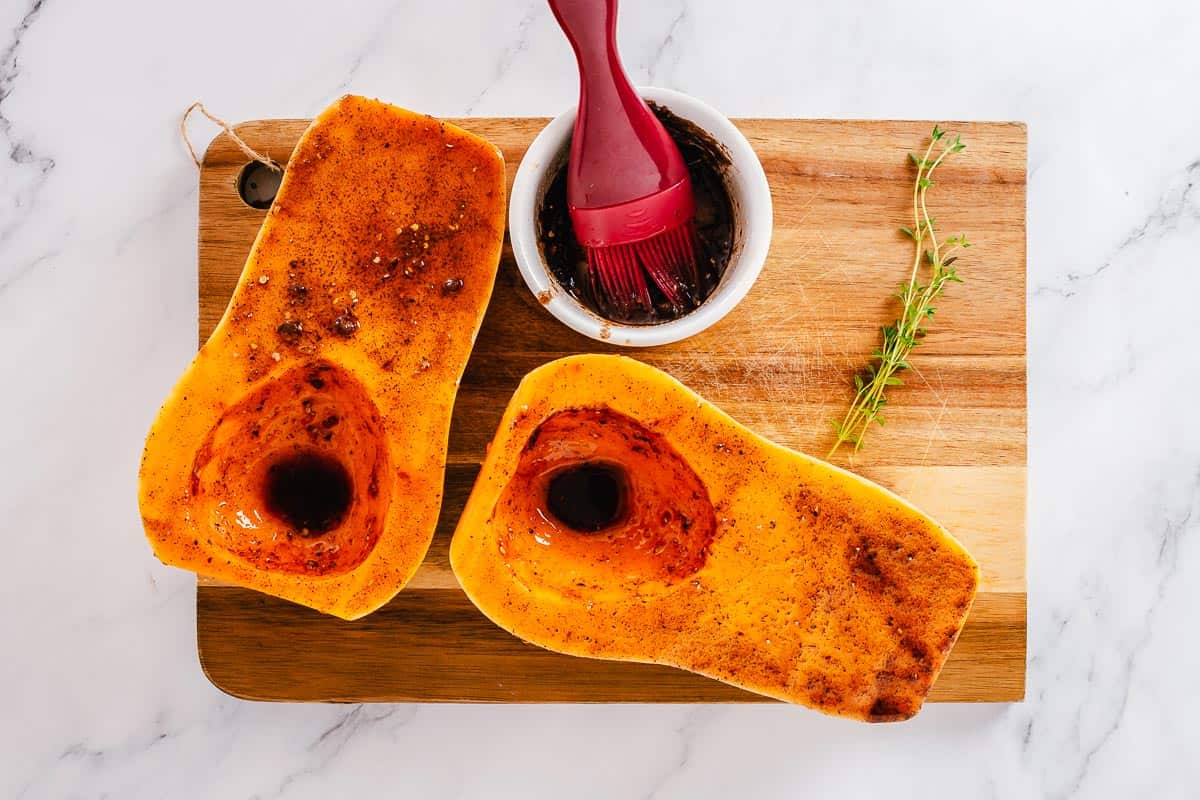
STEP 4: Now carefully turn the squash over the cut side down. Bake like this for 25 minutes.
Baking the squash flesh-side down helps develop a more deep browning.
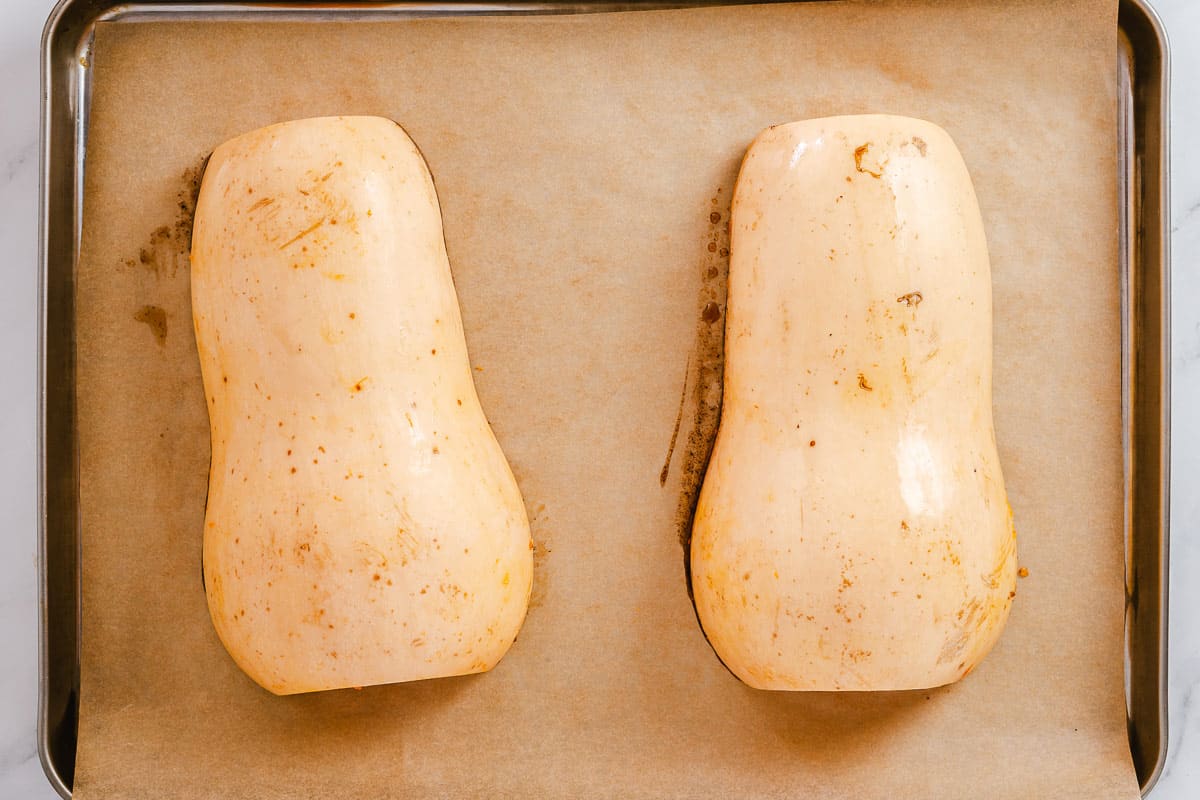
Then turn them over and add thyme sprigs. This can be quite a task.
You can do it with two thick oven mitts, kitchen towels or a large flat spatula and kitchen tongs.
Find what's best for you, and be careful but fast, because the squash will be very hot!
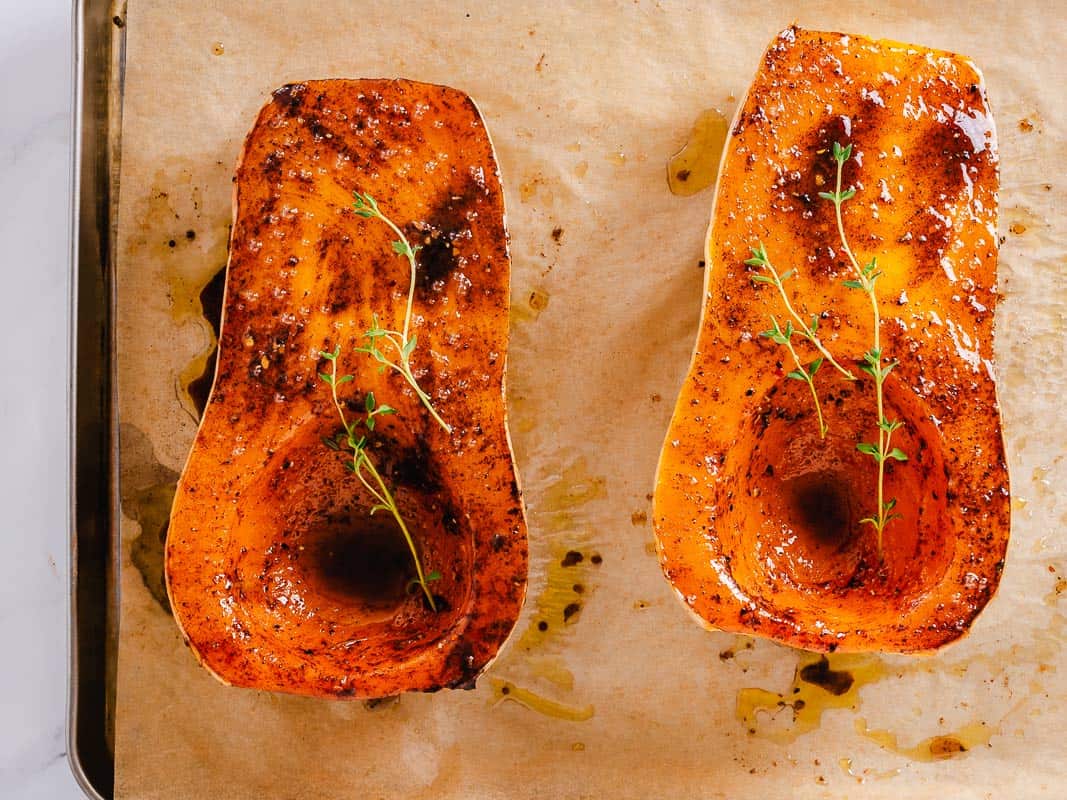
STEP 5: Bake another 25-30 minutes or until the knife inserted into the thickest part of the squash comes out easily without resistance.
Throw away the old thyme and replace it with new fresh for serving.
The flesh should be fork tender, quite soft inside.
SERVE! Remove from oven and brush with the leftover glaze (optional). Sprinkle with sea salt flakes or just salt and serve warm.
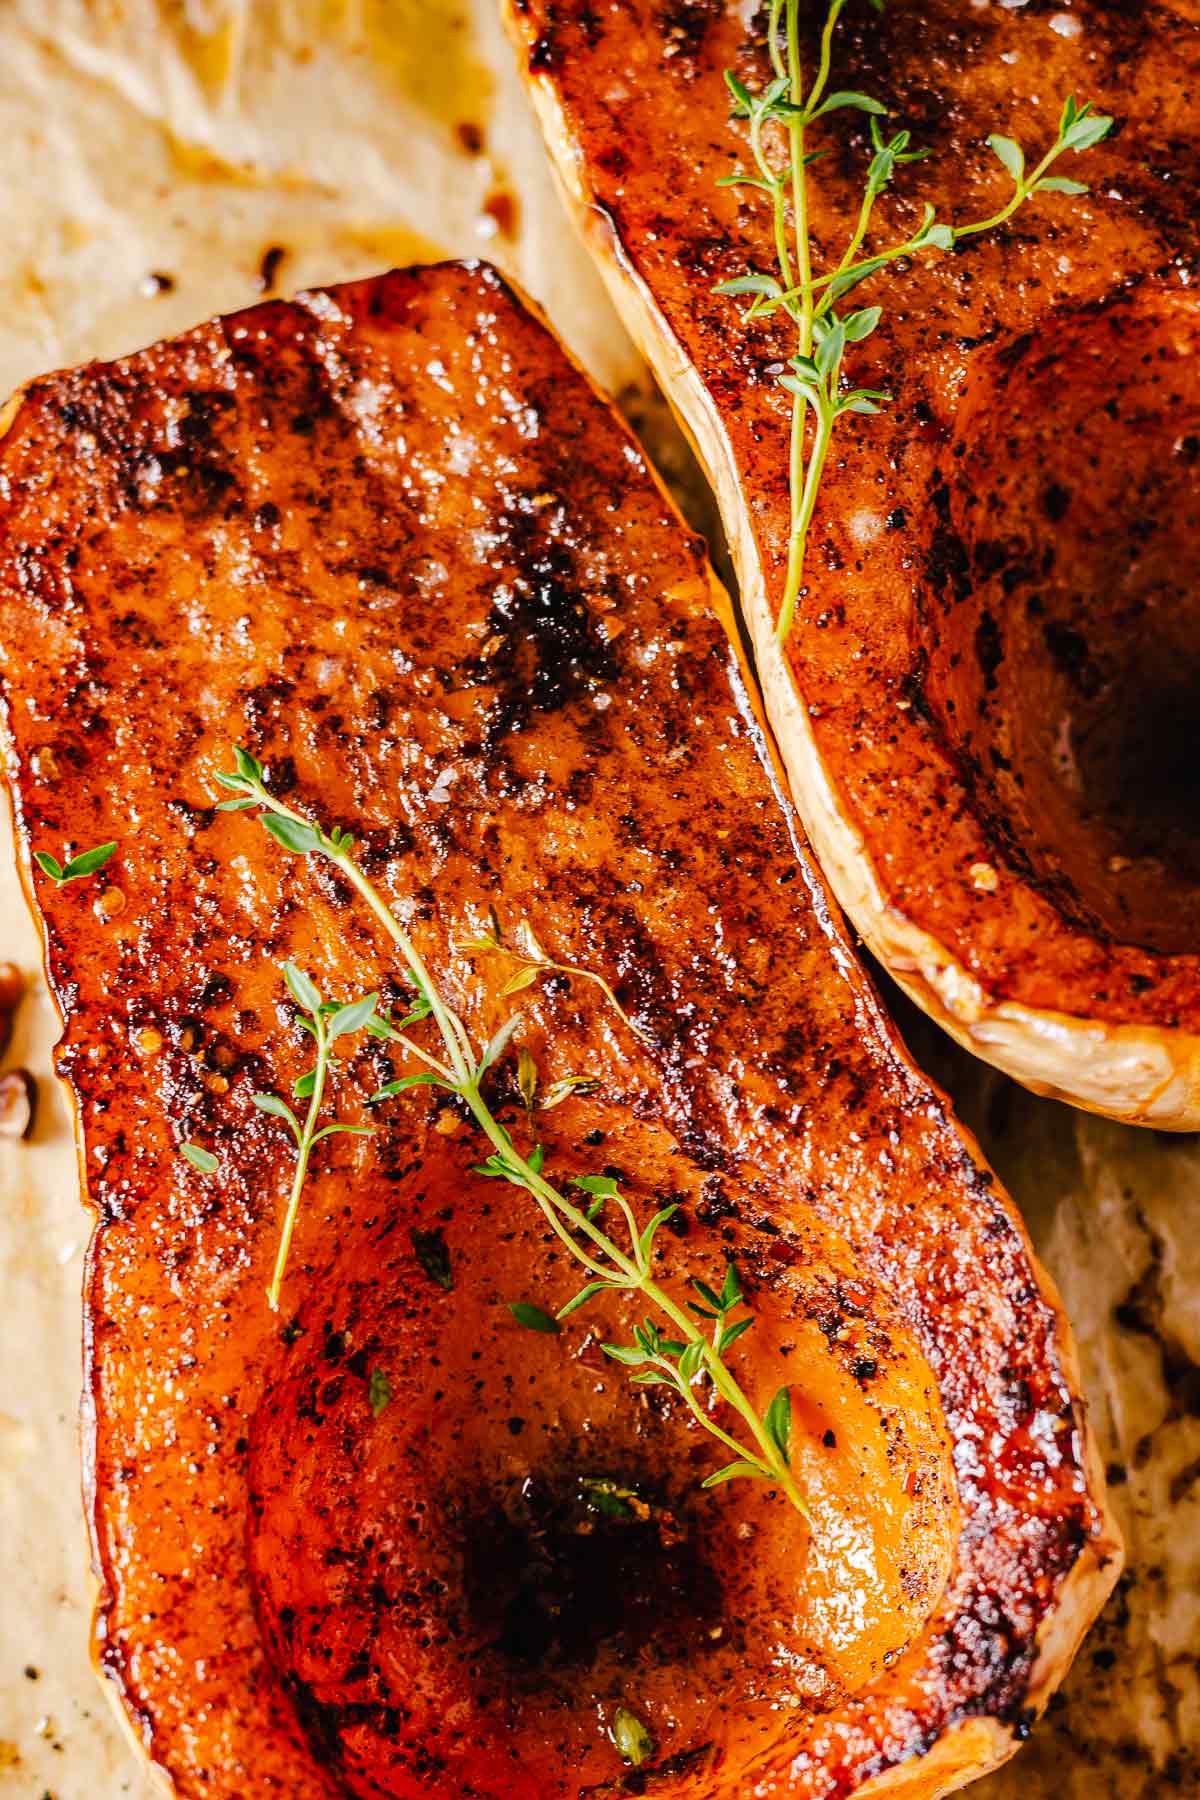
Serving size: depending on the size of the Butternut squash used and the purpose of using it in dishes it is difficult to measure the serving size.
The one I used (about 2-3 lbs) was enough for 1 creamy butternut squash soup with potatoes (of about 6 servings), 4 side dish portions to accompany the main meat, 4 individual portions cut into squash cubes and mixed in a salad along with a mix of lettuce, and a few vegetables.
Tips
- It’s sweet - Butternut squash can taste quite sweet sometimes, and adding the sweet glaze will make it even more sweeter. It all depends on where you'll be using it later. Salads are great for this and the glaze just makes all the flavors stand out even more!
- To make it less sweet, add less brown sugar or sprinkle it only on top after it’s baked. But make sure to use up all the spices listed.
- For easier cutting - when cutting the squash, start by cutting off the top and bottom parts first. This makes a significant difference later when you’ll be cutting it in half. For easier peeling, you can also use a vegetable peeler if using small butternut squash (younger quash).
- Butternut squash can be roasted in an air fryer as well. However, for the whole roasted squash, I prefer the oven method.
- Usually, I don’t remove the skin when baking the whole squash. But for easier handling later you can use a vegetable peeler (for small, young squash) and a larger sharp knife to cut off the skin from large butternut squash as it is very thick.
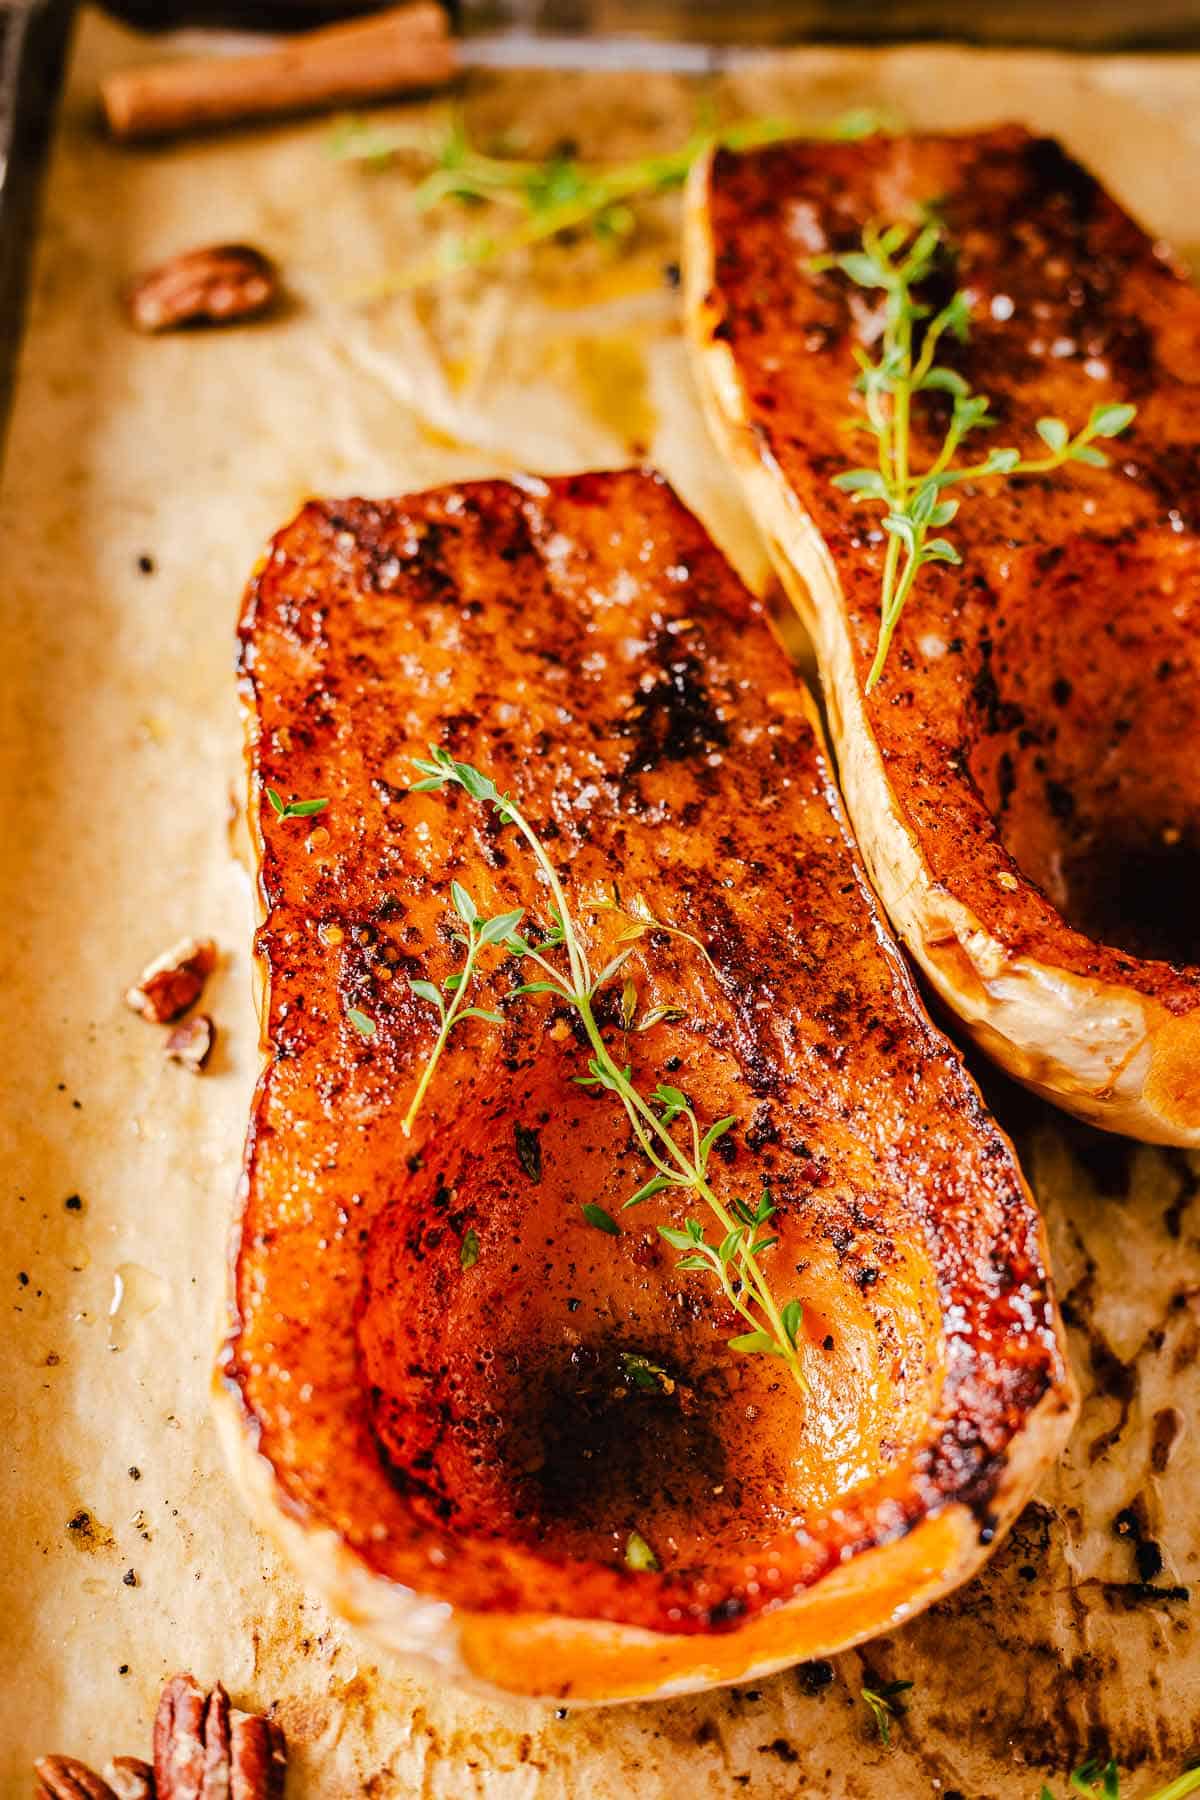
How To Serve Baked Butternut Squash
- Scoop out the tender butternut squash bits and serve as a side dish with Pork, Chicken, and Beef main courses.
- One of my favorite and easiest ways is to make a creamy soup.
- With green beans casserole as a second side dish during holiday dinner!
- Salads.
- Pasta dishes, in stuffed ravioli, dumplings.
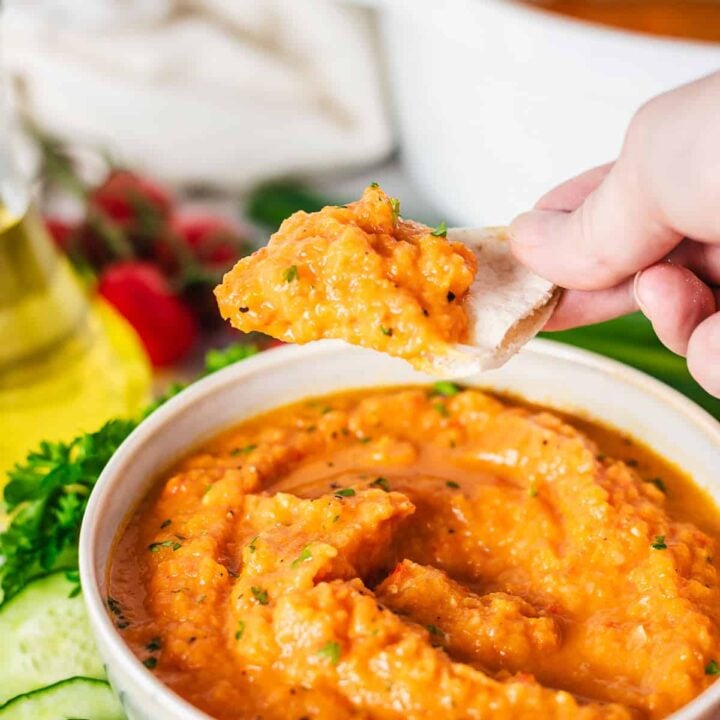
- Make hummus - instead of pumpkin use this butternut squash in this Pumpkin Hummus recipe.
- In pancakes - swap the pumpkin for butternut squash and make my Gluten Free Pumpkin Pancakes
- Instead of dessert - with a scoop of vanilla ice cream!
Storing Leftover Squash
- Storing. Store leftovers in an airtight storage container in the refrigerator for 2 to 3 days.
- Reheating. I recommend reheating in the oven at 400 F until warmed through. Or in the microwave but will not taste as good as reheated in the oven!
- Freezing - I don’t recommend freezing this cooked butternut squash as the texture will change after thawing, it will be too soft and grainy - not the best result! If you need to freeze, then freeze the raw whole squash halves and thaw them in the fridge overnight or at room temperature until softened.
- That being said, the raw butternut squash like pumpkins, will last for a very long time when kept in a dry cool place!
How To Know When Butternut Squash Is Ripe?
- The length: It should be of a proper length which will indicate it has been harvested at the right time. Most butternut squash will reach a length of 8–12 inches (20–30 cm).
- The stem: When a butternut squash ripens, the stem will turn color, from green to brown. Look for a firm deep brown stem. Avoid choosing a butternut squash from the store without a stem at all (it indicates the squash is overripe).
- The color: Look for a uniform color of golden or dark beige. If you see green patches, lines, or shiny exterior on its exterior, it isn’t ripe yet.
- Texture: Avoid choosing squash with cuts, soft spots, or brown marks. A few blemishes on the surface are fine. Ripe butternut squash should also feel hard like an unripe avocado. Test with your fingernail, by pushing gently into the surface, it should feel hard and difficult to push through. Tap on it: Look for a hollow sound (just like with watermelon).
- Weight: When you find the right squash, compare its weight to other squashes. It should feel relatively heavy and not light compared to others.
More Butternut Squash Recipes
ALL SIDE DISH recipes.
Find more great recipes to serve at the Thanksgiving table and on other special occasions. Butternut squash is an excellent sweet veggie that can be enjoyed all year.
For all recipes, please go to my Recipe Index.
Recipe Card

Baked Butternut Squash
Want to Save This Recipe?
Enter your email and we’ll send the recipe directly to you!
By submitting this form, you consent to receive emails from The Yummy Bowl.
INGREDIENTS
- 1 2-3 lbs large butternut squash, cut in half
- 1 tablespoon olive oil
- 1 tablespoon brown sugar
- ½ teaspoon ground cinnamon
- salt to taste
- black pepper to taste
- ¼ teaspoon ground nutmeg
- Pinch of chili flakes or cayenne powder, optional
- 3-4 Fresh Thyme sprigs
INSTRUCTIONS
- Preheat oven to 425 F.
- Oil/butter mixture. Combine all the spices and oil in a small bowl. Add only a small pinch of salt. Set aside.
- Too much salt will draw out the moisture from squash which will cause it to steam instead of browning. Wash the butternut squash and cut it in half lengthwise. Cut out the top and the bottom part, about 1-2 inches first.
- Spoon out the seeds completely.
- Transfer to a baking sheet lined with parchment paper and brush generously with the brown sugar glaze. Now carefully turn the squash over the cut side down. Bake like this for 25 minutes. Baking the squash flesh-side down helps develop a more deep browning.
- Then turn them over and add thyme sprigs. Bake another 25 minutes or until the knife inserted into the thickest part of squash comes out easily without resistance. The flesh should be soft inside.
- Throw away the old thyme and replace it with new fresh for serving. Remove from oven and brush with the leftover glaze (optional). Sprinkle with sea salt flakes or just salt and serve warm.
VIDEO
NOTES
- Portion size - depending on the size of the Butternut squash used and the purpose of using it in dishes it is difficult to measure the serving size. The one I used (about 2-3 lbs) was enough for 1 creamy soup with potatoes (of about 6 servings), 4 side dish portions to accompany main meat, 4 individual portions mixed in a salad along with a mix of lettuce, and a few vegetables.
- Storing. Store leftovers in an airtight storage container in the refrigerator for 2 to 3 days.
- Reheating. I recommend reheating in the oven at 400 F until warmed through. Or in the microwave but will not taste as good as reheated in the oven!
- Freezing - I don’t recommend freezing this cooked butternut squash as the texture will change after thawing, it will be too soft and grainy - not the best result! If you need to freeze, then freeze the raw whole squash halves and thaw in the fridge overnight or at room temperature until softened.
- Do I have to peel butternut squash before roasting? It depends. If you are making whole roasted butternut squash then no need to peel here. It is easier to scoop out the tender flesh when the skin is on. If you will be cutting the squash into chunks before roasting then it is best to remove the skin. I find it hard to peel the skin as many advised, even after microwaving the squash for a couple of minutes. What I do is, I usually cut the squash with a large sharp knife into thick circles and then carefully slice off the skins on those. That’s it!



Julia
A delicious new way to enjoy butternut squash!