

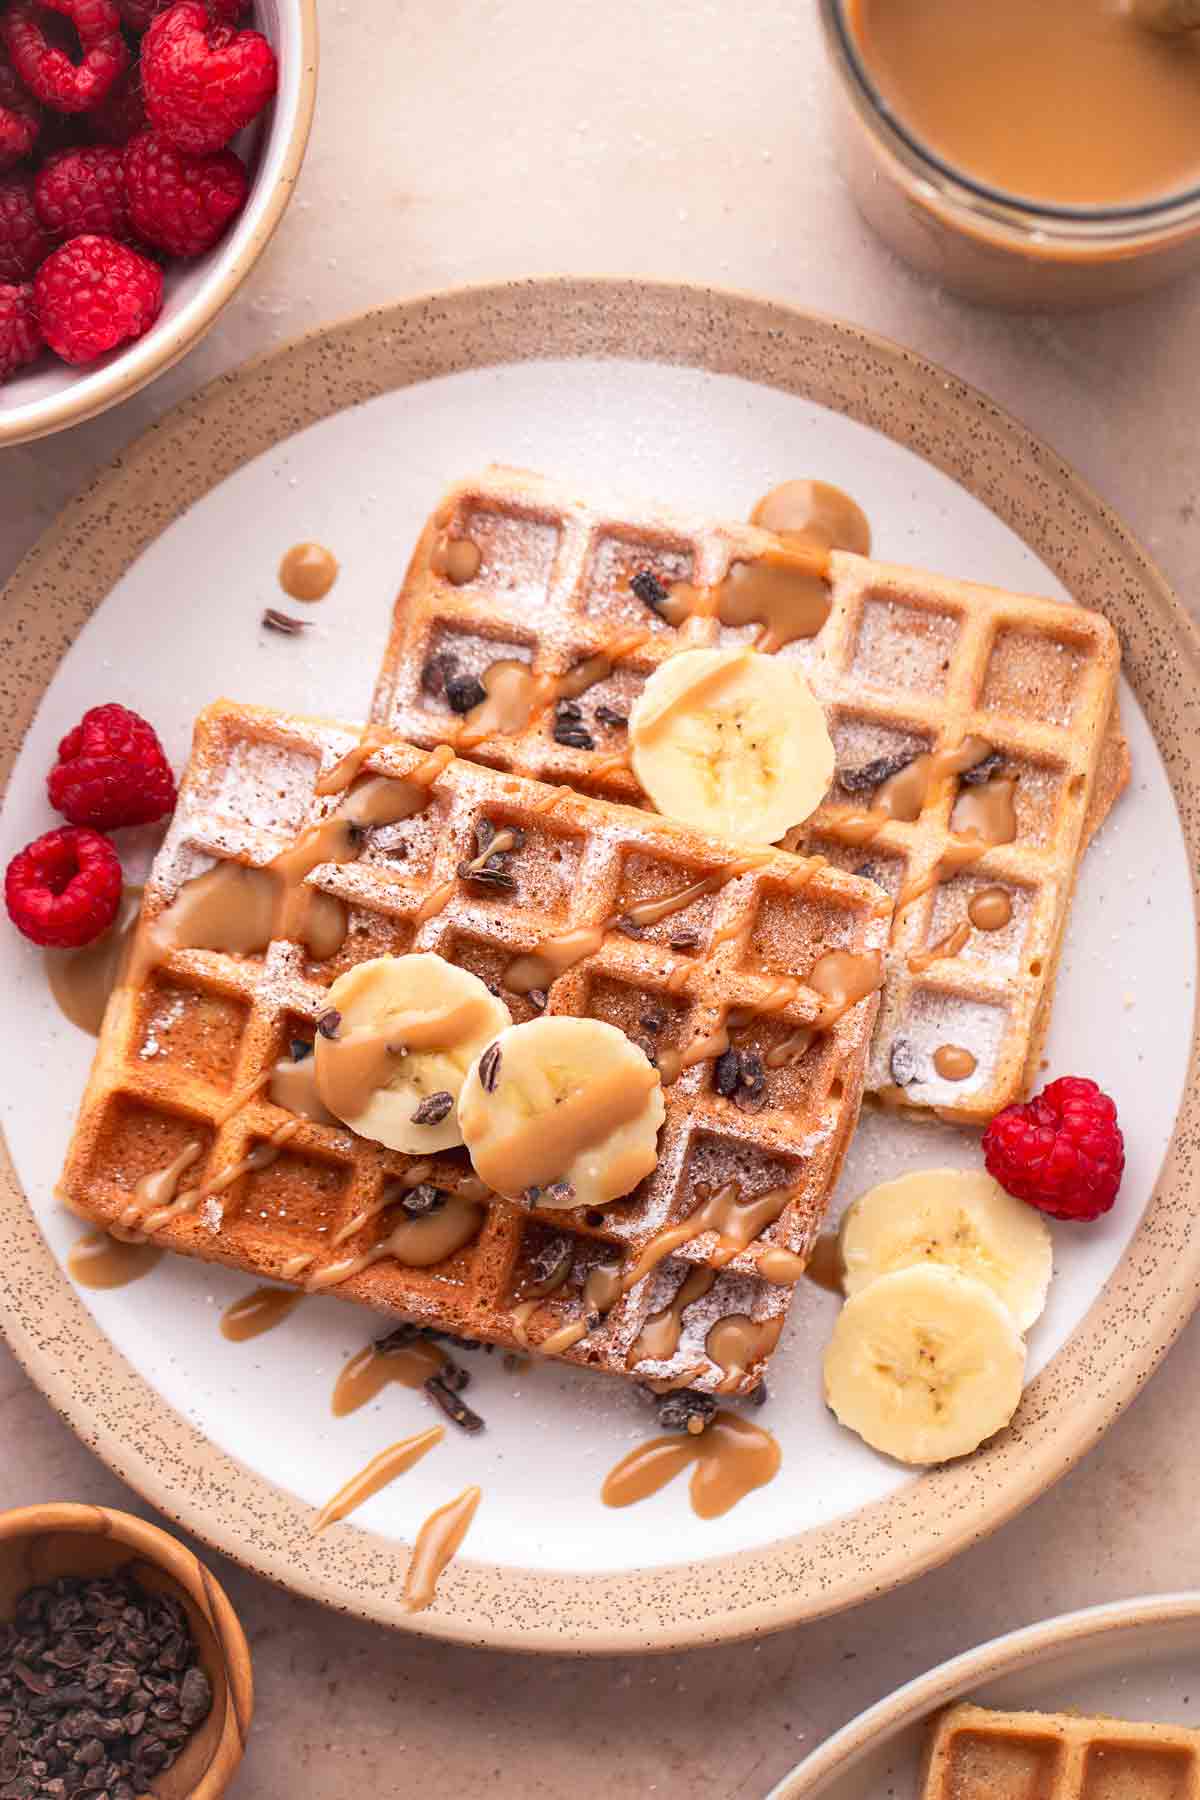
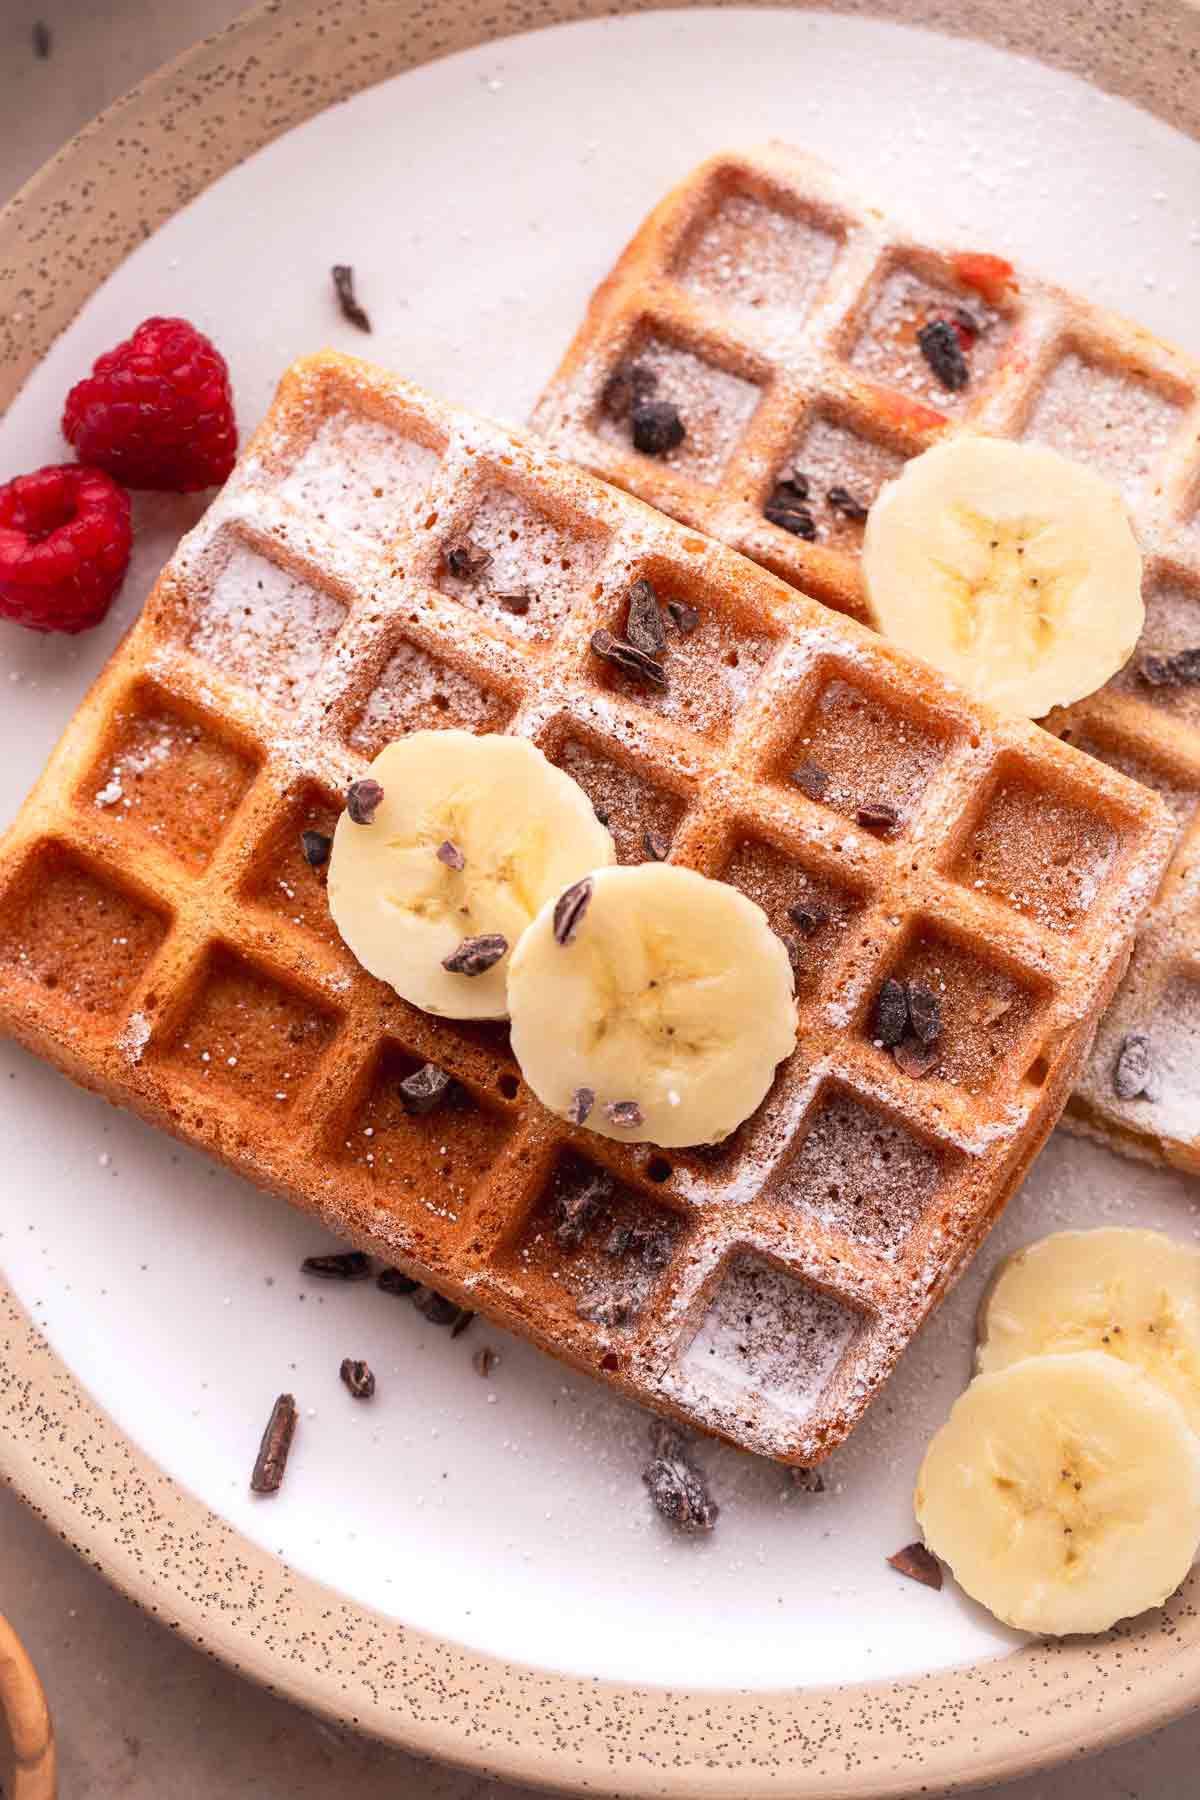
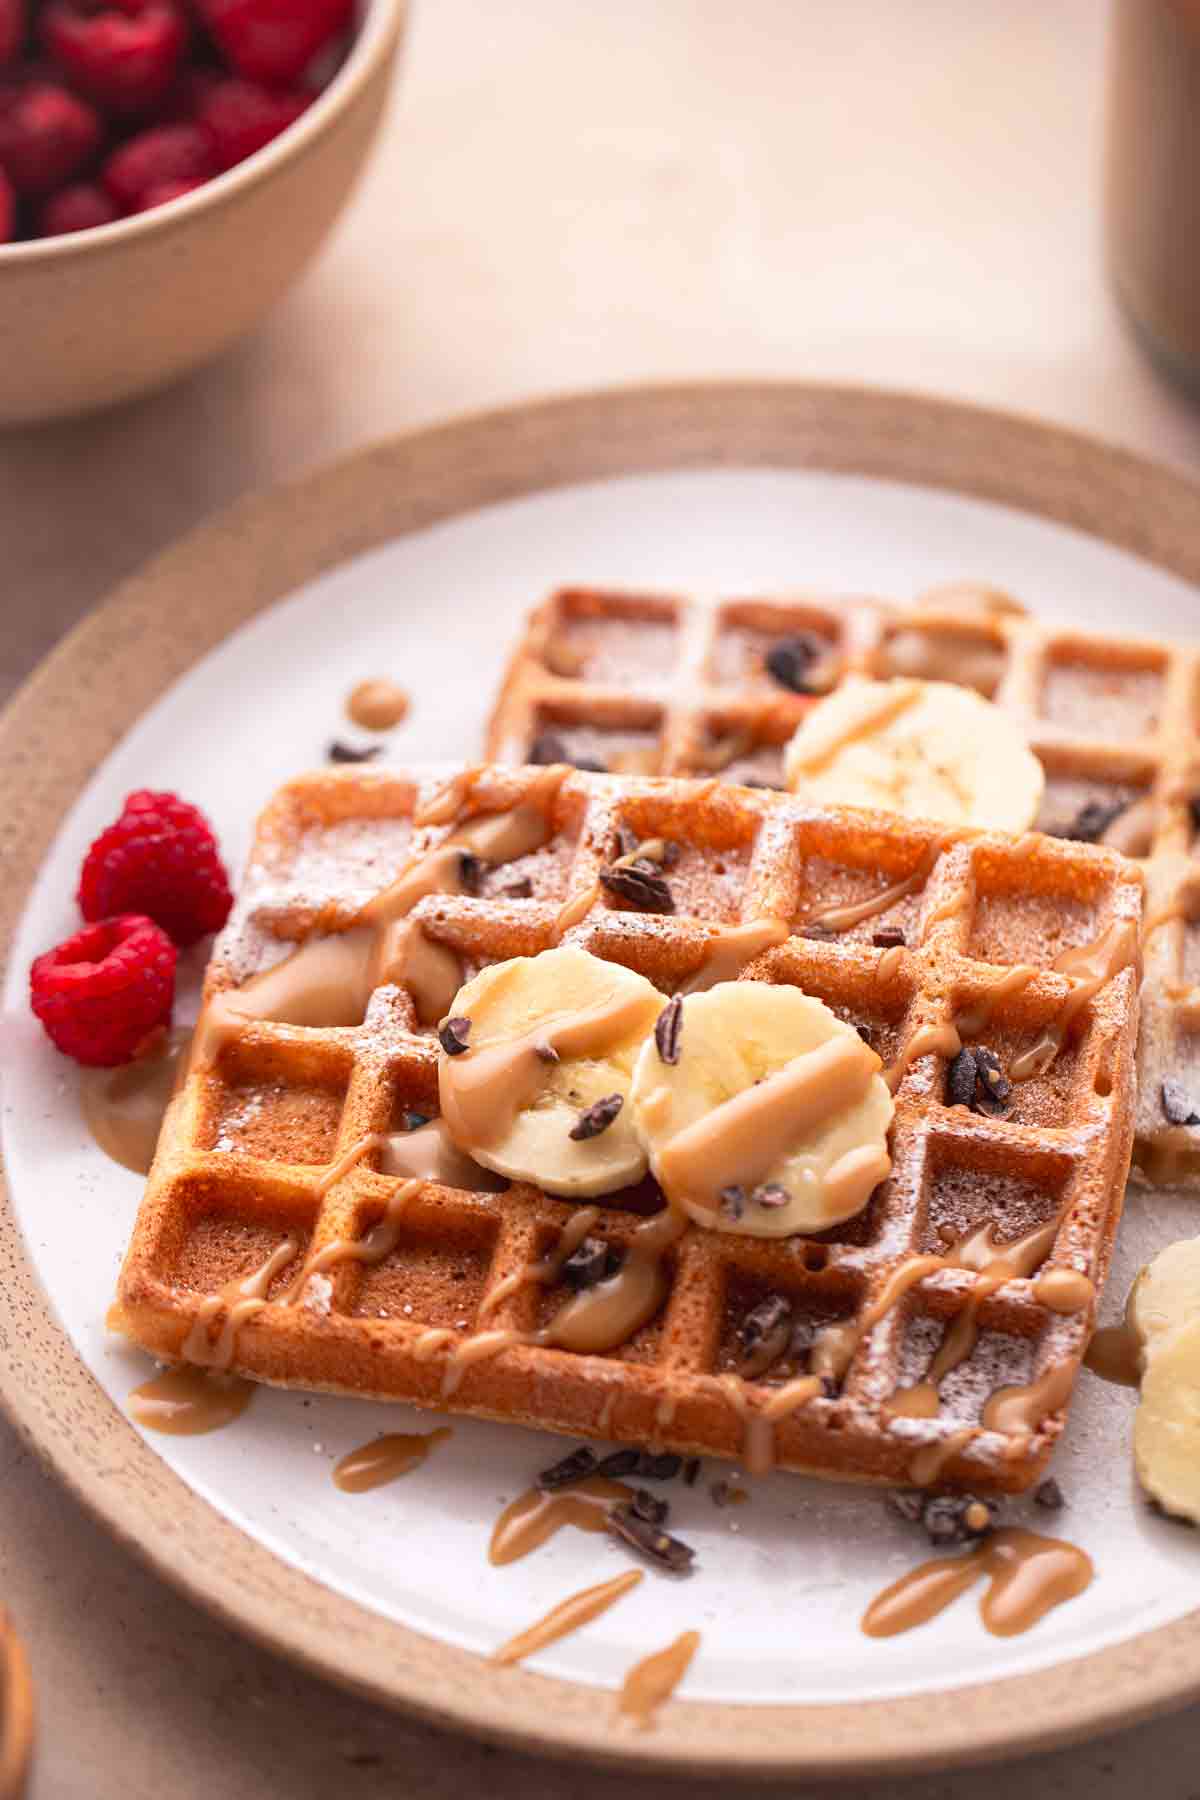
These Whole Wheat Waffles are fluffy inside, crisp around the edges, and perfect for busy mornings. They're made with simple pantry ingredients, come together in about 30 minutes, and freeze really well for meal prep breakfasts.
I make these often because they feel cozy and homemade without being too heavy. The mix of whole wheat flour and buttermilk gives them a hearty flavor while still keeping the texture soft and airy. You'll love these!

Want to Save This Recipe?
Enter your email and we’ll send the recipe directly to you!
By submitting this form, you consent to receive emails from The Yummy Bowl.
Julia's Why-You'll-Love-It List
- Whole wheat flour adds hearty flavor without making the waffles too heavy.
- Buttermilk keeps the inside soft and tender.
- The flour blend creates a fluffier texture than 100% whole wheat. And is still healthier than regular American waffles.
- Resting the batter helps the waffles turn lighter and crispier.
- Crispy edges + soft center = the best texture balance.
- They freeze and reheat beautifully! I will usually make a double batch and freeze leftovers for a quick breakfast or school snack.
Ingredients and Swaps
- Flour - I like using a mix of 1 cup whole wheat flour + ½ cup all-purpose flour (or use 1:1 GF Flour). This gives the waffles a softer texture while still keeping that hearty whole wheat flavor. Using only whole wheat flour can make them slightly denser.
- Buttermilk substitute - No buttermilk? Use 1 ½ cups milk, but remove 1 ½ tablespoons of the milk and replace it with lemon juice or distilled white vinegar. Let it sit for 5-10 minutes until slightly curdled.
- Egg - For extra fluffy waffles, whisk the egg white separately until soft peaks form before mixing it into the batter. This small step helps create a lighter, airier texture.
- Butter - Melted butter gives better flavor and helps create crisp edges. Coconut oil works too if you want a dairy-free option.
- Baking powder + baking soda - Using both creates better rise and texture. This is especially important when using whole wheat flour.
- Vanilla - Just a little makes the waffles taste warmer and more bakery-style.
📋 You can find the full ingredient list in the Recipe Card below the article.
How To Make Seriously Good Whole Wheat Waffles
- Preheat the waffle iron: Preheat your waffle maker fully before adding batter. This is where people often go wrong. If the waffle iron isn't hot enough, the waffles steam instead of crisping.
- Mix the dry ingredients: In a large bowl, whisk together the flour, baking powder, baking soda, salt, and sugar until evenly combined.
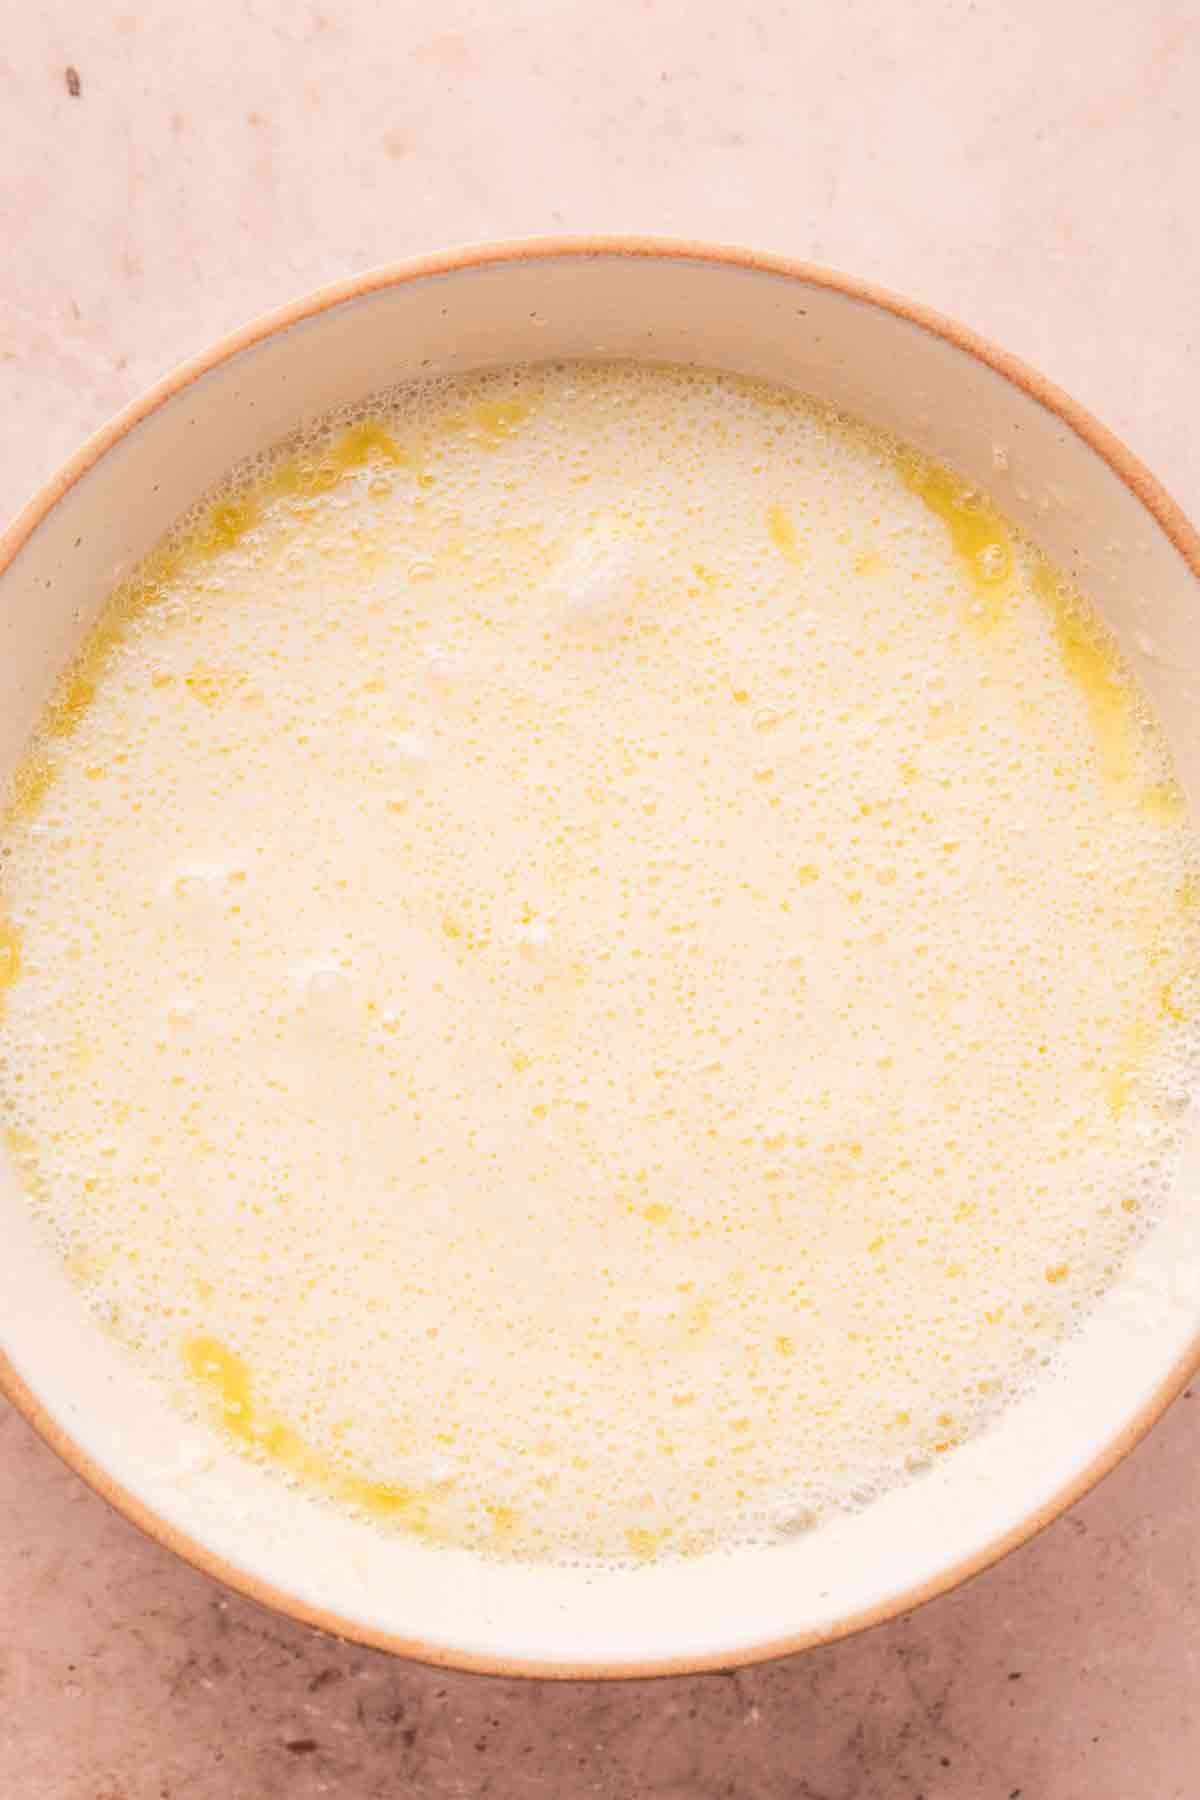
- Mix the wet ingredients: In another bowl, whisk together the egg, buttermilk, vanilla, and melted butter until smooth.
- Optional step for fluffier waffles: Separate the egg first. Whisk the egg white until soft peaks form (use electric mixer), then gently fold it into the batter as the very last step. This gives the waffles a lighter, airier texture.
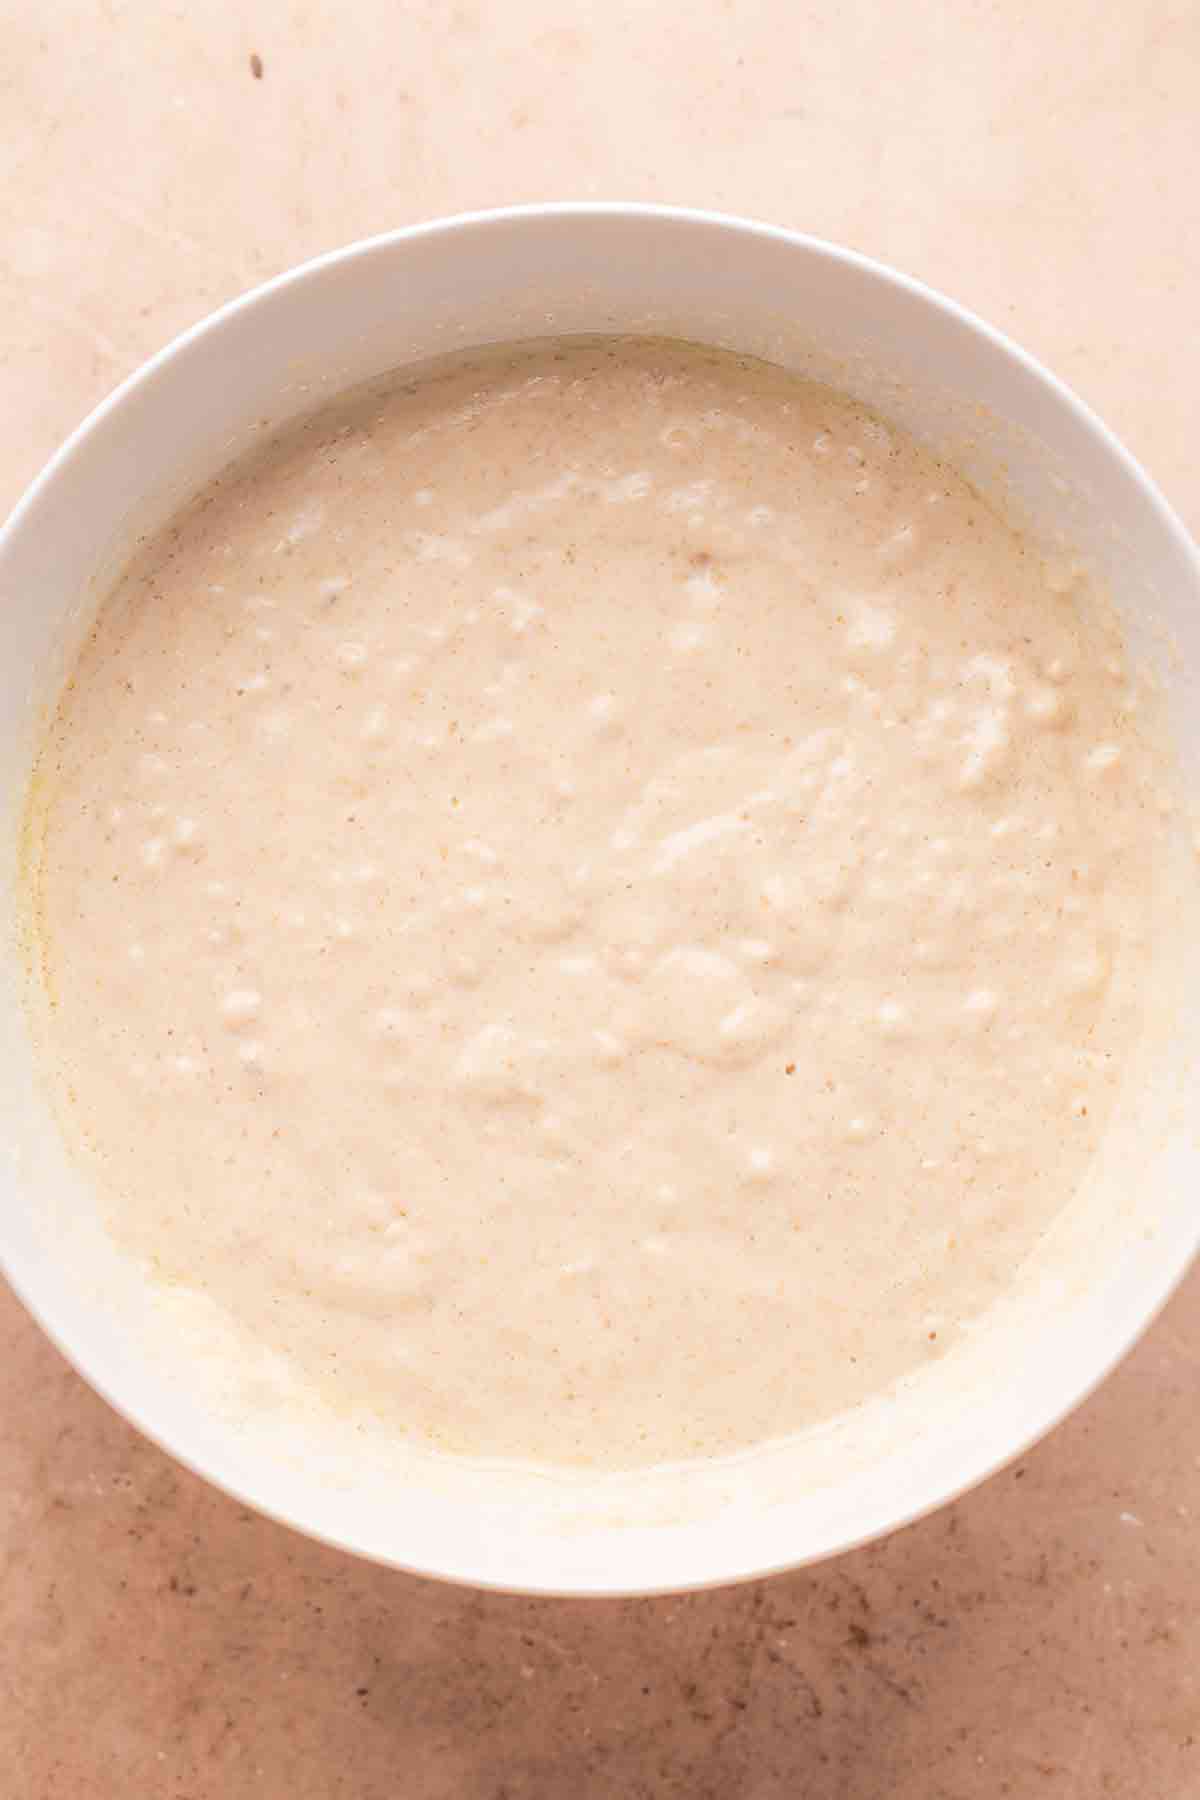
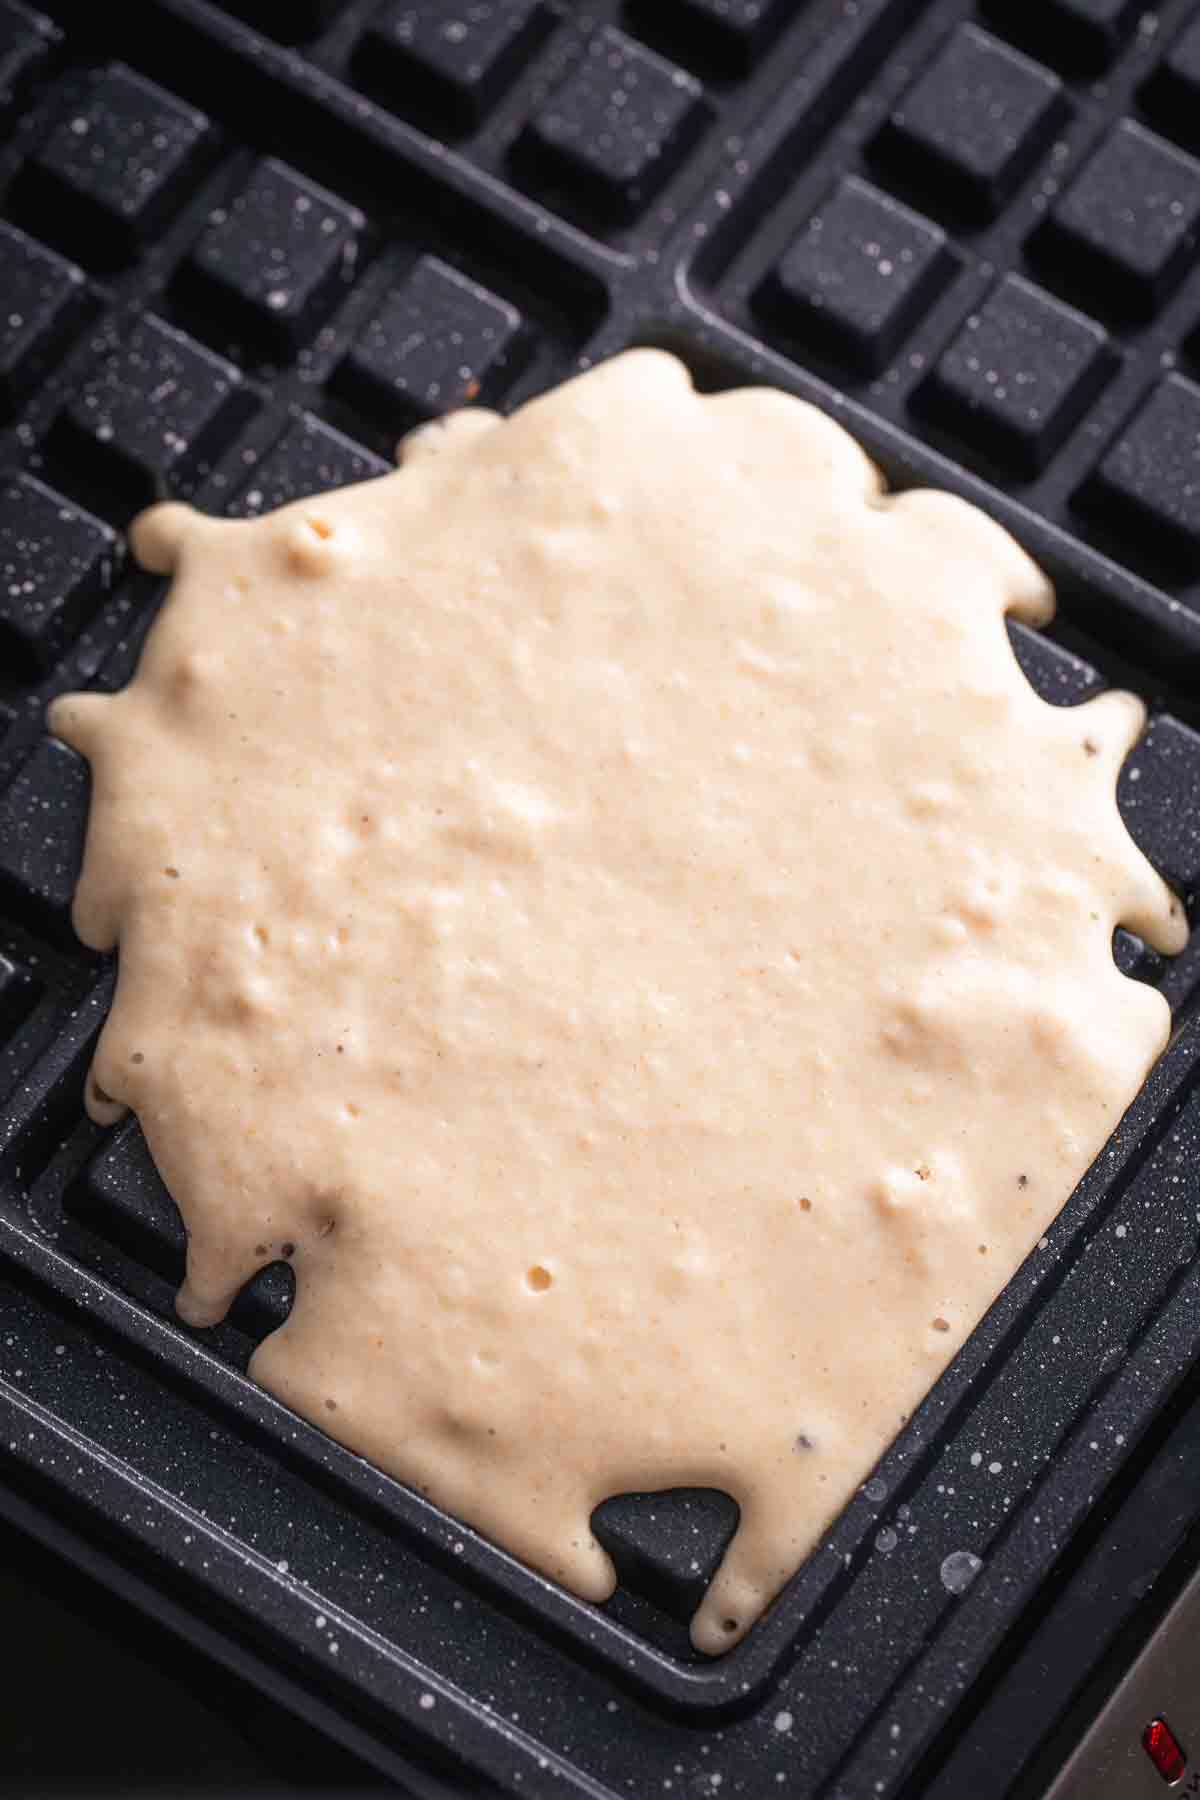
- Combine the batter: Pour the wet ingredients into the dry ingredients and stir gently until just combined. Do not overmix. The batter should still look slightly lumpy. Overmixing develops the gluten and can make the waffles dense instead of fluffy.
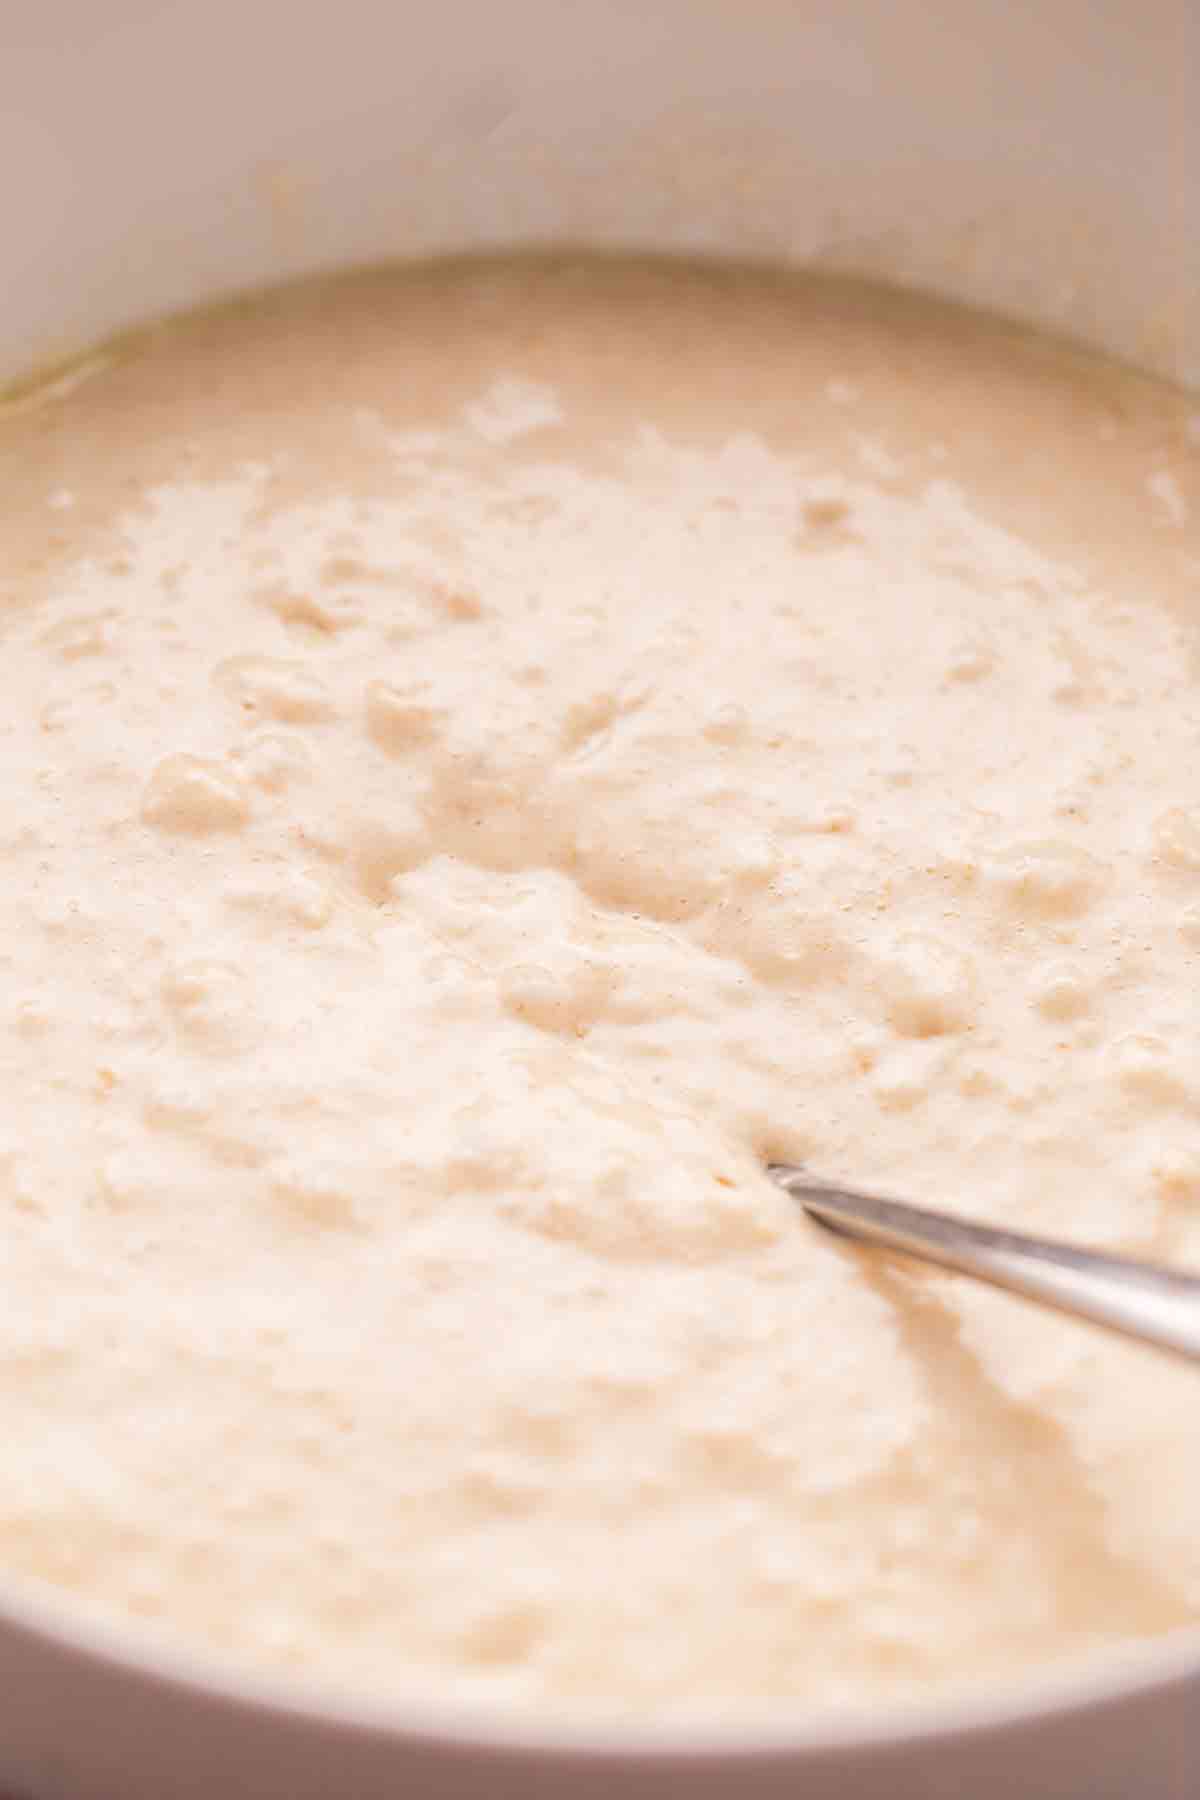
- Rest the batter: Let the batter sit for 5-10 minutes before cooking. This helps hydrate the whole wheat flour and creates waffles with a softer interior and better texture.
- Prepare the waffle iron: Lightly brush the waffle iron with butter or oil before the first waffle.
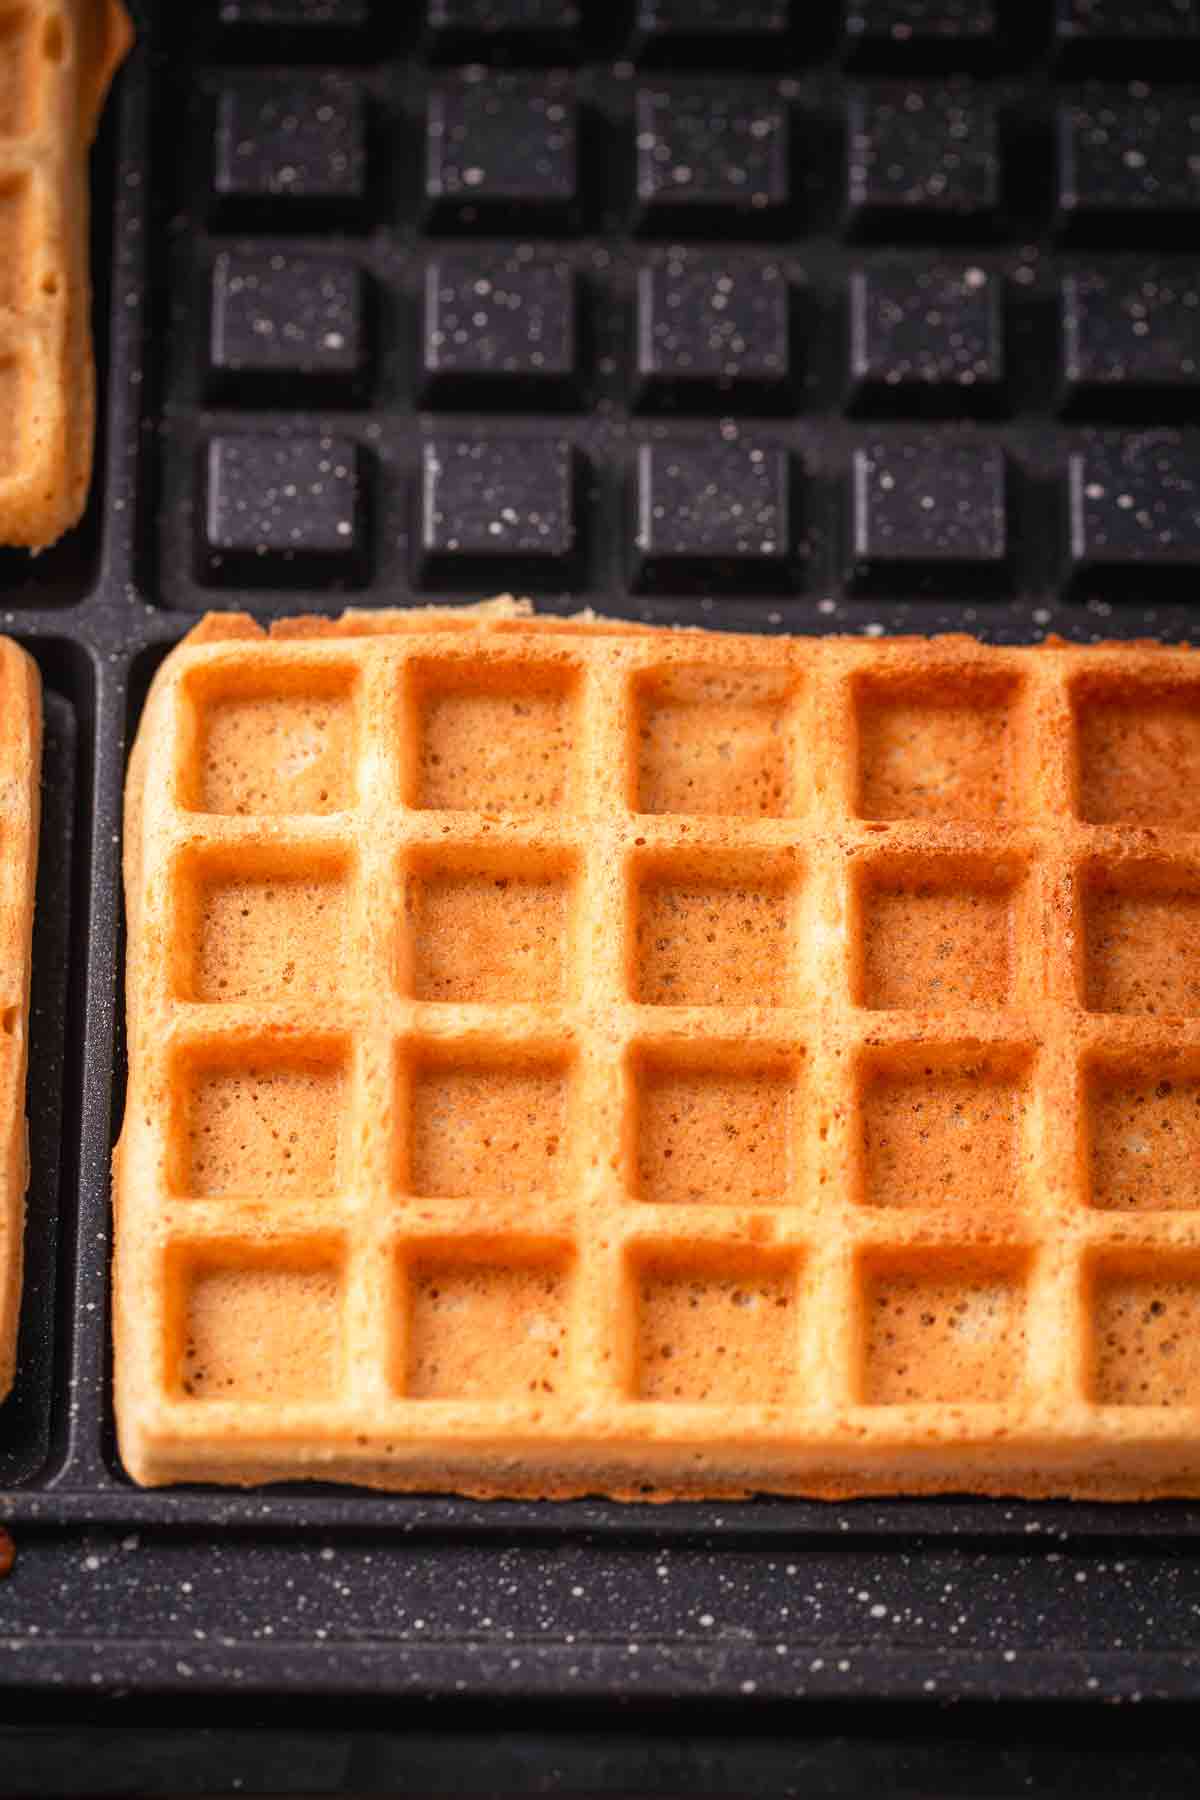
- Cook the waffles: Add about ¼ cup + 2 tablespoons batter for rectangular waffles like mine, or about ¼ cup batter for smaller irregular waffles shape. Reapply butter to the iron between batches as needed. Cook until the waffles are golden brown, lightly crisp outside, and the steam mostly stops coming out of the waffle maker. That steam cue is actually one of the easiest ways to know they're done.
My Favorite Tools

Cuisinart 4 Slice Belgian Waffle Maker
Buy Now → Buy Now →
  Buy Now →
  Buy Now →
 Important Waffle Tip
These waffles are fluffy, but if you want those super thick café-style waffles, you'll need a Belgian waffle maker with DEEP grids. Regular waffle makers naturally produce thinner waffles with crisp edges and a soft interior (this is what I used for these photos). It's totally personal preference!
Tips
- Whole wheat flour I like and recommend: option 1 & option 2. Homemade GF flour recipe here.
- Do not overmix the batter. Overmixing develops gluten and makes waffles dense instead of fluffy.
- Rest the batter. This step really helps whole wheat flour absorb moisture properly and improves texture.
- Use a hot waffle iron. If the iron isn't fully heated, the waffles can turn pale and soft instead of golden and crisp.
What to Serve With
These whole wheat waffles go with almost anything.
Try serving them with:
- Fresh berries
- Greek yogurt
- Homemade coconut caramel sauce
- Maple syrup
- Scrambled eggs
- Breakfast sausages/crispy bacon
- Peanut butter and bananas
- Cottage cheese and fruit
- Homemade berry sauce
They also pair really well with healthy breakfast meal prep ideas and freezer-friendly breakfast recipes.
Storing Leftovers
- To Store. Store leftover waffles in an airtight container in the fridge for up to 3 days. I like placing a paper towel underneath to absorb extra moisture and help keep them from getting soggy.
- To Freeze. Let the waffles cool completely first. Freeze them in a single layer until solid, then transfer to a freezer-safe bag. They keep well for up to 2 months.
- To Make Ahead. You can make the batter the night before and refrigerate it overnight. Just stir gently before cooking. Or fully cook the waffles ahead for quick weekday breakfasts.
- To Reheat. The toaster works best for crisp edges. You can also reheat them in the air fryer or oven. Avoid microwaving if possible because the waffles soften quickly.
Bonus: Upgrade Variations
- Add Chocolate Chips: Perfect for kids or weekend brunches.
- Make Them Dairy-Free: Use coconut oil and dairy-free milk with vinegar.
- Add Cinnamon: Makes them taste more cozy and bakery-style.
- Protein Boost: Add a scoop of vanilla protein powder and a splash of extra milk.
- Summer Version: Serve with berries, yogurt, and honey.
- Meal Prep Style: Freeze a full batch and reheat in the toaster during the week.
More Breakfast Ideas


Before You Head Out
If you gave this recipe a try, I'd be so thankful if you could leave a ★★★★★ rating and review below. It helps other readers, supports my work, and means the world to me. Thank you for being part of The Yummy Bowl family. Happy cooking! ❤️
Recipe Card

Whole Wheat Waffles
Ingredients
Equipment
Method
- Preheat the waffle iron: Preheat your waffle maker according to the manufacturer's instructions.
- Mix the dry ingredients: In a large bowl, whisk together the flour, baking powder, baking soda, salt, and sugar.1 ½ cups whole wheat flour, 2 teaspoons baking powder, ¼ teaspoon baking soda, 2 tablespoons white sugar, ½ teaspoon salt
- Mix the wet ingredients: In another bowl, whisk together the egg, buttermilk, vanilla, and melted butter until smooth.
- Optional step for fluffier waffles: Separate the egg first. Whisk the egg white until soft peaks form, then gently fold it into the batter as the very last step. This gives the waffles a lighter, airier texture.
- Combine the batter: Pour the wet ingredients into the dry ingredients and stir gently until just combined. Do not overmix. The batter should still look slightly lumpy. Overmixing develops the gluten and can make the waffles dense instead of fluffy.
- Rest the batter: Let the batter sit for 5-10 minutes before cooking. This helps hydrate the whole wheat flour and creates waffles with a softer interior and better texture.
- Prepare the waffle iron: Lightly brush the waffle griddle with butter or oil before the first waffle.
- Cook the waffles: Add about ¼ cup + 2 tablespoons batter for rectangular waffles like mine, or about ¼ cup batter for smaller irregular waffles. Cook according to your waffle maker instructions until golden brown and crisp outside.
Nutrition
Notes
- These waffles are fluffy, but if you want those super thick café-style waffles, you'll need a Belgian waffle maker with deep grids. Regular waffle makers naturally produce thinner waffles with crisp edges and a soft interior.
- *Flour: I like using a mix of 1 cup whole wheat flour + ½ cup all-purpose flour. You can also swap the all purpose flour to GF 1:1 blend. This gives the waffles a softer texture while still keeping that hearty whole wheat flavor. Using only whole wheat flour can make them slightly denser.
- Whole wheat flour I like and recommend: option 1 & option 2. Homemade GF flour recipe here.
- Buttermilk Substitute: No buttermilk? Use 1 ½ cups milk, but remove 1 ½ tablespoons of the milk and replace it with lemon juice or distilled white vinegar. Let it sit for 5-10 minutes until slightly curdled.
- *Egg: For extra fluffy waffles, whisk the egg white separately until lightly foamy before mixing it into the batter. This small step helps create a lighter, airier texture.
- Storage Tips:
- Fridge: Store leftovers in an airtight container for up to 3 days.
- Freeze: Let waffles cool completely, then freeze in a single layer before transferring to a freezer bag. Freeze for up to 2 months.
- Reheat: Reheat in a toaster, air fryer, or oven for the crispiest texture. Avoid microwaving if possible because they soften quickly.
Tried this recipe?
Let us know how it was!Note: Nutrition information is estimated and varies based on the products used.
Full Nutrition Disclaimer can be found here.
Join TYB
Insider
Get access to exclusive recipes,
weekly meal plans, printable
grocery lists, and AD-FREE
browsing designed to make
mealtime easier.


Comments
No Comments