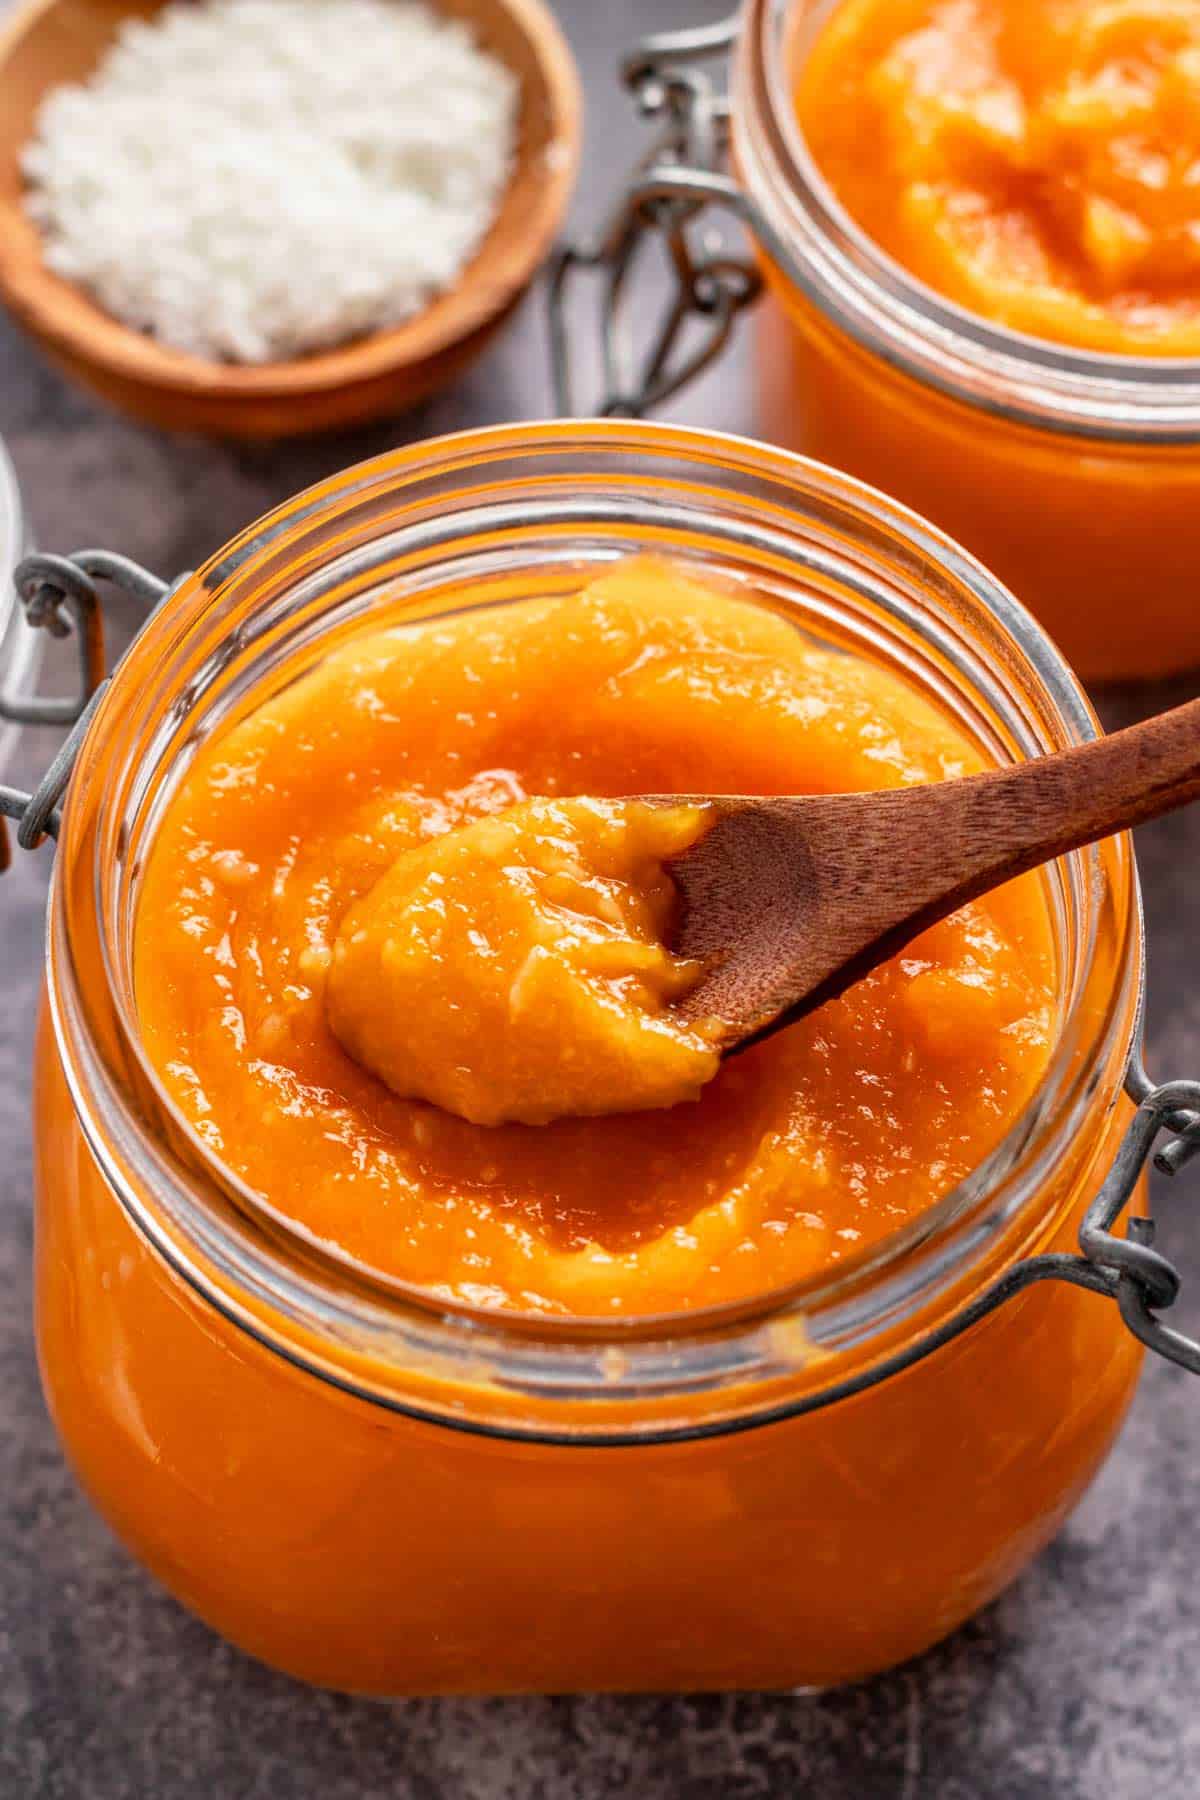
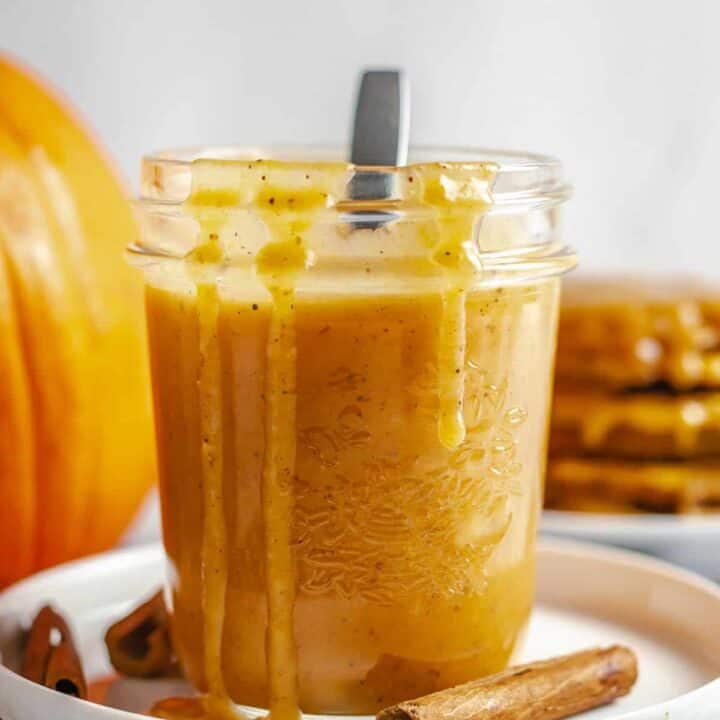
This homemade Pumpkin Jam combines the earthy sweetness of pumpkin with the rich, tropical creaminess of coconut. It is an easy, 5-ingredient recipe that can be used as a spread, filling, and topping for various dishes, or as a thoughtful homemade gift for friends and family.
If you like making homemade jams, you can also try our banana berry jam for variations. Nothing beats homemade goodies after all!
Jump To
Why It's Yummy
- Simple and easy. This coconut jam is made using 5 simple ingredients and is done in less than 30 minutes.
- Smooth texture. The addition of coconut milk gives this jam a smooth and luscious consistency that makes it very spreadable.
- Healthier than store brought. No additives and preservatives added! The beauty of making it on your own is that you are assured of the quality of the ingredients used.
- Versatile. This delicious jam can be used as a spread for toast, pancakes, and waffles, as a filling for pastries, or as a topping for smoothies, oatmeal, and cereals. This can also be used as a glaze for savory dishes like grilled chicken or pork.
- Related: Coconut Pineapple Pancakes
Want to Save This Recipe?
Enter your email and we’ll send the recipe directly to you!
By submitting this form, you consent to receive emails from The Yummy Bowl.
Ingredients
My few comments on the ingredients + don't forget to read the Tips section!
The full recipe and ingredients can be found in the recipe card below this post.
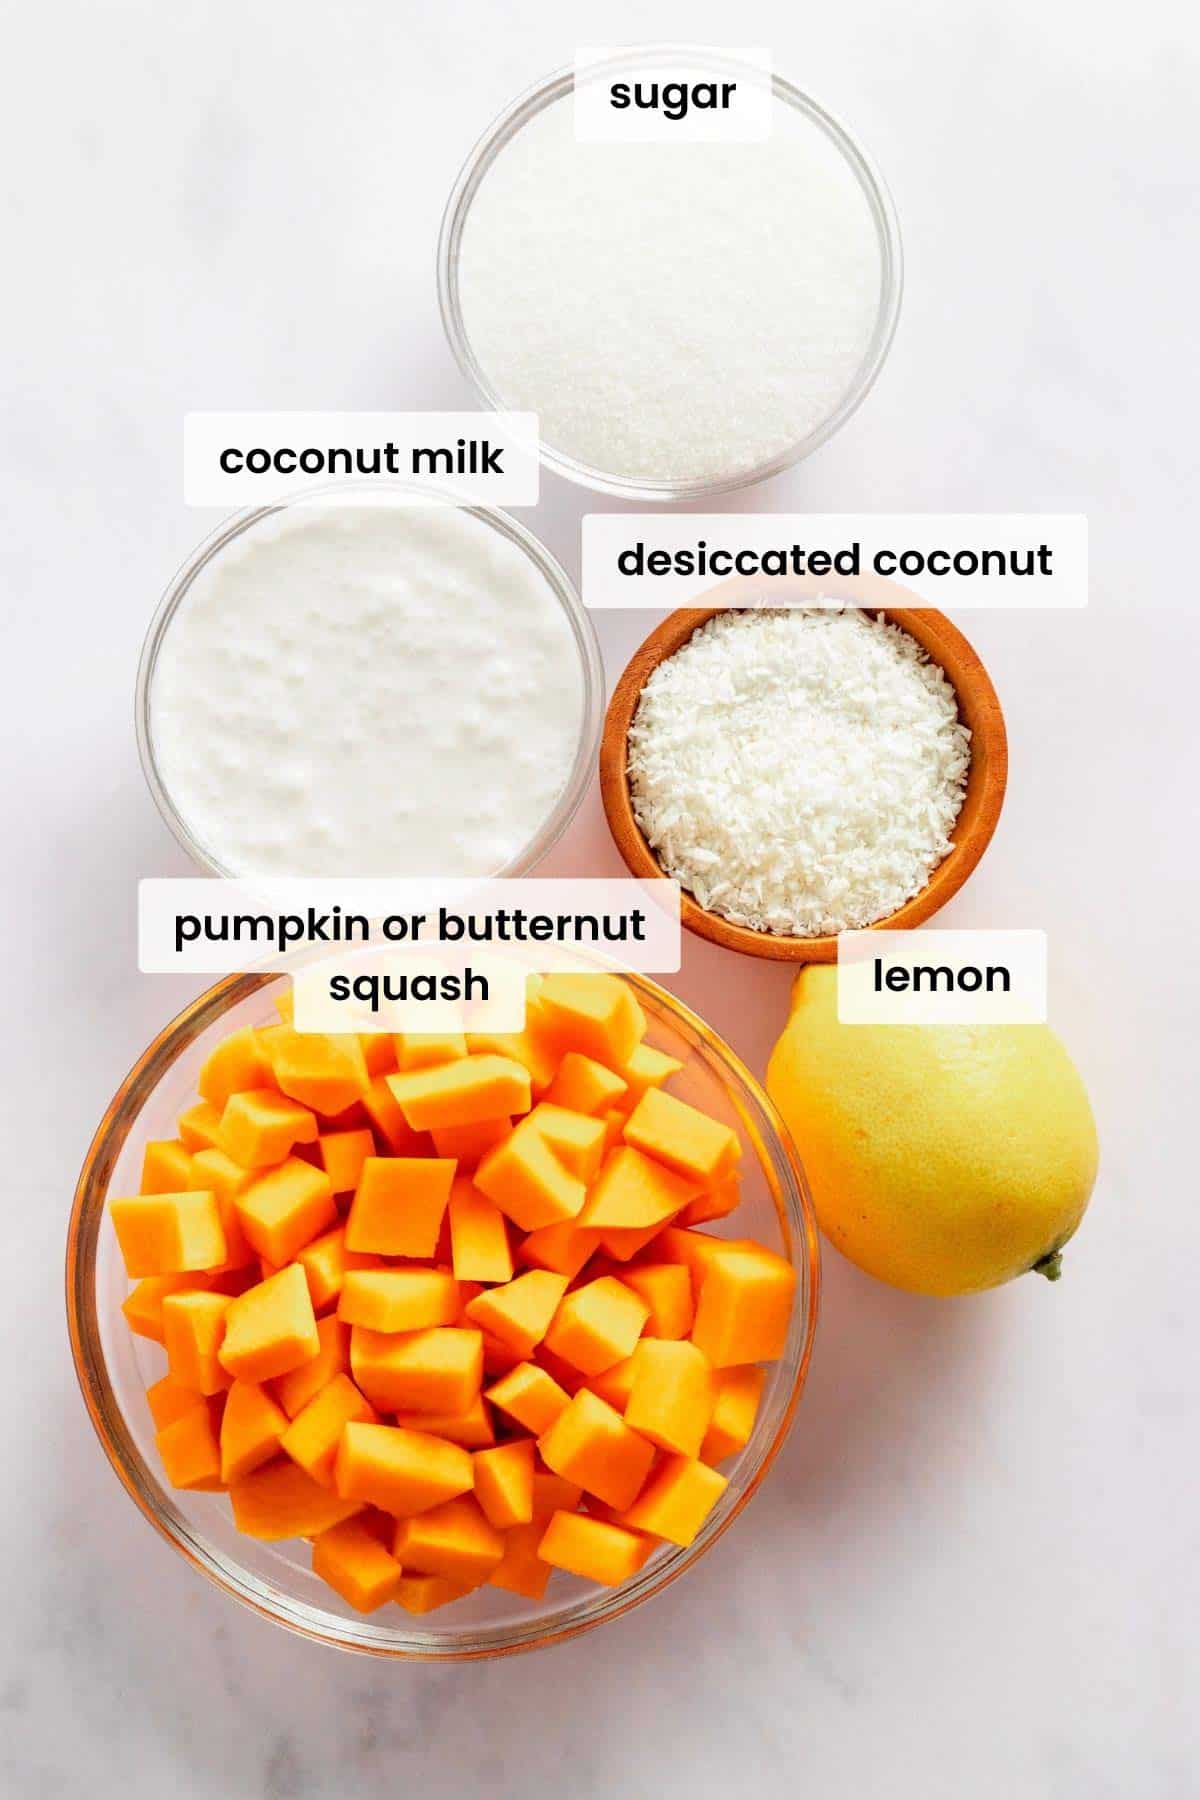
- Pumpkin - peeled and diced into small cubes. Make sure to choose a pumpkin that is fully ripe for optimal sweetness and flavor. You can also use butternut squash.
- Canned coconut milk - adds a richer taste and smoother texture to the jam. Use full-fat if you want to have a creamier and thicker jam.
- Caster sugar - you can also use brown sugar, which will give the mixture a deep caramel taste.
- Desiccated coconut - gives the jam pops of nutty chewiness providing a pleasant contrast to the smoothness of the pumpkin puree.
- Lemon juice - provides a subtle brightness, balancing the sweetness and enhancing the overall flavor.
Instructions
Soften the pumpkin cubes in milk. In a medium-heavy pot, combine coconut milk and butternut squash.

Simmer over medium heat, stirring constantly, for about 15 minutes until the pumpkin or butternut squash can be easily pierced with a fork. Initially, it might seem like there's insufficient liquid, but as the butternut squash cooks, it will release its juices.
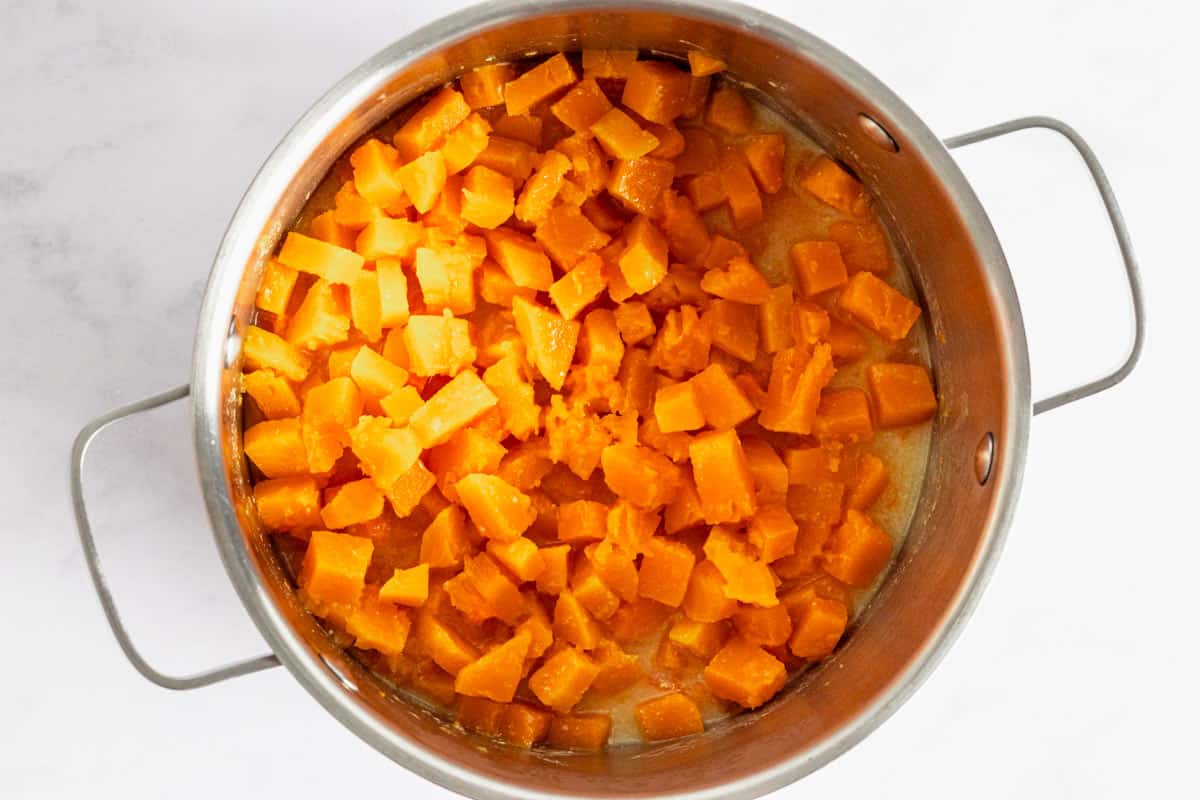
Keep stirring the jam frequently so that it doesn't get stuck to the bottom of the pot. It's very crucial to do this, especially when the jam starts to thicken.
Make the pumpkin puree mixture. Once the cooked, remove the pot from heat and blend until you achieve a smooth puree. Add sugar, shredded coconut, and lemon juice.

Thicken the mixture. Return the mixture to the stovetop over medium heat, allowing it to gently boil.
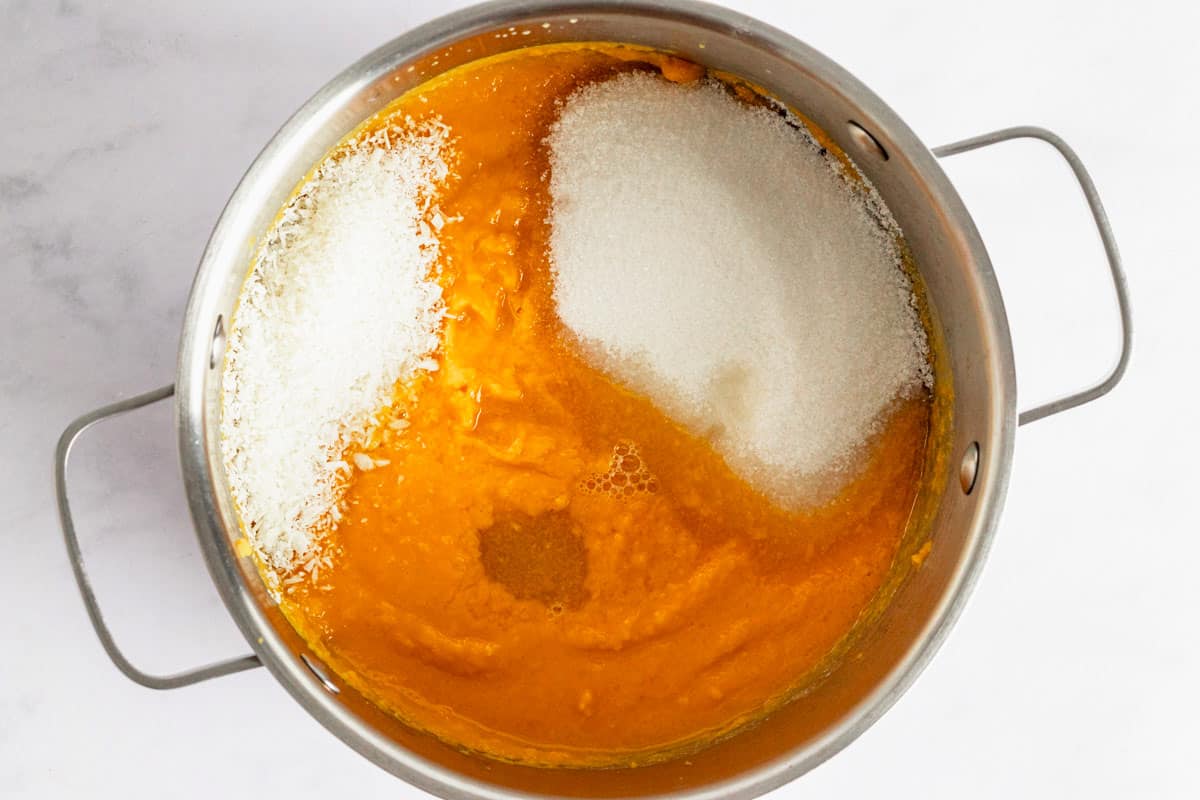
Simmer without the lid for 7 minutes while stirring constantly.
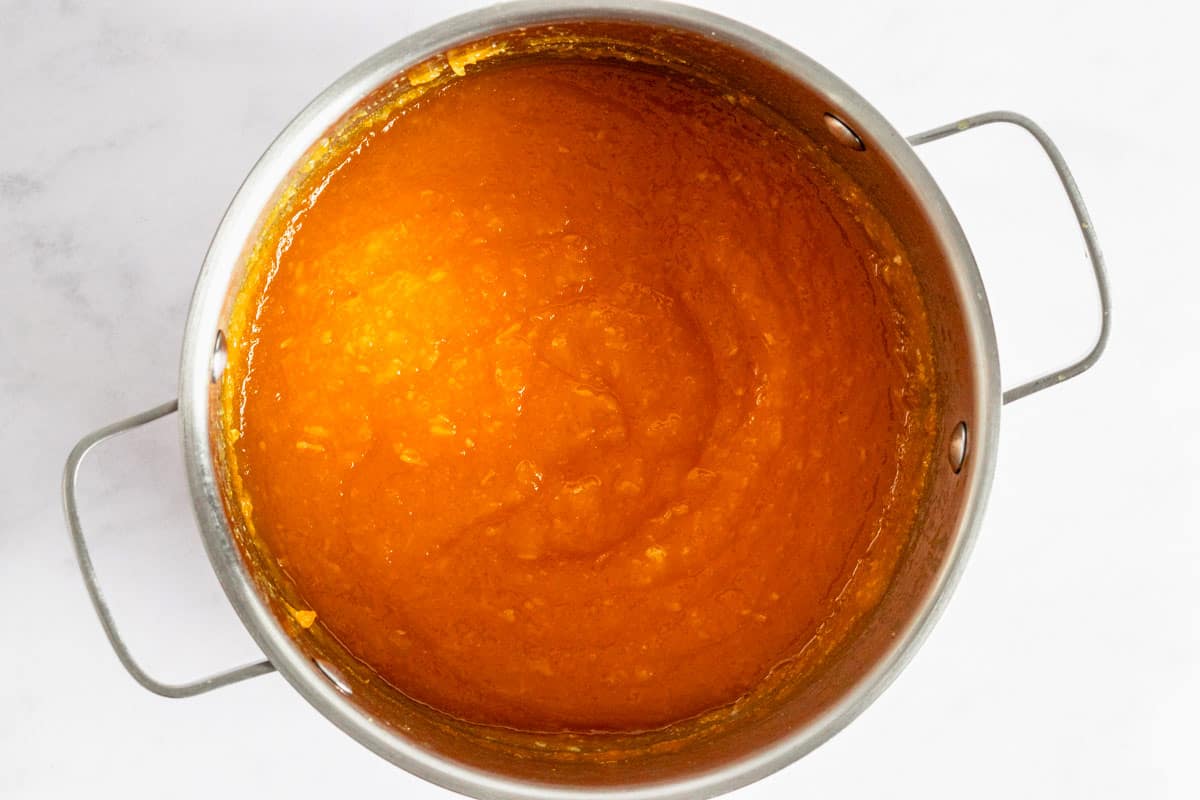
Serve and enjoy! Divide the mixture between jars while it's still hot. Let it cool to room temperature before refrigerating.
Recipe Troubleshoot
Why is my Coconut Jam too thick?
- Not enough liquid added. The amount of milk added will determine the consistency of the jam. Some pumpkins may have less water or have higher pectin content than others, so you will need to add more milk in small amounts to thin out the mixture.
- Overcooking. Remember that the jam will thicken as it cools, so do not overcook the mixture in the pot. In case this happens, adding more liquid will help.
- Too much desiccated coconut is added. Since these are dried up, they tend to absorb liquid quickly. Adding too much can make the jam dry and thick so make sure not to overdo it.
Why is my jam watery/lumpy?
- Using overripe pumpkin/squash. When pumpkins are overripe, they tend to have more water content and this will naturally come out when they are simmered. This can cause the jam to become soggy. Make sure to use pumpkins that are perfectly ripe for optimal texture.
- Too little sugar. Sugar is essential in the preservation process. Lessening the amount too much will prevent the jam from setting and will not have a gel-like structure that gives jams their characteristic thickness and spreadable consistency. Add more sugar if needed.
- Undercooked jam. The water content will lessen the longer the jam simmers. Keep on cooking and stirring until the mixture thickens and passes the wrinkle test.
Tips
- Use the wrinkle test to confirm if the jam is sufficiently cooked. You can do this by placing a dollop of the hot jam on a cold plate. If the jam wrinkles and forms thin skin when pushed, it is good to go.
- If you like a chunkier jam, leave small bits of pumpkin/squash by processing the pumpkin mixture less.
- Pour the jam into the jars while still hot. This will create steam which will seal the jars tightly. This vacuum seal is key in preserving the jam and thwarting the development of bacteria.
📋 Make sure to sterilize the jars and lids before you fill them up with jam. This way, you'll keep any spoilage at bay and ensure your jam stays fresh for way longer. You can sterilize them by boiling the jars and lids or using a dishwasher.

Serving Suggestions
We enjoy slathering this jam on top of our pumpkin pancakes, waffles, and toasts. This jam will also give your overnight oats and chia pudding a sweet and nutty flavor! Try drizzling it on top of a classic coconut cake to give it a more festive flair.
Freezing And Storing Instructions
- To Store. Once the jam is transferred to jars, seal tightly and let it completely cool down. You can store it at room temperature or in the fridge for up to 4 to 6 weeks.
- To Freeze. Transfer the jam to freezer-safe containers, leaving some headspace to allow for expansion as the jam freezes. When properly frozen and stored in airtight containers, it can maintain its quality for up to 8 to 12 months. Label the containers with the date of freezing for reference.
Substitutions and Variations
- Add spices. Adding spices like cinnamon, nutmeg, ground ginger, cloves, allspice or cardamom will give the jam layers of flavor. Do not hesitate to experiment!
- Use butternut squash. While sugar pie pumpkins are commonly used to make jams, you can also use butternut squash as an alternative.
- Make it spicy. Add a kick of heat by incorporating chili powder or a finely chopped chili to the mix!

I would appreciate it so much if you left a comment about this recipe below! Subscribe to join the TYB newsletter and receive free recipes straight to your inbox! Let's connect via Facebook, IG & Pinterest!
Recipe Card

Pumpkin Jam Recipe
Want to Save This Recipe?
Enter your email and we’ll send the recipe directly to you!
By submitting this form, you consent to receive emails from The Yummy Bowl.
INGREDIENTS
- ½ pounds butternut squash or pumpkin, peeled and diced into small cubes
- 1 cup canned coconut milk, unsweetened
- 2 cup caster sugar
- 2-3 tablespoons desiccated coconut
- 3 tablespoon fresh lemon juice
INSTRUCTIONS
- Soften the pumpkin cubes in milk. In a medium-heavy pot, combine coconut milk and butternut squash.
- Simmer over medium heat, stirring constantly, for about 15 minutes until the butternut squash or pumpkin can be easily pierced with a fork. Initially, it might seem like there's insufficient liquid, but as the butternut squash cooks, it will release its juices.
- Make the pumpkin puree mixture. Once the fully cooked, remove the pot from heat and blend until you achieve a smooth puree. Add sugar, shredded coconut, and lemon juice.
- Thicken the mixture. Return the mixture to the stovetop over medium heat, allowing it to gently boil.
- Simmer without the lid for 7 minutes while stirring constantly.
- Serve and enjoy! Divide the mixture between jars while it's still hot. Let it cool to room temperature before refrigerating.
NOTES
- To Store. Once the jam is transferred to jars, seal tightly and let it completely cool down. You can store it at room temperature or in the fridge for up to 4 to 6 weeks.
- To Freeze. Transfer the jam to freezer-safe containers, leaving some headspace to allow for expansion as the jam freezes. When properly frozen and stored in airtight containers, it can maintain its quality for up to 8 to 12 months. Label the containers with the date of freezing for reference.
- This recipe makes 4 cups, the serving and nutrition is estimate.
ADD YOUR OWN PRIVATE NOTES
NUTRITION
Note: Nutrition information is estimated and varies based on the products used.
Full Nutrition Disclaimer can be found here.


Julia | The Yummy Bowl
Make it for breakfast any time of the year!